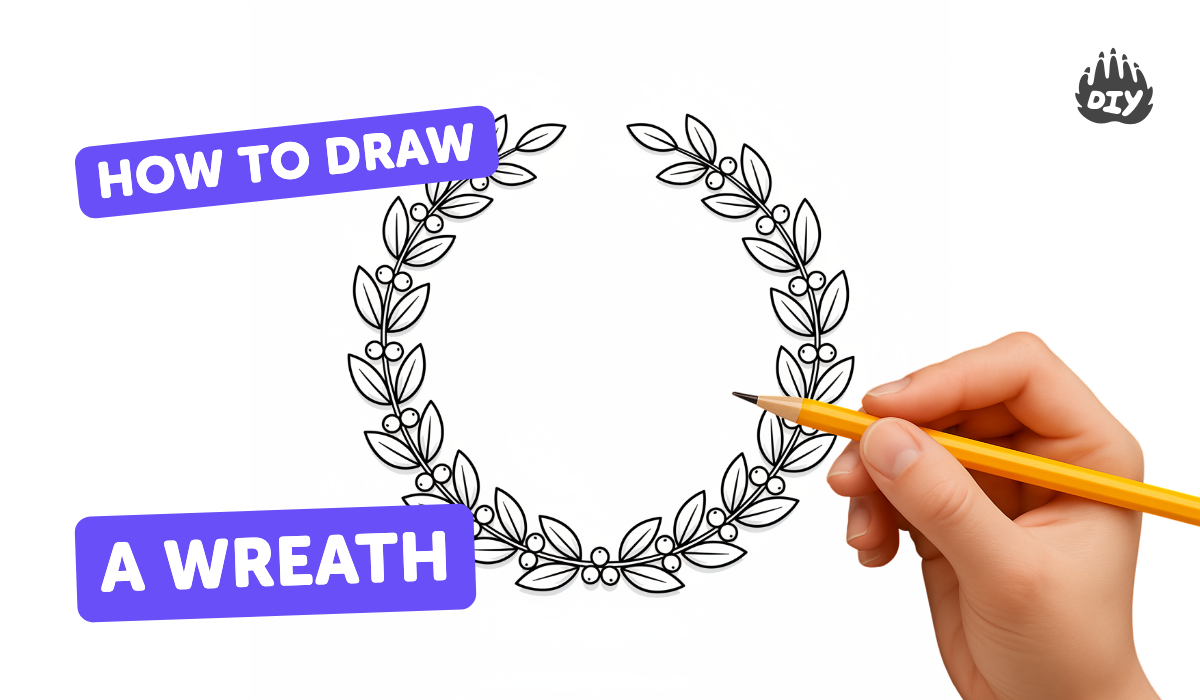
How to draw a wreath - a free wreath drawing guide
Make a seasonal paper or twig wreath using safe household materials, cutting and arranging shapes. Learn measuring, patience, and following step by step instructions.

Step-by-step guide to make a seasonal paper or twig wreath
How To Draw A Holiday Wreath - Preschool
Step 1
Decide which season you want your wreath to show and pick either paper leaves or twig style.
Step 2
Gather all the materials from the list and bring them to your workspace.
Step 3
Use the pencil and ruler to draw a large circle and a smaller circle inside it on the cardboard to make a ring shape.
Step 4
Cut out the cardboard ring by cutting along the outer circle and then cutting out the inner circle.
Step 5
If you chose paper leaves cut lots of leaf shapes from your coloured paper or magazine pages.
Step 6
If you chose twigs make small twig bundles by grouping a few twigs together and taping each bundle tightly.
Step 7
Attach your paper leaves or twig bundles to the cardboard ring by gluing or taping them so they overlap around the ring.
Step 8
Add extra decorations like a ribbon bow or little paper berries by gluing or taping them onto the wreath.
Step 9
Trim any extra paper or twig pieces that stick out so the wreath looks neat.
Step 10
Make a loop with the string or ribbon and tape or glue it to the back of the wreath for hanging.
Step 11
Share your finished wreath on DIY.org
Help!?
What can we use if we don't have cardboard, coloured paper, or twigs listed in the materials?
If you don't have cardboard for the ring-drawing and cutting steps, use a flattened cereal box or poster board, swap coloured paper in the leaf-cutting step for magazine pages or fabric scraps, and replace twigs with brown pipe cleaners or rolled newspaper bundles.
My wreath pieces keep falling off or the ring bends while cutting — how can I fix that?
Reinforce the cardboard ring by gluing on a second layer before you draw and cut the circles, secure paper leaves or twig bundles during the attaching step with hot glue or wrapped twine, and press the wreath flat under books until the adhesive fully sets.
How can I adapt this wreath project for toddlers, older kids, or teens?
For toddlers have an adult pre-cut the cardboard ring and provide large pre-cut leaves and stickers for attaching, for elementary-age kids let them cut paper leaves and tape simple twig bundles, and for teens encourage painting the ring, making intricate twig weaves, or adding detailed decorations in the attaching and trimming steps.
What are simple ways to personalize or enhance the finished wreath?
To personalize the wreath, paint or write a name or seasonal word on the cardboard ring before attaching decorations, tuck battery-operated fairy lights under the leaves or twig bundles, and glue on extras like dried orange slices, cinnamon sticks, or a ribbon bow from the decoration step.
Watch videos on how to make a seasonal paper or twig wreath
How To Draw A Fall Wreath
4 Videos
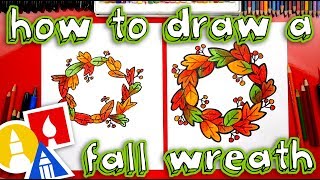
How To Draw A Fall Wreath
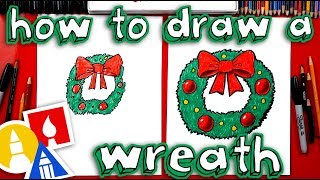
How To Draw A Christmas Wreath
Learn How to Draw a Christmas Wreath for Kids | Easy Drawing Tutorial
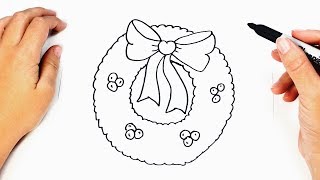
How to draw a Christmas Wreath Step by Step | Drawings Tutorials
Photos of seasonal paper or twig wreath examples


Facts about wreath making and seasonal crafts for kids
🏆 Ancient Greeks and Romans gave laurel wreaths to victors as a symbol of honor and achievement.
🌲 Evergreen wreaths became a popular Christmas tradition symbolizing eternal life and the return of light.
🌿 Flexible willow branches, called withies, are often used for twig wreaths because they bend without breaking.
♻️ Paper wreaths are a fantastic upcycling project — you can make colorful rings from old magazines, scrap paper, or greeting cards.
📏 Standard door wreaths are often 18–24 inches (45–60 cm) across, but kids can make any size for fun and practice measuring.
How do I make a seasonal paper or twig wreath with my child?
What materials do I need to make a paper or twig wreath at home?
What ages is this wreath activity suitable for?
What are safe tips and creative variations for making a seasonal wreath?
