How to draw a worm - a free worm drawing guide
Draw a simple segmented worm using pencil and color. Practice shapes, curves, shading, and adding simple eyes and segments with step by step guidance.


Drawing Apps
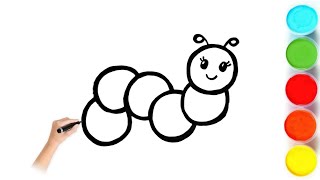
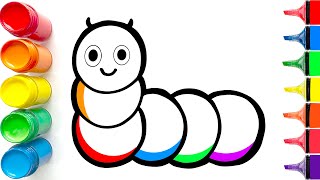
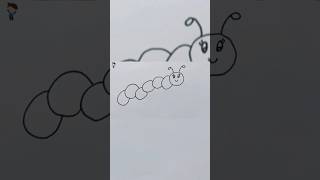
Photos of worm drawing examples


Step-by-step guide to draw a worm
How To Draw A Easy Worm Step by Step for Kids and Toddlers
Step 1
Sit comfortably at a table and place your paper and pencil in front of you.
Step 2
Lightly draw a small circle near one end of the paper to make the worm's head.
Step 3
From the top of the head circle draw a long curved S-shaped line to form the top of the worm's body.
Step 4
Draw a matching curved line under the first curve to form the bottom of the worm's body and connect it back to the head.
Step 5
Erase any extra sketchy lines so the worm outline looks smooth and clean.
Step 6
Draw evenly spaced short curved lines across the body to make the worm's segments.
Step 7
Add two small dots inside the head for eyes and a tiny curved line below them for a smile.
Step 8
Lightly shade the lower or side edge of each segment with your pencil to show roundness.
Step 9
Trace the final outline and the segment lines with a black marker or fine pen for bolder edges if you like.
Step 10
Color each segment using your coloring materials and make the shaded edges a little darker for depth.
Step 11
Draw a small patch of dirt or a blade of grass under the worm to give it a simple scene.
Step 12
Share your finished worm drawing on DIY.org.
Help!?
What can we use instead of a black marker or fine pen if we don't have one?
If you don't have a black marker or fine pen to trace the final outline, use a sharpened dark pencil or a colored crayon to carefully retrace the outline and segment lines so they stay bold.
My top S-shaped line doesn't match the bottom one and the worm looks lopsided—how can I fix it?
Draw the top S-shaped line lightly first (step 2), then draw the bottom curve while keeping your wrist steady to mirror it, erase extra sketchy lines (step 5), and retrace smoothly with your marker (step 9) if needed.
How can I change this activity for younger or older kids?
For younger children, simplify by making a big head and one curved body line with large segments and skip tiny shading, while older kids can add evenly spaced segment lines (step 6), light pencil shading for roundness (step 8), and detailed coloring or pen outlines (steps 9–11).
What are some fun ways to extend or personalize the worm drawing once it's finished?
Personalize by coloring each segment with different patterns or colors (step 11), darkening the shaded edges for depth (step 10), adding more worms and a bigger patch of dirt or blades of grass for a scene (step 12), and writing a short worm story to share on DIY.org (final step).
Watch videos on how to draw a worm
How to Draw a Cute Worm: Easy Drawing for Kids #284
4 Videos
How to Draw a Cute Worm: Easy Drawing for Kids #284
How to Draw a Cute Little Worm | Easy Step by Step Tutorial 🐛
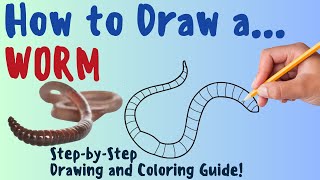
How To Draw A Worm - Fun & Easy Step-by-Step Drawing and Coloring Guide
How to Draw a Cute Worm: Easy Drawing for Kids
Facts about drawing for kids
🐛 Earthworms have five aortic arches (often called "hearts") that help pump blood through their bodies.
✏️ Pencils are graded from H (hard) to B (soft); an HB or 2B is a great middle choice for sketching and shading.
🎨 Annelids are segmented worms — their repeating body segments make them perfect subjects for practicing shape rhythm and curves.
👀 Earthworms don't have eyes like ours; they detect light with light-sensitive cells in their skin instead of forming images.
🌗 For 3D-looking segments, shade the edges a bit darker and leave the center lighter to show roundness and depth.
How do you draw a simple segmented worm step by step?
What materials do I need to draw a worm with pencil and color?
What ages is a worm drawing activity suitable for?
What are the benefits of drawing a segmented worm and fun variations?
