How to draw a witch hat - a free witch hat drawing guide
Draw a classic witch hat step by step using pencil, eraser, and markers; practice shapes, shading, and adding a buckle for creative detail.

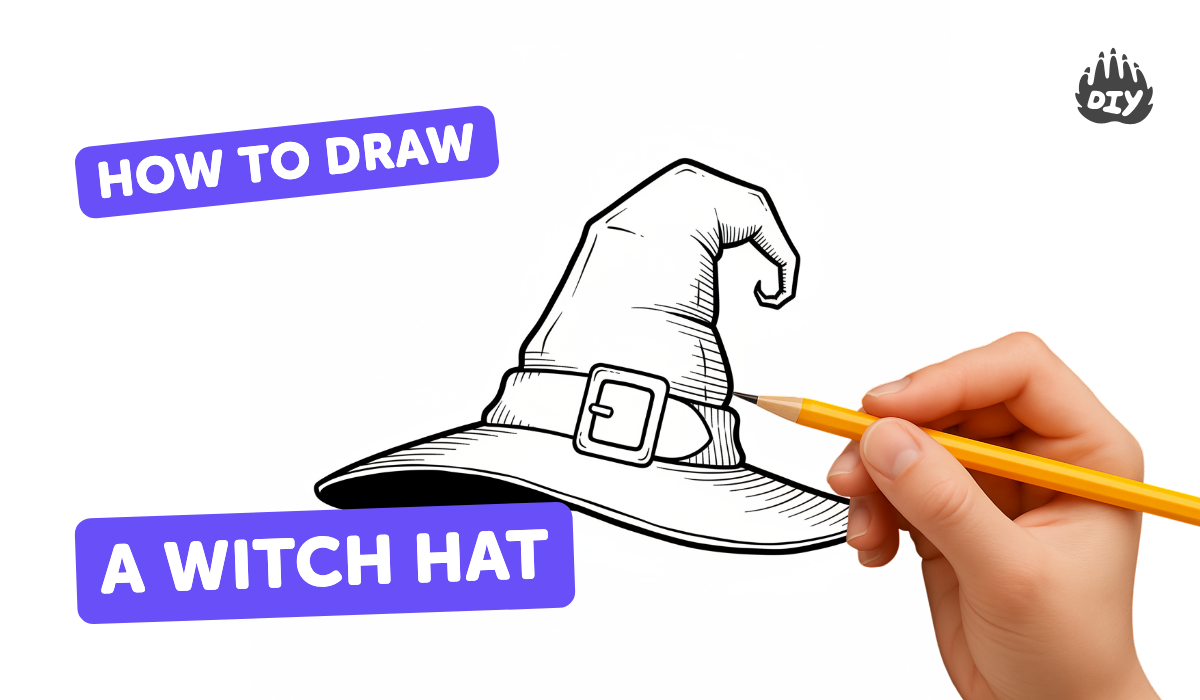
Step-by-step guide to draw a witch hat
How to draw a Witch Hat Real Easy
Step 1
Place your paper in front of you in portrait orientation so you have room for a tall hat.
Step 2
Lightly draw a wide horizontal oval near the bottom half of the page to make the hat brim.
Step 3
From the left edge of the oval draw a gently curved line that slopes upward toward the center.
Step 4
From the right edge of the oval draw a gently curved line that slopes upward to meet the left line.
Step 5
Connect the two lines at the top with a pointed tip that tilts to one side to make a floppy witch hat shape.
Step 6
Draw a thinner curved line just above the oval following its curve to show the brim’s thickness.
Step 7
Add two or three gentle curved lines along the cone to show folds and creases.
Step 8
Sketch a long rectangle across the base of the cone where it meets the brim to make a hatband.
Step 9
Draw a square or rectangle on the band centered to be the buckle.
Step 10
Draw a smaller rectangle inside the buckle to show the metal hole.
Step 11
Use your eraser to gently remove extra pencil guide lines and tidy the drawing.
Step 12
Carefully trace the final pencil outline with your black marker.
Step 13
Shade the side of the cone with light pencil strokes to show shadow on one side.
Step 14
Color the hatband and buckle with your markers and add any simple decoration you like.
Step 15
Take a photo of your finished witch hat and share your creation on DIY.org.
Help!?
What can we use if we don't have a black marker or marker colors listed in the instructions?
If you don't have a black marker, trace your final pencil outline with a dark graphite pencil or black crayon, and substitute colored markers by using colored pencils or crayons for the hatband and buckle, then use a phone camera to take the photo.
My brim oval or cone looks uneven and the two curved lines don't meet neatly—how do I fix that?
Lightly erase the offending lines, redraw a wide horizontal oval near the bottom half as your brim guide, add a faint vertical center guide, then redraw the two gently curved lines so they slope up to meet at a pointed tip and tidy with your eraser before tracing with the black marker.
How can I change the steps to suit younger children or older kids?
For younger children simplify by drawing one big oval and cone with a thick marker and letting them stick a pre-cut buckle, while older kids can add the thinner curved brim line, extra curved crease lines, careful shading on the cone, and precise buckle rectangles as described.
How can we extend or personalize the witch hat after coloring the band and buckle?
After coloring the hatband and buckle, personalize the hat by adding stars, patches, ribbon, glitter glue on the buckle, drawing folds and extra creases along the cone, or creating a spooky background before photographing and sharing on DIY.org.
Watch videos on how to draw a witch hat
How to Draw an Old Witch Hat for Halloween - step by step
3 Videos
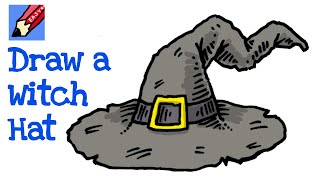
How to Draw an Old Witch Hat for Halloween - step by step
How To Draw A Halloween Witch 🧙 | Spooky Drawings For Kids | Chiki Art | HooplaKidz How To
How to Draw a Witch: Step-By-Step Drawing with Candice and Theo
Facts about drawing basics for kids
🎩 Conical hats—like the classic witch hat—have been worn in many cultures for thousands of years, long before witches were part of the picture!
🎃 The pointy witch hat became widely popular in 19th-century illustrations and is now one of the most recognizable Halloween costume pieces.
✏️ Artists often start with a light HB pencil for sketching shapes, then switch to 4B or 6B pencils to create soft, rich shading.
🖍️ Alcohol-based markers blend beautifully for smooth color but can bleed through thin paper, so thicker paper or water-based markers are friendlier for kids.
🧷 The little buckle often drawn on witch hats is mostly a costume tradition—17th-century Puritans probably didn’t actually wear buckled hats, but the buckle stuck in pop culture.
How do I draw a witch hat step by step?
What materials do I need to draw a witch hat?
What ages is drawing a witch hat suitable for?
What are the benefits of drawing a witch hat?
