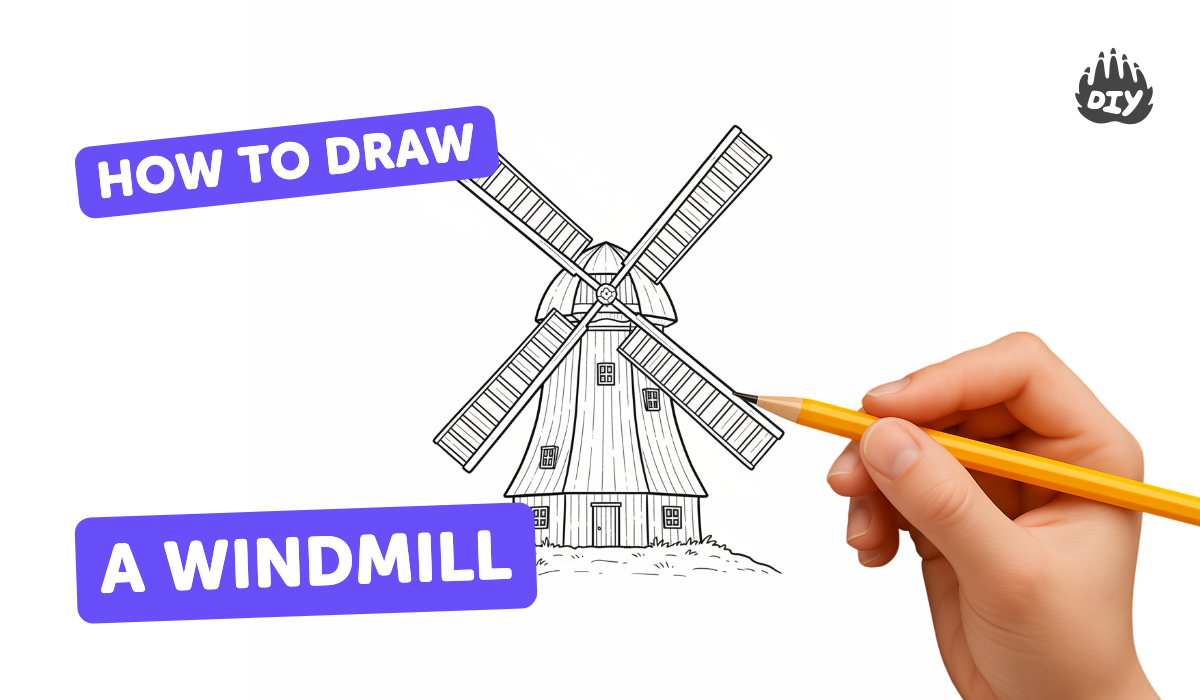
How to draw a windmill - a free windmill drawing guide
Learn to draw a windmill step-by-step using simple shapes; add blades, perspective, and color while exploring symmetry, motion, and proportions.

Step-by-step guide to draw a windmill
How To Draw A Windmill
Step 1
Gather your materials and find a clean flat workspace.
Step 2
Lightly draw a straight horizon line across the page about one-third up from the bottom.
Step 3
Draw the windmill tower as a tall tapered rectangle or trapezoid centered above the horizon.
Step 4
Add a small rectangle door and one or two square windows on the tower to show scale.
Step 5
Draw a cap on top of the tower as a rounded dome or pointed triangle that is slightly wider than the tower.
Step 6
Lightly mark the center point on the cap where the blades will attach.
Step 7
Draw a small circle at the center point to make the hub for the blades.
Step 8
Draw two straight perpendicular guide lines through the hub to make four equal blade positions.
Step 9
Draw the four blades on the guides as long rectangles or kite shapes keeping them symmetric.
Step 10
Make the blade that faces you a little wider and the blade that points away a bit thinner to show perspective.
Step 11
Erase extra guide lines and neat up any stray pencil marks.
Step 12
Trace over your final drawing with a black marker or darker pencil to make strong outlines.
Step 13
Color your windmill using your coloring materials.
Step 14
Add light shading on one side of the tower and blades to show where the light hits and draw small curved motion lines near the blades to show spinning.
Step 15
Take a photo of your finished windmill and share your creation on DIY.org
Help!?
What can I use if I don't have a black marker or special coloring materials?
If you don't have a black marker, follow the instruction to 'Trace over your final drawing with a black marker or darker pencil' by using a dark graphite pencil or fine-tip pen, and swap any specialty coloring materials for crayons, colored pencils, or washable markers to complete the 'Color your windmill' step.
My blades look uneven and the hub doesn't line up—how do I fix that?
To fix uneven blades, lightly redraw 'two straight perpendicular guide lines through the hub' with a ruler to make four equal blade positions and measure or fold the paper so the 'four blades' match before erasing guide lines.
How can I adapt the activity for different ages or skill levels?
For younger children, simplify by having an adult lightly draw the 'horizon,' 'tower,' and 'small circle at the center point' for them to color, while older kids can add perspective by following 'Make the blade that faces you a little wider,' add 'light shading,' and experiment with more detailed 'cap' and window shapes.
How can we extend or personalize the windmill project after finishing the basic drawing?
After you 'Color your windmill' and 'Add light shading,' personalize it by attaching real movable blades through the drawn 'hub' with a brass brad to spin, adding a landscape or weather in the background, and then 'Take a photo of your finished windmill and share your creation on DIY.org.'
Watch videos on how to draw a windmill
Easy Windmill Drawing for Kids 🌬️🌾 | Step by Step Tutorial
3 Videos
Easy Windmill Drawing for Kids 🌬️🌾 | Step by Step Tutorial
How To Draw A Traditional Windmill Easy Step by step - Drawing Windmill Easy For Kids Education
How to Draw Windmill Step by Step
Facts about drawing fundamentals for kids
🌬️ The earliest known windmills date back to around the 9th century in Persia and were used to grind grain.
🌀 Many traditional European windmills have four blades (or sails) because that number gives good balance and simpler construction.
🎨 One-point perspective (a single vanishing point) is a quick way to make a flat windmill look like it's standing in 3D space.
🔁 Symmetry in a windmill's blade layout helps artists show balance, and slight asymmetry or blur can suggest motion.
📏 Changing proportions — taller towers or longer blades — dramatically alters a windmill's personality; sketch simple shapes first to plan them.
How do I teach my child to draw a windmill step-by-step?
What materials do I need to draw a windmill with my child?
What ages is this windmill drawing activity suitable for?
What are some fun variations to make the windmill drawing more hands-on?
