How to draw a watermelon - a free watermelon drawing guide
Draw a realistic watermelon slice using pencil and colored pencils, adding seeds and rind details. Practice shape construction, shading, texture, and color blending.

Drawing Apps
Get inspired with these

Instructions
How to draw a watermelon| step by step guide for kids
Step 1
Lightly draw a large triangle with a rounded tip to make the basic watermelon slice outline.
Step 2
Inside the wedge draw a slightly smaller curved line that follows the outer arc to mark the juicy flesh edge.
Step 3
Draw two thin curved lines along the outer edge to show the rind layers.
Step 4
Erase any extra sketch lines so the slice shape looks clean and neat.
Step 5
Lightly dot where you want seeds to go across the flesh area to plan seed placement.
Step 6
Draw each seed as a small teardrop shape pointing toward the center of the slice.
Step 7
Lightly shade the lower inner flesh area with your pencil to create a soft value for depth.
Step 8
Color the flesh with a light even layer of pink or red using smooth strokes as the base color.
Step 9
Add darker red toward the center and gently blend it into the base with small circular strokes for a gradient.
Step 10
Color each seed with black or dark brown leaving a tiny uncolored spot for a shiny highlight.
Step 11
Color the inner rind with light green using even strokes that follow the curve of the slice.
Step 12
Add dark green stripes on the outer rind and blend the stripe edges into the lighter green for texture.
Step 13
Add a soft shadow under the slice with a gray pencil or light shading and blend it with a stump or tissue to ground the watermelon.
Step 14
Take a photo or scan your finished watermelon slice and share your creation on DIY.org.
Help!?
What can we use if we don't have a gray pencil or a blending stump for the shadow and blending steps?
If you don't have a gray pencil or blending stump for the shadow step, use a soft 2B or 4B graphite pencil for the gray shading and blend it with a cotton swab or your clean fingertip.
My darker red center looks streaky and not smoothly blended—how can I fix it?
If the darker red toward the center looks streaky, gently build it up with small circular strokes as instructed and then soften the transition by lightly blending with a tissue or blending stump from the gradient and shadow steps.
How can we adapt the activity for different ages?
For toddlers and preschoolers simplify Step 1 to a bold triangle outline and let them color broadly, for elementary kids follow the seed-dotting, teardrop seeds, and base coloring steps, and for older kids add the darker red gradient, blended rind stripes, detailed seed highlights, and photograph the result for DIY.org.
How can we enhance or personalize our watermelon drawing before sharing it on DIY.org?
To enhance your slice, add a bite mark on the rounded tip, draw extra overlapping slices with varied rind stripe patterns and seed arrangements, or scan the colored piece and add a fun digital background before sharing on DIY.org.
Related videos
How To Draw A Cartoon Watermelon
4 Videos

How To Draw A Cartoon Watermelon
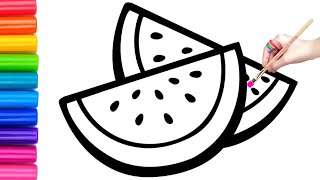
Watermelon Drawing | Easy Drawing Step by Step for Kids and Toddlers | How to Draw Easy Watermelon

How to Draw a Watermelon🍉 Step by Step | Easy Fruit Drawing ✏️
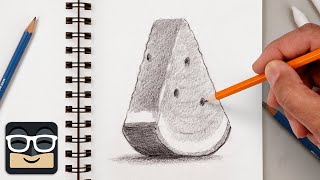
How to Draw a Realistic Watermelon | Step by Step Art Lesson for Beginners
Fun Facts
🍉 Watermelons are about 92% water — that juicy color and translucence is great practice for shading and highlights!
✏️ Pencil grades range from 9H (very hard, light) to 9B (very soft, dark) — use softer pencils for deep shadows and harder ones for fine rind details.
🎨 Colored pencils come in wax- and oil-based types; layering and burnishing can create rich, smooth blends for the watermelon flesh.
🖼️ Still life has long been used by artists to practice realism — fruit studies are perfect for learning texture, light, and composition.
🌈 Using complementary contrasts (pink/red flesh vs. green rind) and cool purples/blues for shadows makes a slice look more three-dimensional.
How do I draw a realistic watermelon slice step-by-step?
What materials do I need to draw a realistic watermelon slice with pencils?
What ages is drawing a realistic watermelon slice suitable for?
What are the benefits of drawing watermelon slices for kids?
