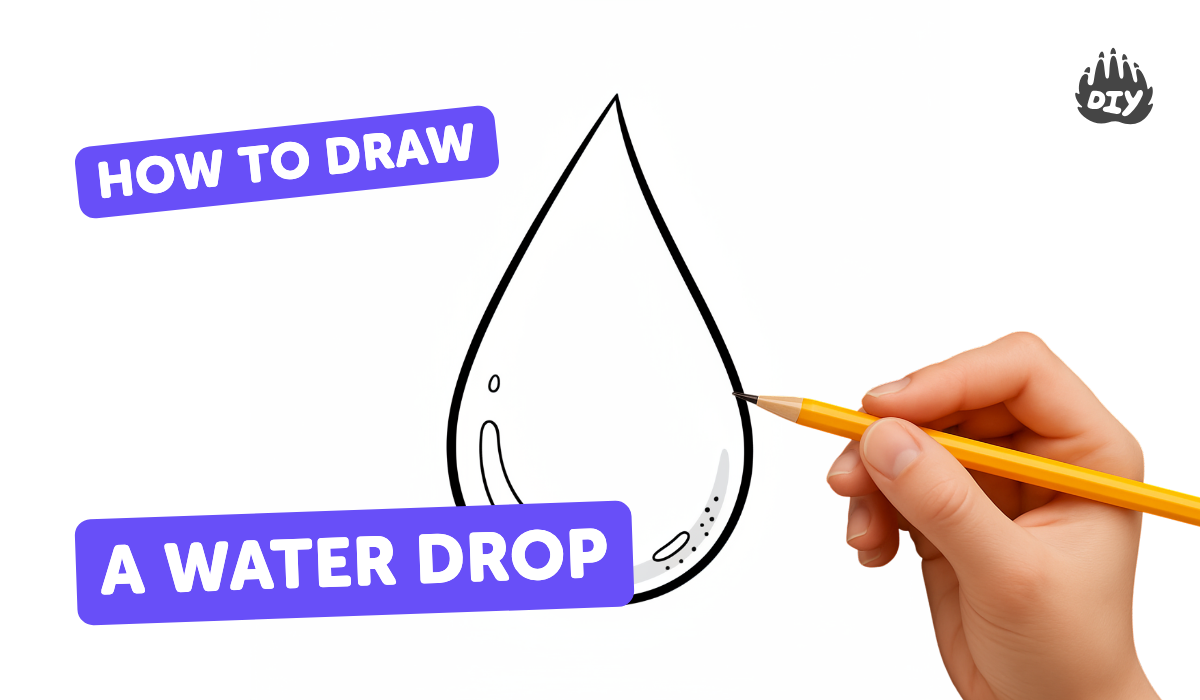
How to draw a water drop - a free water drop drawing guide
Learn to draw a realistic water drop using pencil shading and highlights. Practice shape, light reflection, and simple shading techniques.

Drawing Apps
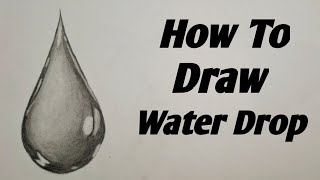
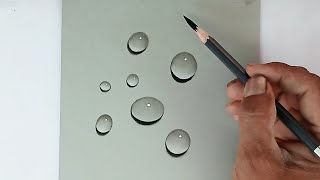
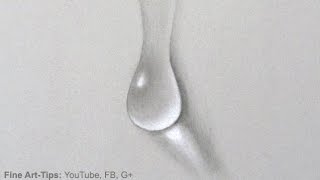
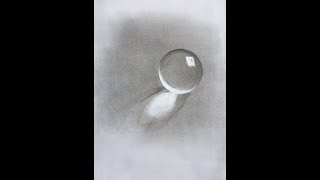
Photos of realistic water drop drawings


Step-by-step guide to draw a realistic water drop
How to draw a Water Drop for kids | Water Drop Easy Draw Tutorial
Step 1
Gather your drawing materials and place them on a clean table.
Step 2
Lightly draw a teardrop shape with your pencil for the water drop outline.
Step 3
Use the eraser to smooth and correct the teardrop outline until it looks even.
Step 4
Draw a small circle outside the drop to show where the light is coming from.
Step 5
Draw a small oval highlight inside the drop on the side facing the light.
Step 6
Draw a thin curved reflection line near the bottom inside the drop.
Step 7
Shade the outer edge of the drop with light pencil strokes leaving the center lighter.
Step 8
Darken the area opposite the highlight to add depth to the drop.
Step 9
Gently blend the shading inside the drop with a blending stump or tissue.
Step 10
Draw a soft oval under the drop to show its cast shadow on the surface.
Step 11
Shade the shadow darker close to the drop and fade the shading outward.
Step 12
Use the eraser to lift a thin strip inside the highlight to make it look shiny.
Step 13
Go over the drop’s outer edge with a slightly darker pencil line to make it pop.
Step 14
Erase any stray marks around your drawing so it looks neat.
Step 15
Take a picture of your finished water drop and share it on DIY.org.
Help!?
I don't have a blending stump or a 2B pencil—what can I use instead?
If you don't have a blending stump, gently blend the shading inside the drop with a tissue, cotton swab, or clean fingertip, and use an HB or soft school pencil to darken the outer edge when the instructions say to make it pop.
My teardrop outline or highlight looks wrong—how do I fix it?
If the teardrop outline is uneven or the highlight isn't clear, redraw the shape lightly with your pencil and use the eraser to smooth the teardrop outline, then lift a thin strip inside the highlight after blending to sharpen the shiny area.
How can I change this activity for different ages?
For toddlers (3–5) provide a pre-drawn teardrop and crayons and ask them to add the small circle and oval highlight, for ages 6–8 follow the pencil, eraser, and tissue blending steps with guidance, and for 9+ encourage using a blending stump, darker shading on the opposite side, and refining the cast shadow before photographing the result.
How can we extend or personalize the water drop drawing?
Make a series by moving the small circle light source to change highlights, add colored pencils or a light watercolor wash before blending for color, and personalize by signing and taking a picture to share on DIY.org.
Watch videos on how to draw a realistic water drop
How to draw Water Drop Step by Step | Very Easy Pencil Drawing Full Tutorial for Beginners
4 Videos
How to draw Water Drop Step by Step | Very Easy Pencil Drawing Full Tutorial for Beginners
How to draw water drop / Easy pencil drawing/
How to Draw a Water Drop Step by Step - Fine Art-Tips
How to Draw Realistic Water Drop | Easy Step by Step for Beginners
Facts about pencil shading and light reflection
💧 Raindrops are usually more like tiny spheres or slightly flattened spheres — not the classic teardrop shape you might expect.
🔆 The bright white 'sparkle' on a water drop is a specular highlight: a tiny mirror-like reflection of a light source.
🔍 A single clear drop acts like a tiny lens, bending (refracting) light and sometimes magnifying or inverting what's behind it.
✏️ Pencil artists make water drops convincing by leaving the highlight white and using smooth, layered shading around it.
🎨 Clear drops pick up colors and tones from their surroundings — the contrast between a dark core and a bright highlight makes them look 3D.
How do you draw a realistic water drop with pencil shading?
What materials do I need to draw a realistic water drop?
What ages is this water drop drawing activity suitable for?
What are the benefits of practicing water-drop pencil shading?
