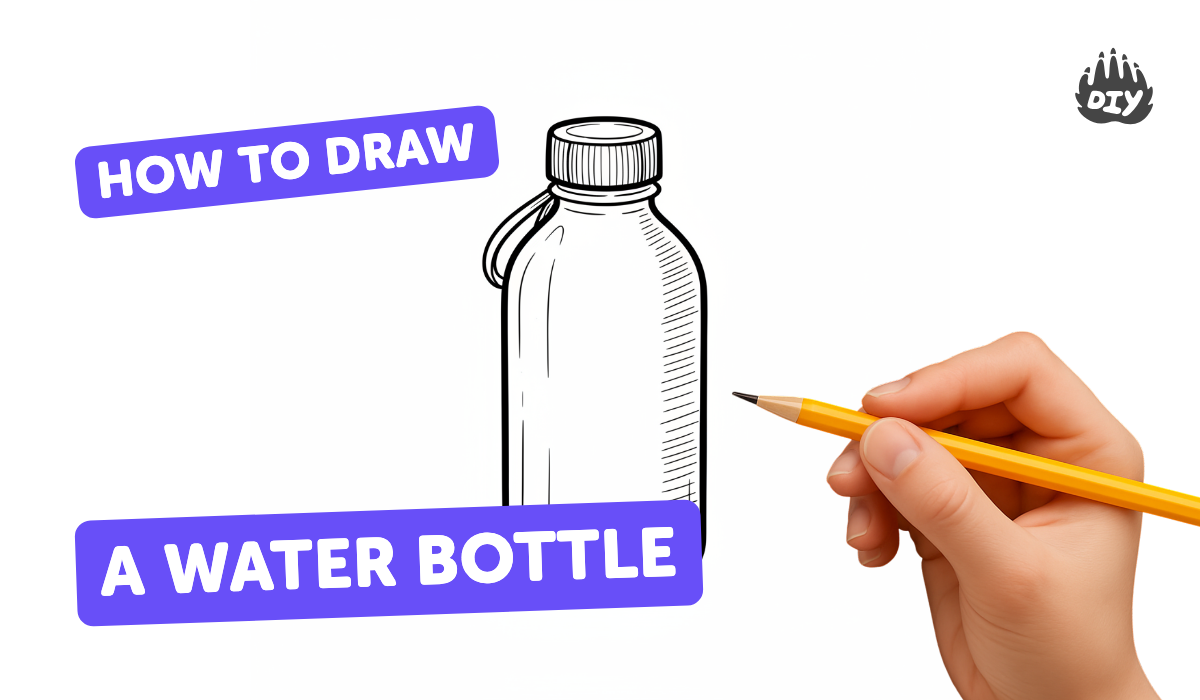
How to draw a water bottle - a free water bottle drawing guide
Draw a realistic water bottle step by step using pencil and color. Practice proportions, shading, highlights, and labeling to show shape and reflections.

Drawing Apps
Photos of realistic water bottle drawings


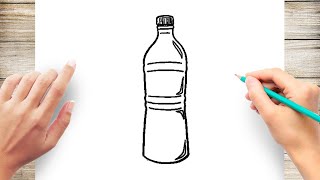
Step-by-step guide to draw a realistic water bottle
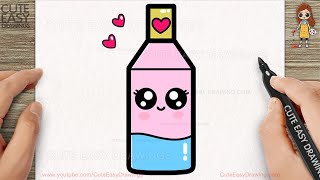
How to Draw a Cute Water Bottle Easy Step by Step for Kids
Step 1
Place a clean sheet of paper vertically on a flat table.
Step 2
Lightly draw a straight vertical centerline down the middle of the page using your pencil and ruler.
Step 3
Mark a small top point and a bottom point on the centerline to set how tall your bottle will be.
Step 4
Lightly draw the full bottle outline including the neck cap body and base using gentle curved lines.
Step 5
Sketch a simple rectangle or curved band on the bottle body to show where the label will go.
Step 6
Decide where the light is coming from and draw a small arrow outside the bottle to mark the light direction.
Step 7
Draw thin curved highlight shapes on the bottle where the light will hit to show shiny reflections.
Step 8
Add light pencil shading on the side opposite the highlight to begin forming the bottle’s rounded shape.
Step 9
Darken the edges and the bottom under the bottle to create depth and a cast shadow.
Step 10
Gently blend the pencil shading with a tissue or blending stump to smooth the tones.
Step 11
Use colored pencils to lay down the bottle’s base color and then add darker colored tones to show reflections and depth.
Step 12
Erase extra construction lines so the drawing looks neat and clean.
Step 13
Write labels naming the cap neck label body highlight and shadow and add your signature.
Step 14
Share your finished creation on DIY.org
Help!?
What can we use if we don't have a blending stump or colored pencils?
If you don't have a blending stump use a clean tissue, cotton swab, or soft cloth to gently blend the pencil shading from step 10, and substitute crayons or watercolor pencils to lay down the bottle's base color in step 11.
My bottle looks flat or not shiny — how can I make it look rounded and reflective?
Add thin curved highlights where the light hits (step 7), apply light pencil shading on the opposite side (step 8), darken the edges and the cast shadow under the bottle (step 9), then blend those tones with a tissue (step 10) and layer darker colored tones with colored pencils (step 11) to create roundness and shine.
How can I adapt this activity for younger kids or make it more challenging for older kids?
For younger children simplify by tracing a real bottle for the outline (steps 3–4) and coloring with crayons, while older kids can add precise reflections (step 7), more nuanced blended shading (step 10), and fully label parts and sign their work (steps 13).
How can we personalize or extend the bottle drawing to make it more creative or display-ready?
Design a custom label inside the sketched band (step 5), experiment with layered colored-pencil reflections and textures (step 11), erase construction lines and add your signature and labels (steps 12–13), then photograph and share it on DIY.org (step 14).
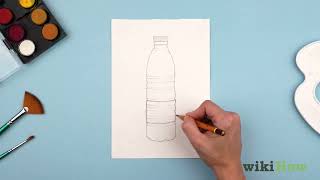
Watch videos on how to draw a realistic water bottle
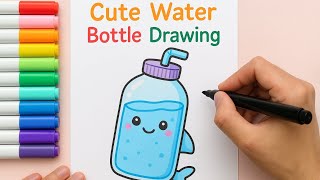
How to Draw a Cute Water Bottle Step by step Follow Along video for KIDS
4 Videos
How to Draw a Cute Water Bottle Step by step Follow Along video for KIDS
How to Draw a Water Bottle
"Cute Water Bottle Drawing 💧🍼 | Easy Kawaii Marker Art for Kids & Beginners | Simple Bottle
How To Draw Water Bottle Step by Step
Facts about realistic drawing and shading for kids
💧 Transparent objects like water bottles show both reflection and refraction — capturing both makes them look real.
✏️ Artists usually begin with simple shapes (cylinders and ellipses) to get a bottle's proportions correct before adding detail.
🎨 Blending tools (tissue, stump) and layered pencil strokes help create smooth gradients for curved glass or plastic surfaces.
🔍 Bright highlights are often just the paper left white or lifted with an eraser — they sell the idea of glossy reflection!
🌟 Tiny details like label creases, water line, and soft cast shadows make a bottle drawing feel photorealistic.
How do you draw a realistic water bottle step by step with pencil and color?
What materials do I need to draw a realistic water bottle with my child?
What ages is drawing a realistic water bottle suitable for?
What are the benefits of practicing realistic bottle drawing for kids?
