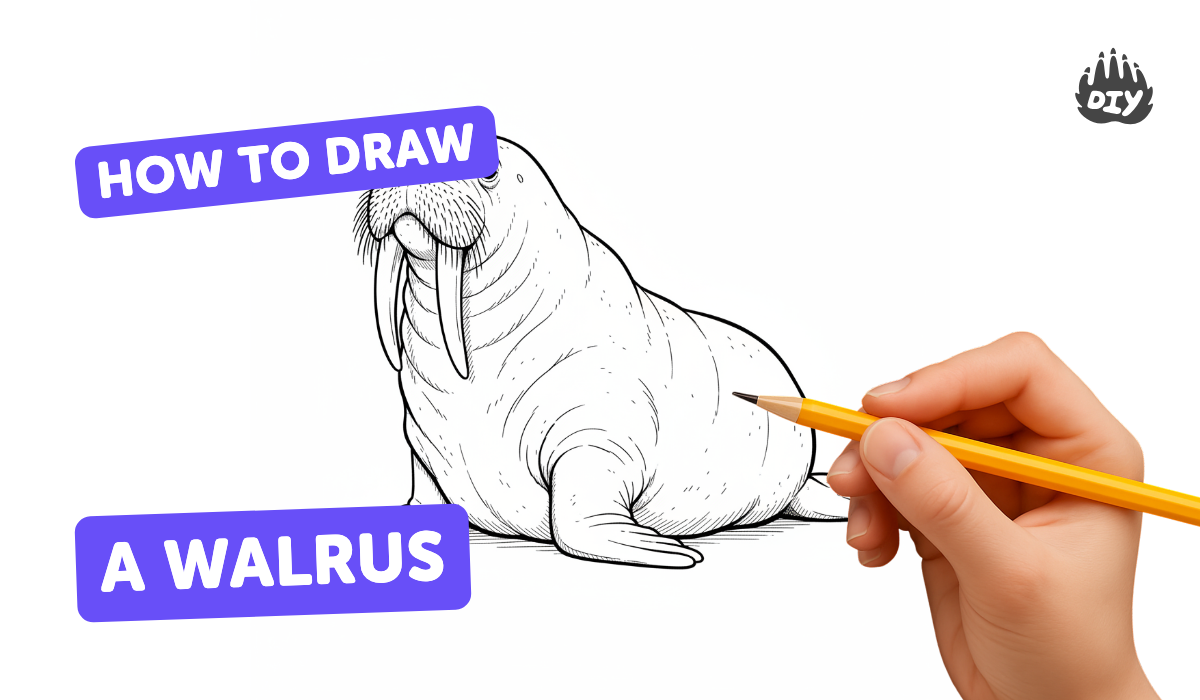
How to draw a walrus - a free walrus drawing guide
Draw a walrus step-by-step using simple shapes, add tusks, whiskers, texture, and shading. Practice observation, proportions, and confident line work.

Drawing Apps
Photos of walrus drawing examples


Step-by-step guide to draw a walrus
Learn How to Draw A Walrus | Super Simple Draw | Step By Step
Step 1
Place your paper flat on the table so it does not move.
Step 2
Lightly draw a large horizontal oval for the walrus body near the center of the page.
Step 3
Draw a slightly smaller circle that overlaps the front top of the oval for the head.
Step 4
Sketch two small circles spaced wide apart on the head for the eyes.
Step 5
Draw a wide rounded U shape at the bottom of the head to make the muzzle.
Step 6
From the bottom of the muzzle draw two long curved tusks pointing down and slightly outward.
Step 7
Draw three short whisker lines on each side of the muzzle to show whiskers.
Step 8
Add two front flippers as rounded triangles on each side of the body near the front.
Step 9
Draw the rear flippers at the back of the oval with short webbing lines.
Step 10
Add short curved lines across the neck and belly to show skin folds and texture.
Step 11
Shade lightly under the belly and behind the flippers with soft pencil strokes to add depth.
Step 12
Trace your final outline with a black marker if you want a bold look.
Step 13
Erase any extra pencil guidelines to clean up your drawing.
Step 14
Color your walrus using browns or grays and a lighter color for the belly.
Step 15
Share your finished walrus drawing on DIY.org
Help!?
What can I use if I don't have a black marker or colored pencils?
If you don't have a black marker, use a dark fine-tip pen or brown crayon to trace the final outline, and if you lack colored pencils use crayons, watercolor paints, or felt-tip markers to color the walrus in browns, grays, and a lighter belly shade.
My tusks or head overlap look wrong—how do I fix shapes that don't match the instructions?
Keep your paper flat on the table and redraw the large horizontal oval and the overlapping head circle with very light pencil strokes, erase and adjust the tusk curves until they point down slightly outward, and only trace with the marker when the alignment looks right.
How can I adapt this drawing for different age groups?
For preschoolers simplify to one big oval body, a single head circle and bold tusks drawn with crayons, for school-age kids follow all steps including whiskers and flippers, and for older kids add skin-fold texture, light shading under the belly, and trace with a black marker for a polished look.
How can we extend or personalize the walrus drawing once it's finished?
Add a background like an ice floe or waves, experiment with soft pencil shading behind the flippers and on the belly, decorate the tusks or whiskers with patterns, or use watercolor washes over your colored walrus before sharing the finished drawing on DIY.org.
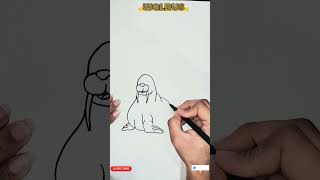
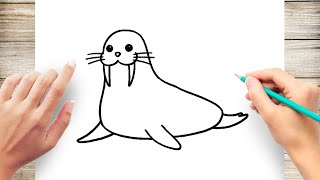
Watch videos on how to draw a walrus
How To Draw A Walrus
4 Videos
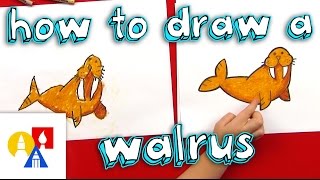
How To Draw A Walrus
🦭 How to Draw a Cute Walrus - Simple Step-by-Step Guide for Kids #WalrusDrawing #DrawingForKids

How to Draw a Walrus | Easy Drawing Tutorial for Kids | Drawing Eazy
How to Draw Cute Walrus Step by Step
Facts about animal drawing for kids
🦭 Walruses are huge marine mammals—big males can be about as heavy as a small car, so start your drawing with a big, round body shape!
🐘 Those impressive tusks are actually long canine teeth that walruses use to haul themselves onto ice and to show dominance.
🧭 Whiskers (called vibrissae) are super-sensitive and help walruses find clams on the seafloor—great little details to sketch with short strokes.
✏️ Artists often begin with simple shapes—ovals and circles—to get the walrus's proportions right before adding tusks, whiskers, and texture.
🎨 Shading makes your walrus look three-dimensional: darken the underside, add highlights on top, and use short marks for wrinkly skin texture.
How do I draw a walrus step-by-step?
What materials do I need to draw a walrus?
What ages is this walrus drawing activity suitable for?
What are the benefits and simple variations of drawing a walrus?
