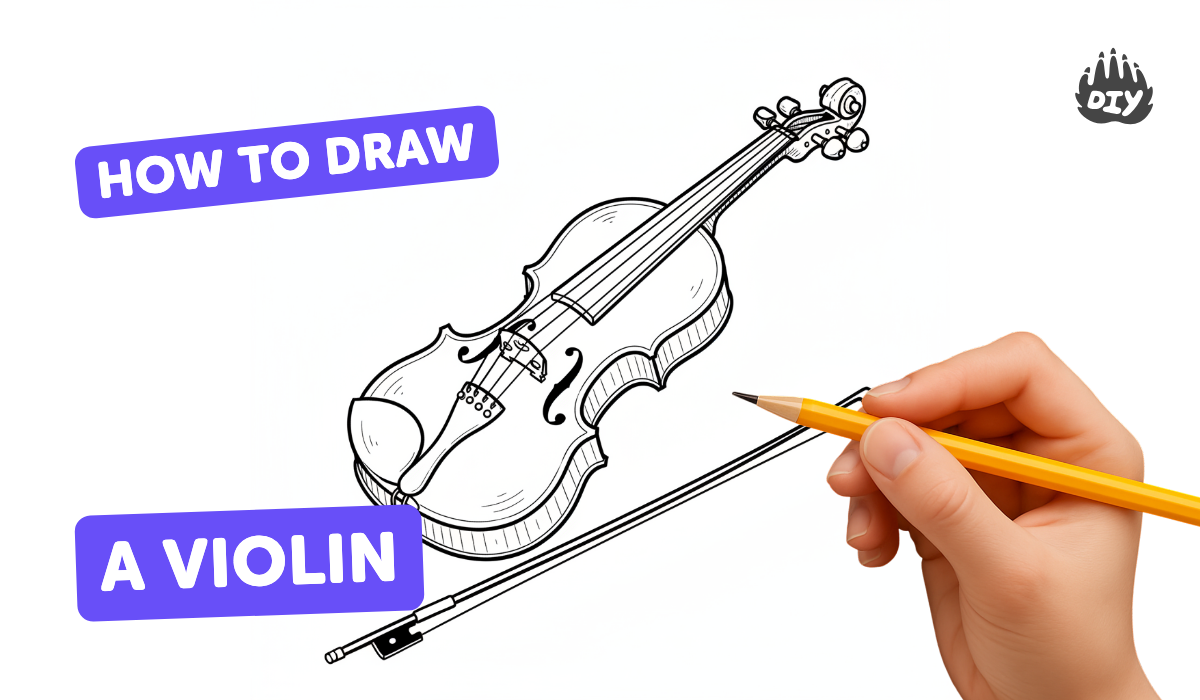
How to draw a violin - a free violin drawing guide
Draw a realistic violin step-by-step using pencils and markers. Practice shape proportions, f-holes, bridge placement, strings, and simple shading and coloring.

Drawing Apps
Photos of realistic violin drawings


Step-by-step guide to draw a realistic violin
How to draw a violin EASY step by step for kids, beginners, children 1
Step 1
Place your paper vertically and draw a light vertical center line to keep your violin symmetrical.
Step 2
Mark the top and bottom of the violin with two small horizontal ticks to set the total length.
Step 3
Divide the length into three equal parts by drawing two light ticks to show where the scroll neck and body meet.
Step 4
Sketch the outer body shape by drawing two smooth mirror-image curves on each side of the center line connecting the top and bottom ticks.
Step 5
Refine the waist and rounded upper and lower bouts by adjusting the curves so the middle narrows and the top and bottom flare out.
Step 6
Draw the neck as a straight extension from the top and add a small spiral scroll at the very top.
Step 7
Add the fingerboard as a narrow rectangle along the neck and draw four small pegs in the pegbox area.
Step 8
Lightly mark the bridge position on the body between the f-hole area slightly above the waist with a small vertical line.
Step 9
Draw a pair of symmetrical f-holes on either side of the center line using graceful S-shaped curves.
Step 10
Draw four straight parallel strings from the pegbox over the fingerboard and bridge down to the tailpiece.
Step 11
Ink your final lines with a fineliner or black marker over the strongest pencil lines and wait for the ink to dry.
Step 12
Gently erase all remaining pencil guidelines to leave a clean inked violin outline.
Step 13
Add simple shading and wood-coloring using your pencils or markers to show light direction and wood grain.
Step 14
Share your finished violin drawing on DIY.org so everyone can see your work.
Help!?
What can we use instead of the fineliner or black marker if we don't have one?
If you don't have a fineliner or black marker for Step 11, carefully trace the strongest pencil lines with a dark ballpoint pen or a very sharp 6B pencil and let the ink or graphite set before erasing the guidelines.
My violin looks uneven or my ink smudged—what should I do?
Keep pencil lines light, use the vertical center line from Step 1 and the top/bottom ticks from Step 2 to check symmetry as you redraw any uneven curves (Step 4–5), and avoid smudging by waiting for the ink to dry fully (Step 11) before gently erasing (Step 12).
How can I adapt this drawing activity for different ages?
For younger children simplify Steps 3–6 into basic ovals and rectangles for the body and neck, while older kids can refine the waist and f-holes (Steps 5 and 10), add detailed shading and wood-coloring (Step 14), and experiment with finer inking (Step 11).
How can we extend or personalize the finished violin drawing?
After completing Steps 11–14, personalize it by adding a patterned background, drawing a bow or musician, labeling parts like the bridge and tailpiece, or enhancing the wood grain and highlights before sharing on DIY.org (Step 15).
Watch videos on how to draw a realistic violin
How to draw a Violin | Violin Easy Draw Tutorial
4 Videos
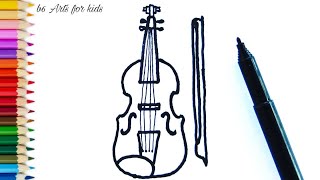
How to draw a Violin | Violin Easy Draw Tutorial
How to draw a Violin / Violin 🎻 drawing / Step by Step Kids drawing video /
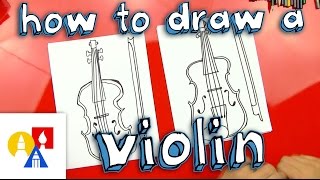
How To Draw A Violin

Learn how to draw a violin Real Easy | Step by Step with Easy - Spoken Instructions
Facts about drawing musical instruments
🎻 The violin is usually tuned G3–D4–A4–E5, so its highest string (E) reaches very high notes!
🪵 Most violins use spruce for the top and maple for the back and sides — the wood helps make their bright, warm sound.
🔊 The elegant f-holes aren't just decoration: their shape helps the violin project sound into a room.
💰 Legendary makers like Antonio Stradivari built violins that can sell for millions of dollars today.
📏 A full-size violin has a vibrating string length of about 328 mm (13 inches) — a handy measurement for drawing accurate proportions!
How do I draw a realistic violin step-by-step with pencils and markers?
What materials do I need to draw a realistic violin?
What ages is drawing a realistic violin suitable for?
What are the benefits and safe variations of drawing a violin?
