How to draw a vine - a free vine drawing guide
Learn to draw a twisting vine with leaves and tendrils using pencil, marker, and colored pencils. Practice pattern, spacing, and simple shading techniques.

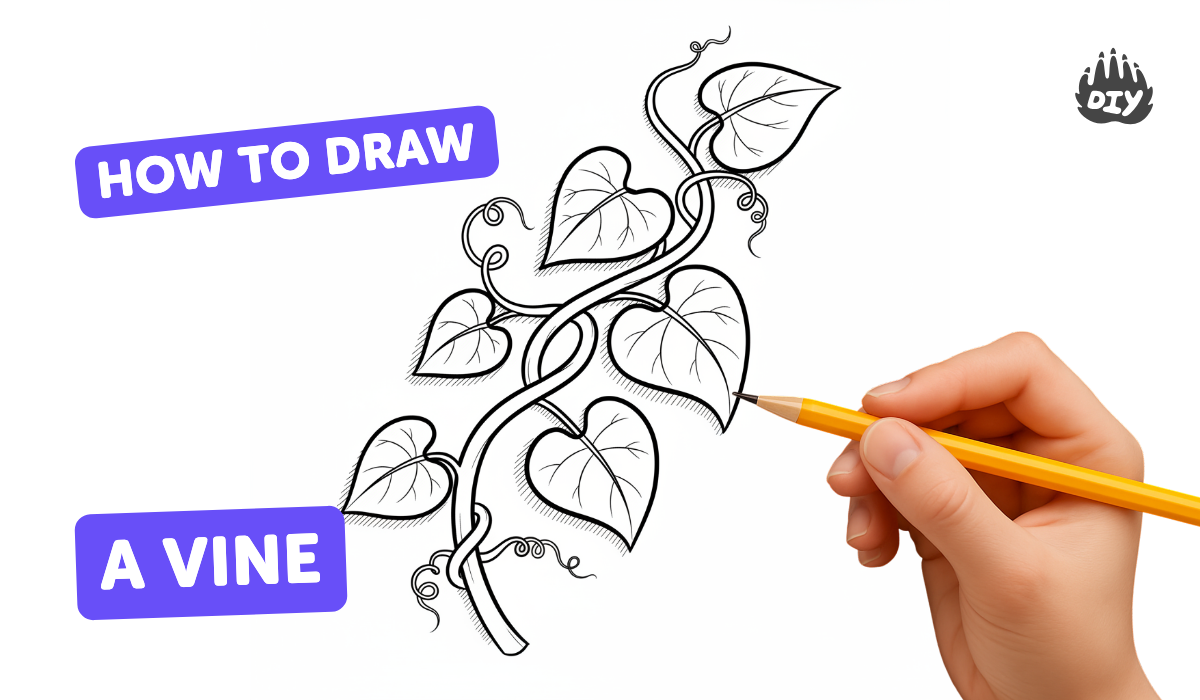
Step-by-step guide to draw a twisting vine with leaves and tendrils
How to Draw Vines in a Few Easy Steps: Drawing Tutorial for Beginner Artists
Step 1
Lightly draw one long wavy line from the top to the bottom of the page to be the vine's center.
Step 2
Draw a second wavy line roughly parallel to the first to widen the vine into a simple stem.
Step 3
Make small teardrop marks along the stem to show where each leaf will go.
Step 4
Draw a teardrop-shaped leaf at each mark with the leaf base touching the stem.
Step 5
Refine each leaf by sharpening the tip and smoothing the edges so they look neat.
Step 6
Add curly tendrils by drawing small tight spirals coming off the stem in a few spots.
Step 7
Draw a thin central vein from base to tip inside every leaf.
Step 8
Add two or three short side veins branching off the central vein in each leaf.
Step 9
Trace the final vine stem leaves and tendrils with your marker using steady lines.
Step 10
Wait until the marker ink is completely dry before the next step.
Step 11
Gently erase all remaining pencil lines so only your marker drawing remains.
Step 12
Color each leaf with colored pencils pressing darker near the base and lighter toward the tip to make simple shading.
Step 13
Use a lighter green or a white colored pencil to add a thin highlight along the top curve of each leaf.
Step 14
Add little diagonal lines or dots along the stem to create texture.
Step 15
Share your finished creation on DIY.org
Help!?
What can I use if I don't have a marker, white colored pencil, or colored pencils for this vine drawing?
Trace the final vine stem, leaves and tendrils with a fine-tip pen or dark crayon instead of the marker (step 10), color leaves with crayons or watercolor pencils in place of colored pencils (step 13), and add highlights with a light green crayon or a metallic/white gel pen if you don't have a white colored pencil (step 14).
My pencil lines smudge or the marker bleeds—how do I fix or avoid that?
To prevent smudging and bleeding, wait until the marker ink is completely dry before erasing (step 10), test your marker on scrap paper for bleed-through, and then gently erase remaining pencil lines with a soft eraser using light strokes (step 11).
How can I adapt this activity for younger children or make it more challenging for older kids?
For younger kids, simplify by drawing a single bold wavy stem with large teardrop leaves and skip the thin veins and highlights (steps 1–4, skip 8–9 and 14), while older kids can add detailed central and side veins, tighter curly tendrils, layered shading, and extra stem texture (steps 6, 8–9, 13–15).
What are some ways to enhance or personalize the finished vine drawing?
Personalize the vine by adding small flowers or buds between leaves, using two-tone shading on each leaf (steps 13–14), increasing stem texture with more diagonal lines or dots (step 15), and then share your creation on DIY.org (step 16).
Watch videos on how to draw a twisting vine with leaves and tendrils
🍇 How to Draw Twisting Vines - Easy Grape Vine Sketch Tutorial!
3 Videos

🍇 How to Draw Twisting Vines - Easy Grape Vine Sketch Tutorial!

How to Draw a Grapevine Step by Step - Make Your Vines Look Natural!
How to Draw Vines
Facts about drawing and sketching for kids
🌿 Some vines can grow over 100 feet long in tropical forests, making them nature's aerial highways!
🍃 Leaves come in hundreds of shapes—simple, compound, lobed and needle-like—so practicing different leaf types boosts drawing variety.
✏️ Many artists layer 3–5 thin passes with colored pencils to build smooth color and gentle shading without waxy buildup.
🌀 Tendrils use thigmotropism (touch sensitivity) to coil around supports and can react within minutes to wrap tighter.
🎨 Botanical illustrators often combine pencil sketches, ink, and colored pencils to make accurate yet beautiful plant drawings—a tradition centuries old.
How do I teach my child to draw a twisting vine with leaves and tendrils?
What materials do I need to draw a vine with my child?
What ages is learning to draw a twisting vine suitable for?
What are the benefits of practicing vine drawing with kids?
