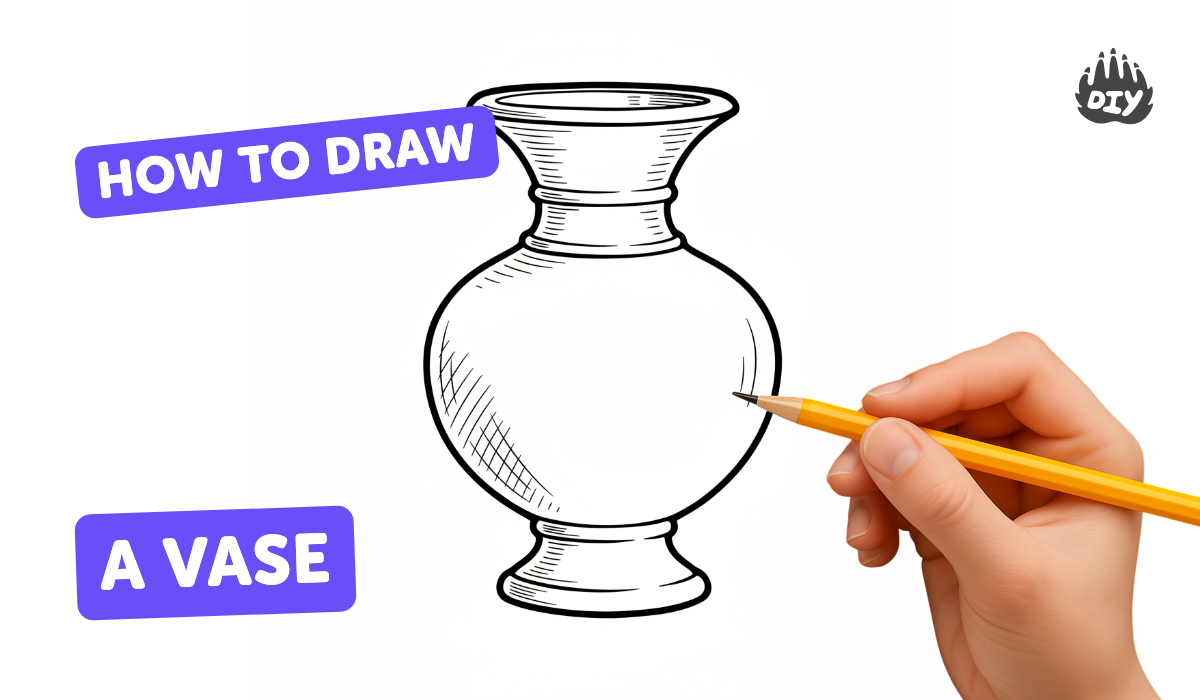
How to draw a vase - a free vase drawing guide
Draw a vase step by step using simple shapes, shading, and patterns to practice proportion, symmetry, and observation skills. Finish by adding color.

Drawing Apps
Photos of vase drawing examples


Step-by-step guide to draw a vase
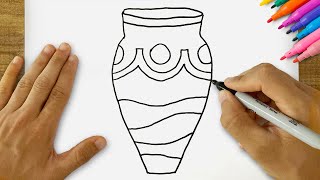
Very Simple Vase Drawing - How to Draw a Vase Step by Step | Easy Drawings for Kids
Step 1
Place your paper in portrait (tall) position on a flat table so you have lots of room to draw.
Step 2
Use your ruler and a light pencil line to draw a vertical center line down the middle of the paper.
Step 3
Lightly sketch an ellipse near the top of the center line to show the vase’s open mouth.
Step 4
From the sides of that ellipse draw two smooth curved lines down the center line to make the vase’s sides.
Step 5
Draw a smaller ellipse or gentle curve at the bottom to make the vase’s base.
Step 6
Look at the whole shape and darken the vase outline with firmer pencil strokes to finalize the shape.
Step 7
Erase the center line and any extra construction marks around your vase.
Step 8
Add patterns like stripes dots or wavy lines across the vase with light pencil so the design is even on both sides.
Step 9
Choose a light source side and shade the opposite side of the vase with soft pencil strokes to make it look round.
Step 10
Gently blend the shaded area with your fingertip or tissue to smooth the shadow and make it look softer.
Step 11
Color your vase with your coloring materials using the patterns and shading as a guide and make it bright and fun.
Step 12
Share a photo of your finished vase drawing on DIY.org so everyone can see your awesome work!
Help!?
I don't have a ruler or a light pencil—what can I use to draw the vertical center line and construction marks?
Use the straight edge of a book or a credit card as a ruler and a soft graphite pencil like an HB or a lightly sharpened colored pencil to make faint construction lines for the center line and ellipse.
My vase looks lopsided after I sketched the top ellipse and curved sides—how do I fix symmetry before darkening the outline?
Lightly retrace the ellipse, use the center line as a mirror guide to compare left/right curves, or fold the paper on the center line to check and correct each side before you finalize the outline.
How can I change this activity for different ages so it's not too hard or too easy?
For younger kids, pre-draw the portrait paper's center line and top ellipse and give chunky crayons to color instead of requiring soft pencil shading and blending, while older children can add cross-contour shading, a cast shadow on the table, and more intricate patterns before coloring.
What are simple ways to personalize or make the vase drawing more advanced after finishing the basic steps?
Add glued colored-paper bands or painted flowers over your penciled patterns, use metallic markers for highlights on the shaded side, or create a background table shadow and then photograph the finished colored vase to share on DIY.org.
Watch videos on how to draw a vase
Flower Vase Drawing - Easy Step-by-Step Art for Kids
4 Videos
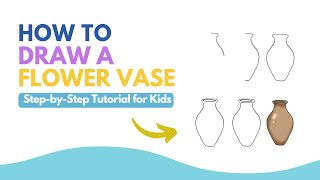
Flower Vase Drawing - Easy Step-by-Step Art for Kids
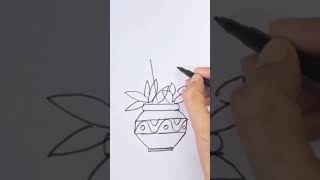
🎨 How to Draw a Vase (Flower Pot) - Easy Step-by-Step Tutorial for Beginners! 🌸
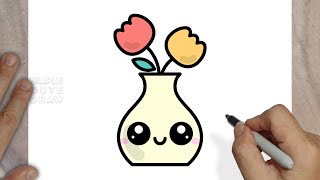
How to Draw a Cute Flower Vase - Easy Drawing Tutorial for Kids & Beginners
How to Draw a Vase Very Easily? Step by Step Vase Drawing
Facts about drawing and sketching for kids
🏺 Some ancient decorated pottery vases are over 5,000 years old — people have been styling vases for millennia!
✏️ Drawing a centerline and sketching one half of a vase, then mirroring it, is a super-fast trick to keep symmetry.
🌓 Shading (light, midtones, and shadow) can turn a flat outline into a convincingly round vase.
🎨 Color choices change a vase's 'mood' — warm colors feel closer and energetic, cool colors feel calm and distant.
🔍 Quick 1–2 minute observational sketches help you spot small details like rim curves, handles, and pattern placement.
How do I teach my child to draw a vase step by step?
What materials do I need to draw a vase with my child?
What ages is a vase drawing activity suitable for?
What are the benefits of having my child draw a vase?
