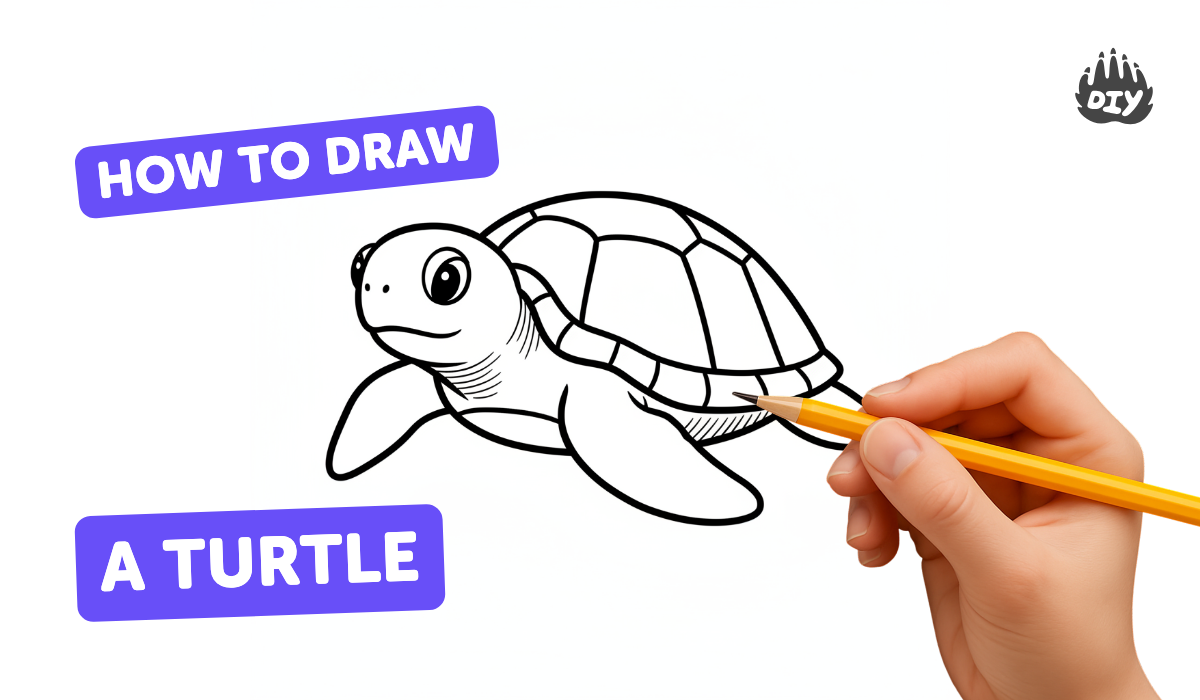
How to draw a turtle - a free turtle drawing guide
Draw a turtle step by step using basic shapes, pencil, and color. Practice observation, proportion, and adding texture to improve your drawing skills.

Drawing Apps
Get inspired with these


Instructions
How to Draw a Turtle | Easy Step-by-Step Turtle Drawing for Kids and Beginners
Step 1
Lightly draw a large oval in the middle of the paper to make the turtle's shell.
Step 2
Draw a vertical line and a horizontal line across the oval to help with the turtle's placement.
Step 3
Sketch a smaller circle or oval at one side of the shell for the turtle's head.
Step 4
Draw two short curved lines connecting the head to the shell to form the neck.
Step 5
Draw four rounded ovals or rectangles under the shell to make the turtle's legs.
Step 6
Draw a small triangle or teardrop shape at the back of the shell for the tail.
Step 7
Draw a simple hexagon in the center of the shell to start the shell pattern.
Step 8
Draw several irregular shapes around the central hexagon to complete the shell pattern.
Step 9
Draw two small circles on the head for the turtle's eyes.
Step 10
Draw a short curved line under the eyes to make the turtle smile.
Step 11
Add short curved lines on the legs and head to show texture and little folds.
Step 12
Erase the extra construction lines so your turtle looks clean and neat.
Step 13
Trace your final lines with a slightly darker pencil or marker to make your drawing pop.
Step 14
Color the shell and body using your favorite colors and add darker tones for shadow if you like.
Step 15
Take a picture of your finished turtle and share your creation on DIY.org.
Help!?
If I don't have a marker or colored pencils, what can I use to trace and color my turtle?
Trace your final lines with a slightly darker pencil or a felt-tip pen and color the shell and body using crayons, watercolors, or torn colored paper glued onto the large oval, then use your phone to take the picture for DIY.org.
My turtle's shell, head, or legs look uneven—what step can I redo to fix proportions?
If proportions are off, erase the light construction marks, reestablish the vertical and horizontal guide lines across the large oval, reposition the smaller head circle on the side, and lightly re-sketch the neck and four legs until they sit symmetrically under the shell.
How can I adapt this activity for younger kids or make it harder for older children?
For younger kids, pre-draw the big oval shell and central hexagon so they only add the head, legs, tail, and color, while older kids can refine the shell by adding many irregular shapes around the hexagon, extra texture lines on the legs and head, and darker tones for shadow.
What are simple ways to personalize or extend the turtle drawing once it's finished?
Extend the drawing by experimenting with different shell patterns (more or fewer irregular shapes around the central hexagon), adding a pond or beach background, using mixed media for color and shadow, then take a picture to share on DIY.org.
Related videos
How to Draw a Cute Turtle | Step by Step Drawing Guide
4 Videos
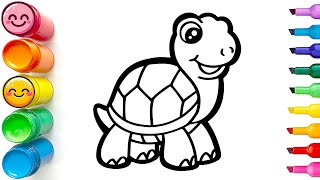
How to Draw a Cute Turtle | Step by Step Drawing Guide

🐢 How to Draw a Simple Turtle | Step-by-Step Lesson 🌿
Draw an Easy Cute Turtle - Step-by-Step Drawing Children's
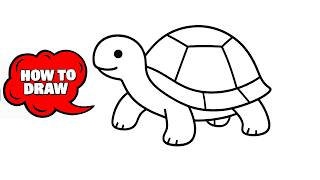
🐢 EASY! How to Draw a CUTE Turtle (Step-by-Step for Beginners!)
Fun Facts
🐢 Turtles have existed for over 200 million years, making them older than many dinosaurs.
🐚 A turtle’s shell is actually bone (ribs and spine) covered by scutes — perfect detail to study for shell texture.
🎨 Artists often build drawings from simple shapes (circles, ovals, rectangles) to quickly get proportions right.
✏️ Hatching and cross-hatching are pencil techniques that add texture and shading to a turtle’s shell and skin.
🔍 Some sea turtles migrate over 10,000 km — studying photos helps you copy unique markings and proportions.
How do you draw a turtle step by step using basic shapes?
What materials do I need to draw a turtle with pencil and color?
What ages is this step-by-step turtle drawing suitable for?
What are the benefits of drawing turtles for kids?
