How to draw a tsunami - a free tsunami drawing guide
Draw a tsunami scene using pencil, ink, and watercolor to show waves, motion, and perspective. Practice shading, texture, and scale while observing photo references.

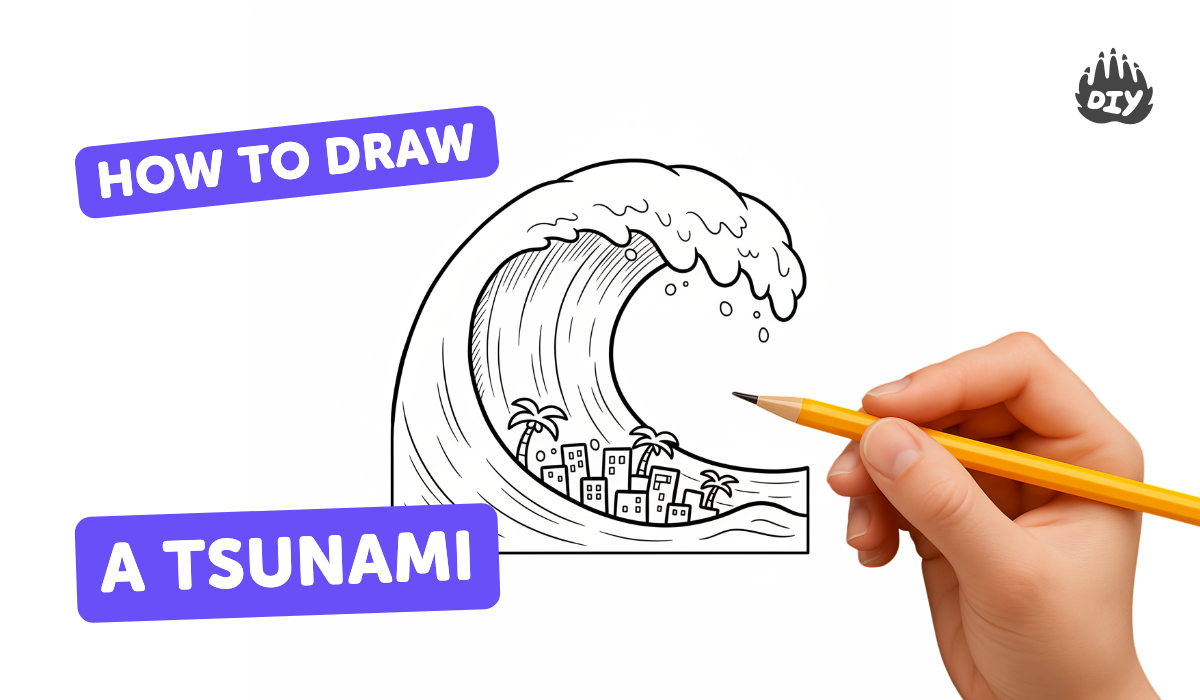
Step-by-step guide to draw a tsunami scene
🌊 How To Draw a Simple Tsunami | Step-by-Step Lesson ✏️
Step 1
Choose a clean flat workspace where you can sit comfortably and keep your paper dry.
Step 2
Lay out your materials so everything is easy to reach before you start.
Step 3
Pick one photo reference of a big wave or tsunami to study closely.
Step 4
Look at your photo for one minute and notice the big shapes of the waves the direction of motion and how small objects show scale.
Step 5
Lightly draw the horizon line across your paper with pencil to set the scene.
Step 6
Sketch the large foreground wave shape and the smaller background waves to create perspective.
Step 7
Draw a tiny boat or building to show how huge the wave is and to practice scale.
Step 8
Add foam shapes and motion lines with light pencil strokes to show the wave moving.
Step 9
Shade the shadowed areas of the waves with your pencil to add volume and texture.
Step 10
Carefully ink the main contours and foam details with your waterproof ink so the lines stay when you paint.
Step 11
Wait until the ink is completely dry before you touch the paper.
Step 12
Gently erase any stray pencil lines you don’t want to keep.
Step 13
Mix watercolor tones and paint a light wash for the sky and the base color of the sea.
Step 14
Add darker watercolor layers to the waves for depth and use a quick dry-brush or small splatters for spray and highlights.
Step 15
Sign your artwork and share your finished creation on DIY.org
Help!?
I don't have waterproof ink—what can I use instead to ink the main lines so they don't run when I paint?
Use a fine-tip permanent marker (such as a Sharpie) or a waterproof India ink substitute to carefully ink the main contours and foam details so the lines stay when you paint.
My ink smudged when I started painting—how can I avoid or fix this?
Follow the instructions to wait until the ink is completely dry before you touch the paper, and if smudging happens gently blot with a paper towel, let it dry fully, then erase stray pencil lines as needed.
How can I change the activity for younger kids or make it harder for older kids?
For younger children pre-draw the horizon line and large wave shapes for them to color and use bigger brushes, while older kids should spend the one-minute photo study adding detailed shading, texture, and use waterproof ink and quick dry-brush splatters for spray and highlights.
What are some ways to personalize or extend the tsunami drawing once it's finished?
Try mixed media like torn blue paper or sprinkling salt into wet watercolor for texture, include a tiny personalized boat or building to emphasize scale, and then sign and share your finished creation on DIY.org.
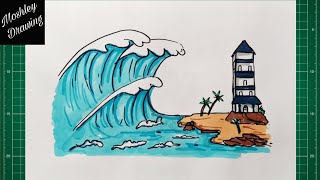
Watch videos on how to draw a tsunami scene
How to Draw a Tsunami: Easy Step by Step Drawing Tutorial for Beginners
4 Videos

How to Draw a Tsunami: Easy Step by Step Drawing Tutorial for Beginners
How to Draw Tsunami Waves
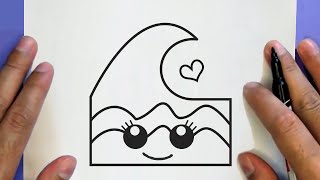
HOW TO DRAW A CUTE TSUNAMI, STEP BY STEP, Jack drawings

How to draw tsunami step by step?
Photos of tsunami scene drawings


Facts about drawing and watercolor techniques
🌊 Hokusai’s The Great Wave off Kanagawa (c. 1831) helped popularize dramatic, curling waves in art worldwide—it's over 190 years old.
🖌️ Watercolor is transparent, so artists create depth and motion by layering light washes rather than using opaque strokes.
✏️ Many artists begin with tiny thumbnail sketches (sometimes as small as a postage stamp) to test composition and the flow of motion.
📐 Using one-point or two-point perspective makes huge waves feel towering by shrinking buildings and people on the shore.
⚡ Tsunami waves can travel at jet-like speeds in the open ocean—over 500 km/h (about 310 mph)—even if they're short until they hit shallow water.
How do I guide my child to draw a tsunami scene using pencil, ink, and watercolor?
What materials do I need to draw a tsunami with pencil, ink, and watercolor?
What ages is this tsunami drawing activity suitable for?
What are the benefits of practicing tsunami drawing with pencil, ink, and watercolor?
