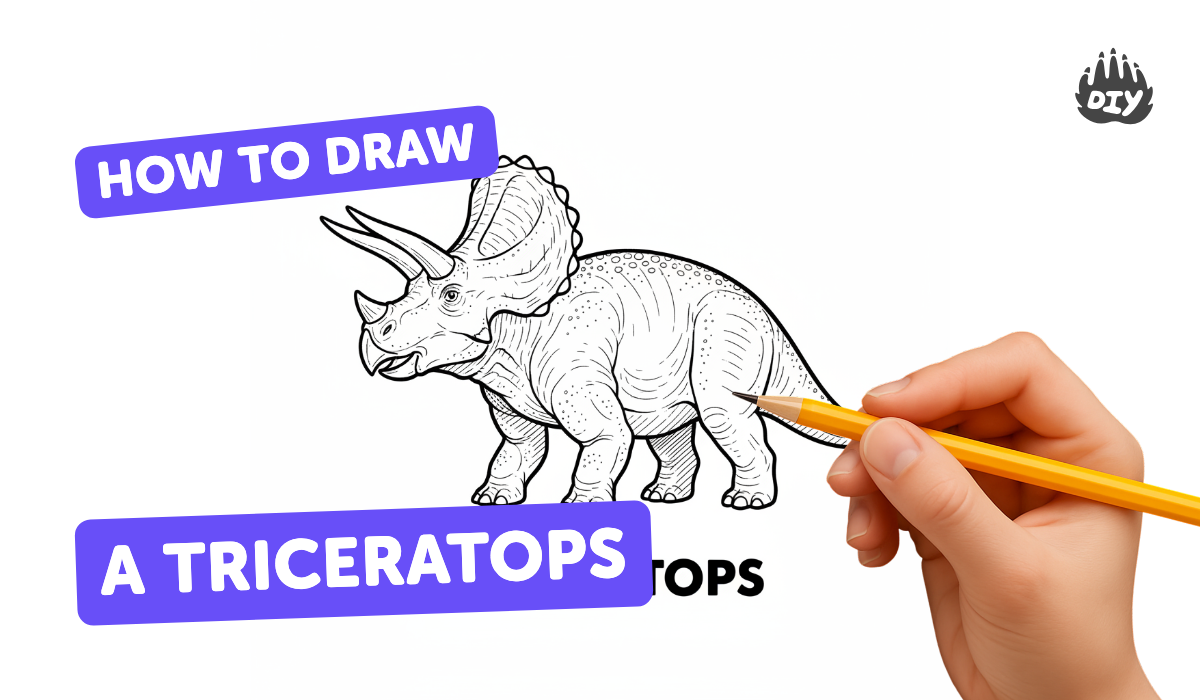
How to draw a triceratops - a free triceratops drawing guide
Draw a realistic triceratops step-by-step using simple shapes, guidelines, lines, and shading. Practice proportions, horn placement, frill details, and textured skin to build drawing confidence.

Drawing Apps
Photos of triceratops drawing examples


Step-by-step guide to draw a triceratops
How to Draw a TRICERATOPS | Easy Step-by Step for Kids
Step 1
Place your paper horizontally on a flat surface so you have lots of room for a big dinosaur.
Step 2
Lightly draw a horizontal line across the page to mark the ground where your triceratops will stand.
Step 3
Lightly sketch a large oval above the ground line for the triceratops body.
Step 4
Lightly sketch a smaller circle overlapping the front of the oval for the head.
Step 5
Sketch four cylinder shapes under the body to mark where the legs will go.
Step 6
Sketch a large rounded frill attached behind the head circle like a shield.
Step 7
Draw three triangular guidelines for horns: two near the brow area and one on the nose.
Step 8
Draw a small circle inside the head for the eye to set its facial position.
Step 9
Draw a short curved line at the front of the head to mark the beak.
Step 10
Draw a tiny dot near the beak to mark the nostril.
Step 11
Refine the main outline around the head neck and body by smoothing shapes into a single dinosaur silhouette.
Step 12
Thicken the horn guidelines into tapered cone shapes and blend their bases into the skull shape.
Step 13
Erase extra construction lines and overlapping guideline circles so the drawing looks clean.
Step 14
Add frill details and skin texture with short curved strokes and small bumps and add light shading to round the forms.
Step 15
Share your finished triceratops drawing on DIY.org
Help!?
What can we use if we don't have drawing paper, a pencil, or an eraser for the 'lightly draw' construction lines?
Use the back of a cereal box or a torn sheet of printer paper as your surface, a mechanical pencil or a sharpened colored pencil for light construction lines, and a kneaded or vinyl eraser (or gently rub mistakes with a clean cloth) so you can sketch the ground line, oval body, and head circle and still erase later.
My horns, head, or legs look wrong when I refine the outline—how can I fix that?
If the silhouette looks off, lighten or erase the refined outline, confirm the small head circle overlaps the front of the large oval and that the cylinder leg shapes reach the ground line, then redraw the tapered horn cones blending their bases into the skull before erasing construction lines.
How can I adapt the drawing steps for different age groups?
For preschoolers pre-draw the large horizontal ground line, oval body, and head circle for them to trace and color with fat crayons, while older kids can follow every step exactly and add the frill details, skin texture, and shading described in the final steps for more realism.
What are simple ways to extend or personalize the triceratops activity after finishing the drawing?
After erasing construction lines and adding frill details and skin texture, color the dinosaur, create a background with plants or other dinosaurs, cut it out to make a scene, and then photograph and share your finished triceratops on DIY.org as suggested.
Watch videos on how to draw a triceratops
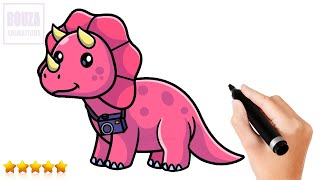
How to Draw a Triceratops Dinosaur
4 Videos
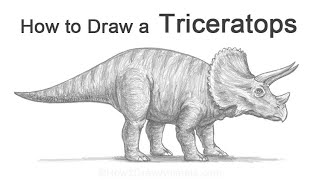
How to Draw a Triceratops Dinosaur
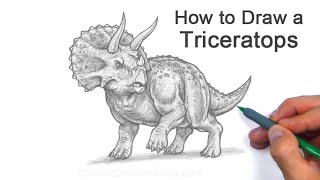
How to Draw a Triceratops
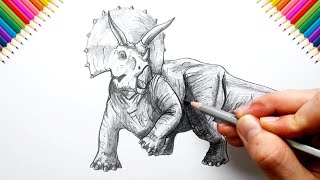
How to Draw Triceratops | Sketch Tutorial
Learn to Draw Dinosaurs Simple Steps for Beginners | Triceratops
Facts about drawing dinosaurs
🦖 Triceratops roamed North America during the Late Cretaceous, about 68–66 million years ago.
🦴 Triceratops is one of the most commonly found dinosaur fossils in western North America.
🦏 Its name means "three-horned face" — it had two long brow horns and a smaller nose horn.
🛡️ The large frill behind its head may have helped with display, species recognition, and protection.
🔍 Fossilized skin impressions show bumpy, scaly texture — excellent reference for practicing shading and texture.
How do I draw a realistic triceratops step-by-step?
What materials do I need to draw a realistic triceratops?
What ages is drawing a realistic triceratops suitable for?
What are the benefits of practicing realistic triceratops drawings?
