How to draw a tree house - a free tree house drawing guide
Draw a tree house with pencil and colored pencils, planning structure, perspective, ladder, and balcony. Follow step-by-step directions to sketch, ink, and color your illustration.

Drawing Apps
Photos of tree house drawing examples


Step-by-step guide to draw a tree house
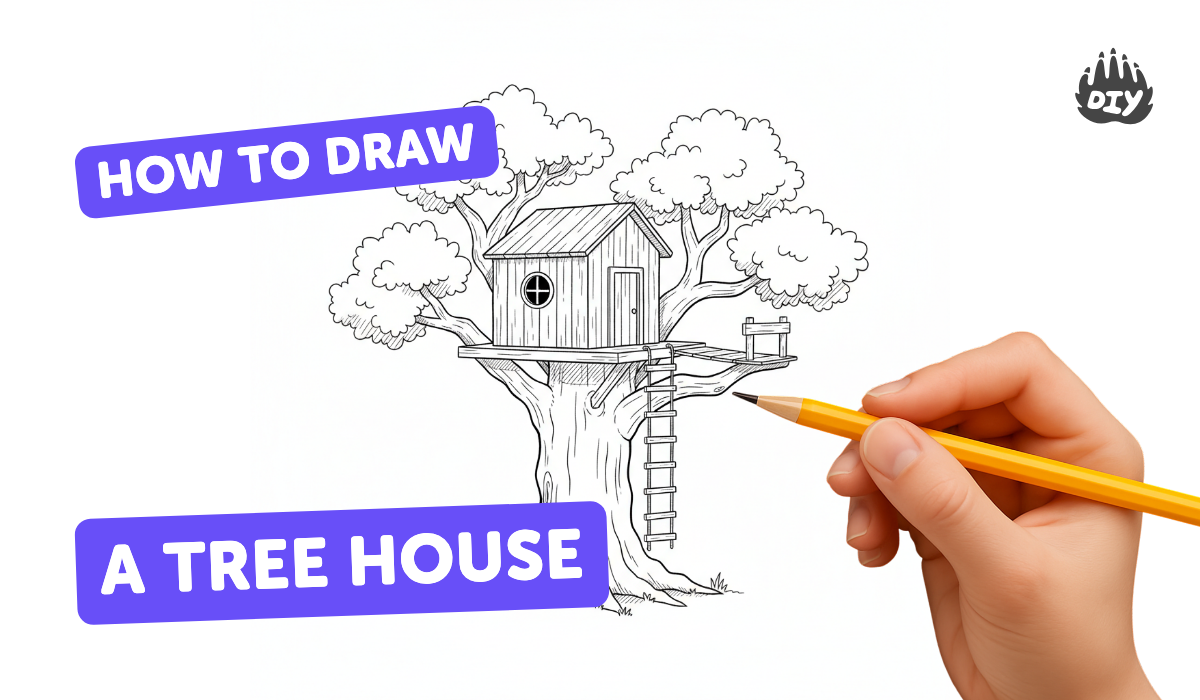
How To Draw A Treehouse
Step 1
Pick where on your paper the tree house will sit so you have room for the tree and sky.
Step 2
Lightly draw a horizon line and one vanishing point to help make the house look 3D.
Step 3
Lightly sketch the tree trunk and one big branch where the house will rest.
Step 4
Draw a rectangular box on the branch to show the main shape of the house using lines that aim toward the vanishing point.
Step 5
Add a slanted roof on top of the box so the house looks cozy and real.
Step 6
Sketch a balcony platform in front of the house attached to the branch.
Step 7
Draw a ladder from the ground up to the balcony with evenly spaced rungs.
Step 8
Add a door and windows to the house with simple frames and a doorknob.
Step 9
Add small decorative details like a railing ropes bolts and leaves around the branch.
Step 10
Trace over the final lines you want to keep with your black pen or fine liner.
Step 11
Gently erase the pencil construction lines after the ink is completely dry.
Step 12
Color the big areas first with colored pencils choosing base colors for the tree house and tree.
Step 13
Add shading and highlights by layering darker pencil strokes in shadow areas and using lighter pressure where light hits.
Step 14
Take a photo of your finished tree house and share it on DIY.org
Help!?
What can we use if we don't have a black pen or fine liner to trace our final lines (step 12)?
Use a black gel pen or a thin-tipped permanent marker to trace the final lines in step 12, and be sure to let the ink dry fully before erasing the pencil construction lines in step 13.
If the rectangular box for the house looks crooked, how can we fix it so the house appears 3D (steps 2 and 4)?
Redraw faint construction lines from each corner of the box toward the vanishing point on your horizon line (step 2) so the rectangle aligns in perspective, then erase the bad lines before inking.
How can I simplify or make this activity harder for different ages while still following the steps like drawing the trunk and adding shading (steps 3 and 15)?
For younger kids, skip the vanishing point (step 2) and use thick crayons to draw a simple trunk and box (steps 3–4), while older kids can refine perspective, add detailed railing bolts (step 9), and build up layered shading with colored pencils (step 15).
What are some ways to extend or personalize the tree house after completing the basic drawing and colouring (steps 9, 15, and 16)?
Add a rope pulley, a hanging lantern or a custom mailbox on the balcony (step 9), texture leaves and deepen shadows with darker pencil strokes (step 15), then photograph your finished tree house to share on DIY.org (step 16).
Watch videos on how to draw a tree house
How To Draw A Tree House Simple and Easy For Kids - Drawing Tree House step by step
4 Videos
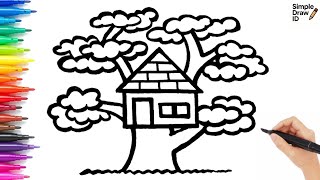
How To Draw A Tree House Simple and Easy For Kids - Drawing Tree House step by step

How to Draw a Fun Treehouse for Kids - Easy Step-by-Step Tutorial!

How to Draw a Tree House Easy 🌳🏠Cute Scenery Art
How to Draw a Simple Tree House for Kids
Facts about drawing and sketching for kids
🌳 Treehouses show up in literature and play all over the world—some people even build elaborate, livable treehouse homes!
✏️ Artists usually start with pencil sketches because you can quickly plan shapes, structure, and perspective before inking.
📐 Linear perspective was formalized during the Renaissance and uses vanishing points to make drawings appear three-dimensional.
🪜 Ladders are one of humanity's oldest tools—drawing rungs with correct spacing and foreshortening helps sell depth in your sketch.
🎨 Colored pencils come in wax- or oil-based types; layering light strokes lets you blend colors smoothly for realistic textures.
How do I draw a tree house step by step with pencil and colored pencils?
What materials do I need to draw a tree house with colored pencils?
What ages is this tree house drawing activity suitable for?
What are the benefits of drawing a tree house with pencil and colored pencils?
