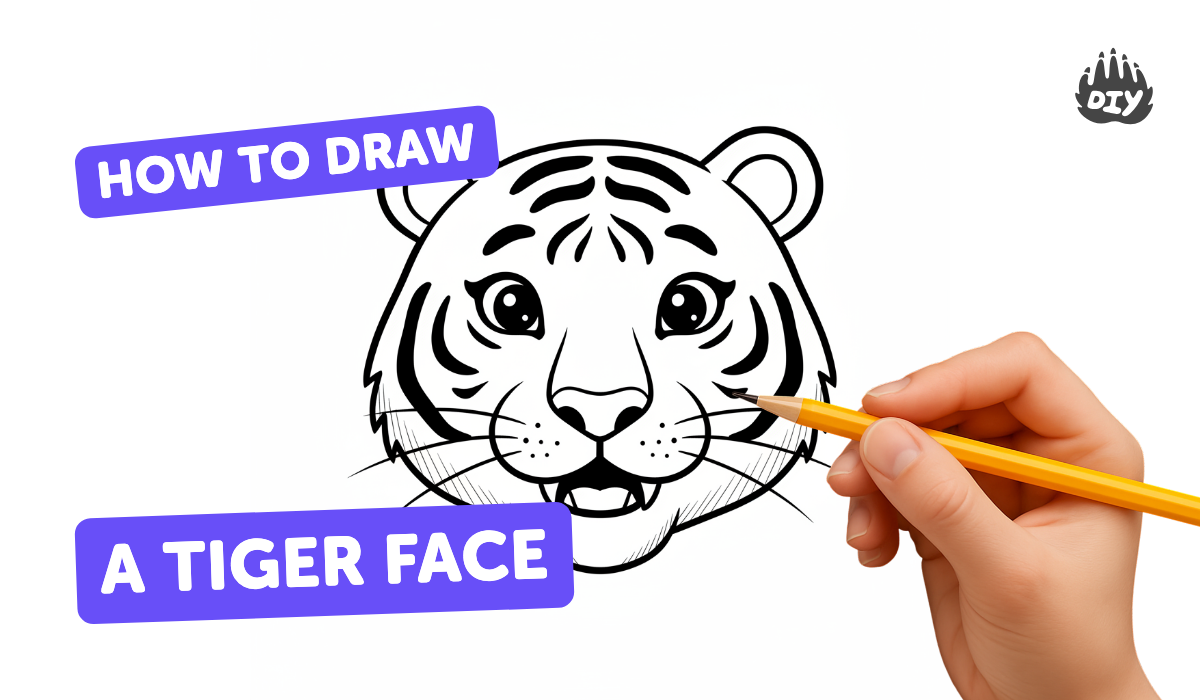
How to draw a tiger face - a free tiger face drawing guide
Draw a tiger face step-by-step with pencil and colored pencils, learning facial proportions, stripes, symmetry, and simple shading to create a lifelike result.

Drawing Apps
Photos of tiger face drawing examples


Step-by-step guide to draw a tiger face
How To Draw A Tiger - Preschool
Step 1
Gather your materials and set them on a flat table.
Step 2
Place your paper and draw a light circle to make the tiger’s head.
Step 3
Draw a vertical guideline down the center of the circle to help with symmetry.
Step 4
Draw a horizontal guideline across the lower third of the circle to mark eye level.
Step 5
Mark two equal spots on the horizontal line where the eyes will go.
Step 6
Draw almond-shaped eyes around the two marks and add small pupils in each eye.
Step 7
Draw a small rounded triangle nose on the vertical line just below the eye line.
Step 8
Draw a short vertical line under the nose and two gentle curves from its end to make the mouth.
Step 9
Draw two rounded triangular ears on the top left and right edges of the circle.
Step 10
Draw soft cheek curves and a jawline to shape the lower face.
Step 11
Add mirrored curved stripes across the forehead and down the cheeks to keep the tiger symmetrical.
Step 12
Add three small dots on each side of the muzzle and draw whiskers coming out from them.
Step 13
Shade the pupils and the inside of the nose lightly with your pencil and gently blend with a tissue.
Step 14
Color the main fur orange leave the muzzle and inner ears white and color the stripes black with colored pencils.
Step 15
Share your finished tiger face on DIY.org.
Help!?
What can we use instead of colored pencils or a tissue if we don't have them?
If you don't have colored pencils, use crayons for a softer look or fine-tip markers for bold black stripes (but test markers on scrap paper because they can bleed), and substitute a cotton swab or kleenex for the tissue when blending the shaded pupils and inside of the nose.
My tiger looks lopsided—how can I fix symmetry after drawing?
If the tiger looks lopsided, use the original light circle and vertical guideline from steps 2–3 to lightly erase and reposition the eyes, nose and ears so you can redraw mirrored forehead stripes, cheek stripes and whiskers symmetrically.
How can I adapt this tiger-face activity for younger or older kids?
For younger children, pre-draw the circle plus the vertical and horizontal guidelines and have them focus on coloring the main orange fur and black stripes from the coloring step, while older kids can add extra fur texture, detailed stripe patterns and blended shading of pupils and the nose using the tissue as described.
How can we extend or personalize the finished tiger face before sharing it?
To extend the activity, add a background jungle scene, experiment with watercolor washes behind the completed face, alter the tiger's expression or fur colors for variation, and then upload the finished tiger face to DIY.org as the final sharing step.
Watch videos on how to draw a tiger face
How To Draw A Baby Tiger
4 Videos
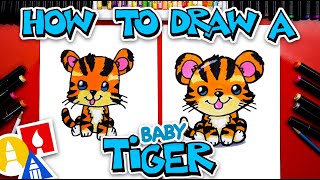
How To Draw A Baby Tiger
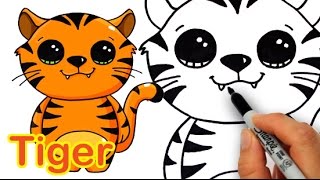
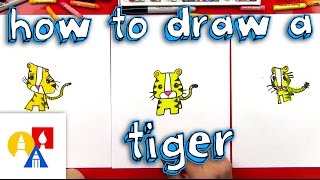
How To Draw A Tiger
How to Draw a Cute Cartoon Tiger Easy
How To Draw A Cartoon Tiger
Facts about animal drawing for kids
🐯 No two tigers have the same stripe pattern—each tiger's stripes are as unique as human fingerprints!
✏️ Artist pencils come in grades from very hard (9H) to very soft (9B); HB sits right in the middle and is great for sketching guides.
🎨 Colored pencils can be layered and lightly blended to create smooth color transitions—think of them like paint in pencil form.
🪞 Faces (including tiger faces) are roughly symmetrical, so artists often draw a center line first to keep eyes and stripes balanced.
🖋️ Hatching and cross-hatching are classic drawing tricks used for shading—tiny lines stacked or crossed make realistic shadows and fur texture.
How do you draw a tiger face step-by-step with pencil and colored pencils?
What materials do I need to draw a tiger face with pencils and colored pencils?
What ages is drawing a tiger face suitable for?
What are the benefits of drawing a tiger face for children?
