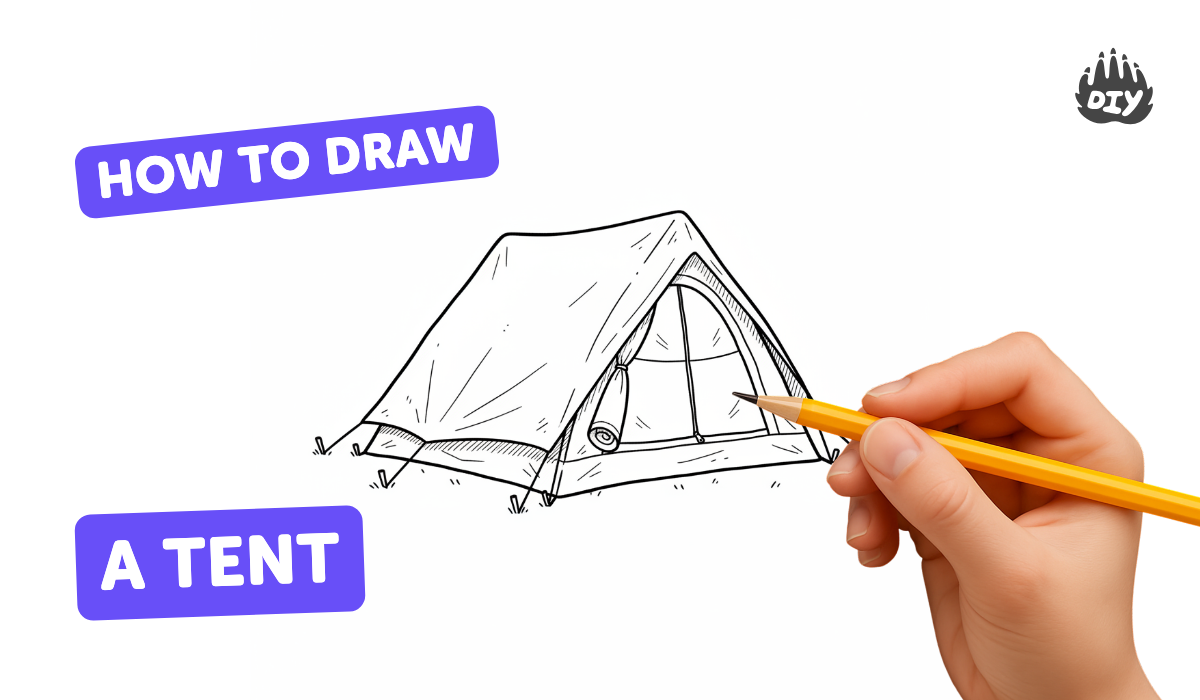
How to draw a tent - a free tent drawing guide
Draw a camping tent on paper using pencil, ruler, and shading. Practice perspective, symmetry, and labeling parts to explain your design.

Get inspired with these


Instructions
⛺ Learn to Draw a Tent! - Fun Drawing Lesson for Kids 🏕️
Step 1
Put your paper flat on the table so it won't move while you draw.
Step 2
Lightly draw a horizontal horizon line across the paper with your pencil.
Step 3
Make a small dot on the horizon a little to one side to mark the vanishing point.
Step 4
Draw a light vertical centerline where you want the middle of the tent to be for symmetry.
Step 5
Use your ruler to draw a short horizontal base line centered on the centerline for the tent’s front edge.
Step 6
Draw an isosceles triangle above that base using the centerline as the triangle’s middle to make the tent’s front.
Step 7
Draw a slightly smaller triangle behind and a bit to the right or left of the front triangle to show the back of the tent in perspective.
Step 8
Connect each corner of the front triangle to the matching corner of the back triangle with straight lines to form the tent’s 3D shape.
Step 9
Draw a vertical line down the middle of the front triangle to mark the tent door.
Step 10
Draw a curved line beside the vertical line to show one door flap opening outward.
Step 11
Choose a light direction and shade the tent side that would be in shadow using darker pencil strokes.
Step 12
Gently blend the shaded area with a tissue or cotton swab to make smooth shadow tones.
Step 13
Draw arrows to the tent parts and write labels like “door” “ridge” and “side panel” to explain your design.
Step 14
Share your finished tent drawing on DIY.org.
Help!?
What can we use if we don't have a ruler, tissue, or cotton swab?
Use the straight edge of a book or cereal box instead of a ruler for the base line and corner connections, and replace the tissue or cotton swab for blending the shaded side with a clean fingertip or a small piece of paper towel.
My tent looks wrong because the back triangle doesn't line up—how do I fix it?
Lightly erase the smaller back triangle and redraw it a bit to the right or left of the front triangle using the vanishing point and your ruler as guides, then reconnect each corresponding corner as instructed to restore the 3D shape.
How can I change the activity for different ages?
For younger kids skip the perspective back triangle and centerline and let them color one flat triangle tent with crayons, while older kids should add accurate vanishing-point placement, darker pencil shading on the chosen light-side, and full labels like “door” and “ridge.”
How can we extend or personalize the tent drawing after finishing the basic steps?
Personalize by drawing fabric patterns or a camp scene, change the chosen light direction before shading and blending, add extra tents using repeated back-triangle and connector steps for depth, and then label parts and share the finished drawing on DIY.org.
Related videos
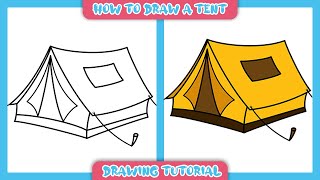
How to draw tent | step by step easy tent drawing | easy kids drawing
4 Videos
How to draw tent | step by step easy tent drawing | easy kids drawing

CAMPING TENT Drawing: How to Draw A CAMPING TENT EASY for Kids | ENJOY DRAWING
How to Draw Camping Tent Easy | Drawing Tutorial for Beginners
How to Draw a Tent Step by Step by Step
Fun Facts
🎪 Tents have been used by humans for thousands of years — nomadic peoples relied on portable shelters long before modern camping gear existed.
🏕️ Recreational camping became popular in the 1800s when people started exploring nature for leisure and adventure.
🧭 In one-point perspective, all parallel lines that recede meet at a single vanishing point on the horizon — great for drawing tent depth.
⚖️ Many tents show bilateral symmetry (mirror-image halves), so folding a drawing down the middle can help check proportions.
✍️ Pencil shading tricks like hatching, cross-hatching, and blending turn flat shapes into convincing fabric, poles, and shadows.
How do I teach my child to draw a camping tent step by step?
What materials do we need to draw a tent using pencil, ruler, and shading?
What ages is drawing a tent with perspective, symmetry, and labeling suitable for?
What are the benefits of drawing tents with perspective and labeling parts?


