How to draw a telescope - a free telescope drawing guide
Draw a simple telescope step-by-step using pencil, ruler, and coloring tools to learn shapes, perspective, and how small details make a realistic illustration.

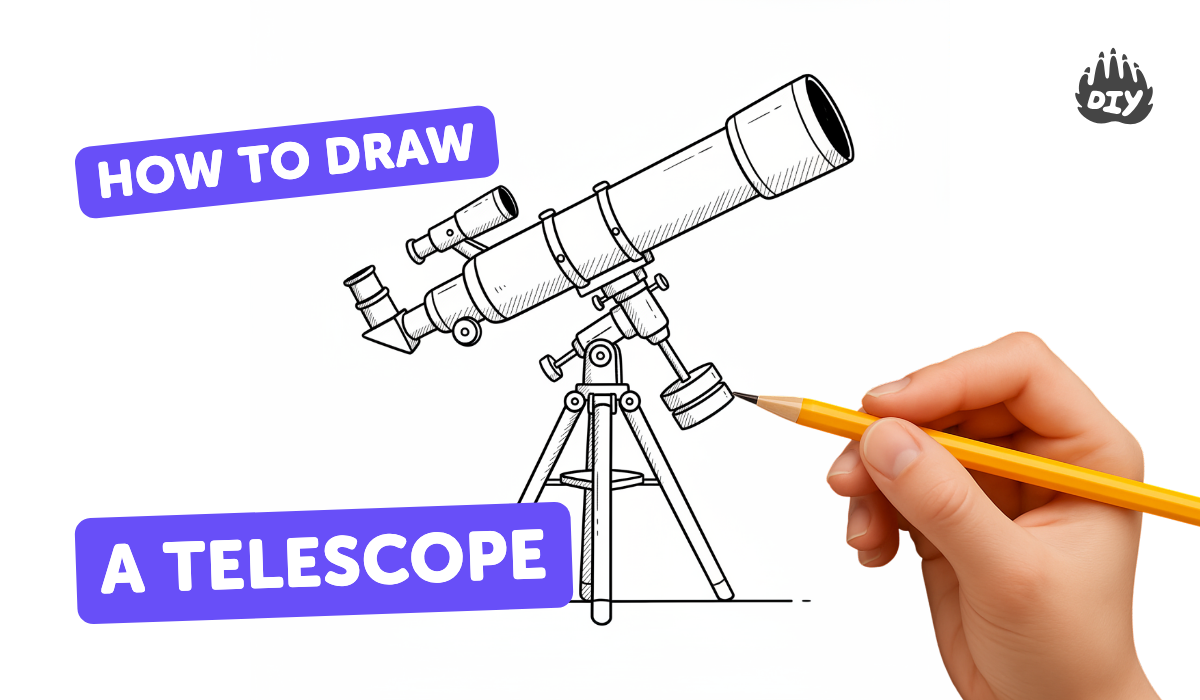
Step-by-step guide to draw a telescope
How To Draw A Telescope
Step 1
Put your paper in landscape orientation so it is wider than it is tall.
Step 2
Use your ruler and pencil to draw two long parallel lines across the middle of the paper that angle very slightly outward toward the right to make the telescope tube.
Step 3
Connect the two parallel lines at each end with short curved lines to close the tube shape.
Step 4
Draw a small circle overlapping the left end of the tube to make the eyepiece.
Step 5
Draw a larger circle overlapping the right end of the tube to make the objective lens rim.
Step 6
Draw two narrow bands around the tube by sketching thin rectangles across the tube for mounting rings.
Step 7
Draw a small circle under the middle of the tube to make the tripod pivot point.
Step 8
From the pivot point draw three straight legs downward and outward using your ruler to form the tripod.
Step 9
Add small foot shapes at the end of each tripod leg by drawing little rounded or flat caps.
Step 10
Lightly erase any extra construction lines inside your shapes so your drawing looks clean.
Step 11
Carefully trace over the final outline of your telescope with your pencil to make the lines darker and neat.
Step 12
Color the telescope body and rings using your coloring materials.
Step 13
Shade one side of the tube a bit darker to show a shadow and make the telescope look three dimensional.
Step 14
Make a tiny uncolored crescent or gently erase a small spot on the objective lens to create a shiny highlight.
Step 15
Take a picture of your finished telescope drawing and share it on DIY.org.
Help!?
What can we use instead of a ruler, colored pencils, or a smartphone to take the final picture?
Use the straight edge of a hardcover book, a cereal box, or a credit card as a ruler when you draw the two long parallel lines across the middle, swap colored pencils for crayons, markers, or watercolor paints when you color the telescope body and rings, and use a tablet, a family camera, or a flatbed scanner to capture the finished drawing for DIY.org.
My telescope tube looks crooked or the parallel lines aren't even — how can I fix that?
Make small guide dots at matching heights across the paper, connect them with your straightedge to redraw the two long parallel lines across the middle, and lightly erase any wrong lines before you carefully trace over the final outline to make the tube neat.
How can I change this activity for younger or older kids?
For younger children, pre-draw the tube, eyepiece, and tripod pivot point so they mainly color and add the highlight, while older kids can add realistic shading on one side of the tube, precise mounting rings, labeled parts, and more detailed foot shapes on the tripod legs.
What are some ways to enhance or personalize the finished telescope drawing?
Personalize it by adding a starry background or constellation labels, use metallic or glossy paint on the objective lens rim and a tiny uncolored crescent for a highlight, or attach the tube to the tripod pivot point with a brass brad so it can tilt before you take a picture to share on DIY.org.
Watch videos on how to draw a telescope
How To Make A Fancy Lego Telescope
4 Videos
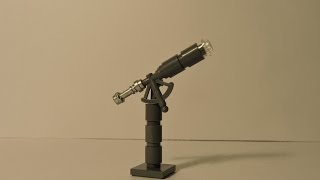
How To Make A Fancy Lego Telescope
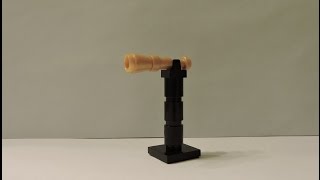
How To Make A Lego Telescope
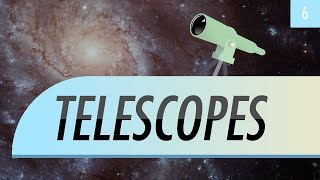
Telescopes: Crash Course Astronomy #6
CBeebies: Swashbuckle - Presenters Telescope Make
Facts about drawing and perspective
🔭 Galileo used an early optical telescope in 1609 that could magnify objects about 20 times — perfect for spotting moons and drawing details!
🎯 In perspective drawing, parallel lines seem to meet at a 'vanishing point' — that’s the secret to making objects look 3D on paper.
✏️ Pencils are graded with H (hard) and B (black/soft); most school projects use HB for a good balance of darkness and control.
📏 Straight rulers date back thousands of years — ancient Egyptians used measuring rods over 4,000 years ago to make accurate lines.
🖍️ Crayola sold its first box of crayons in 1903, and kid-friendly coloring tools have inspired millions of drawings since!
How do you draw a simple telescope step-by-step?
What materials do I need to draw a telescope?
What ages is drawing a telescope suitable for?
What are the benefits of drawing a telescope for kids?
