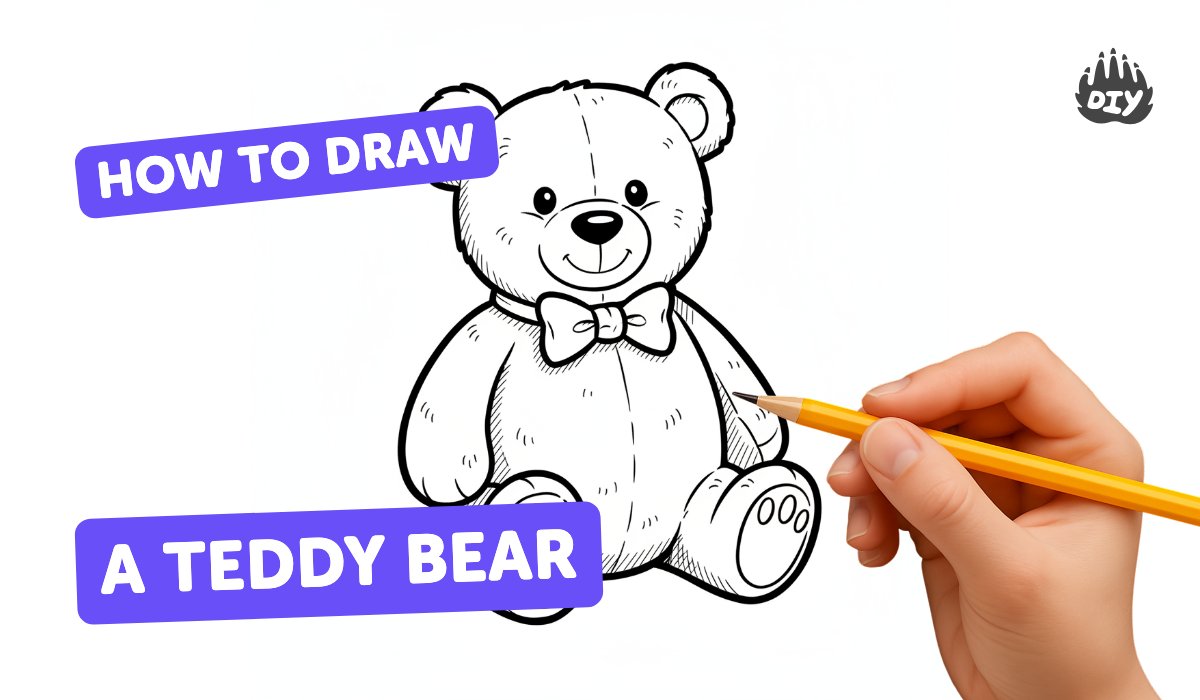
How to draw a teddy bear - a free teddy bear drawing guide
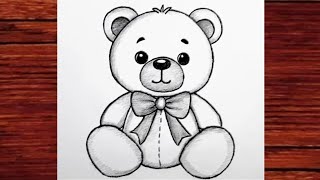
Draw a friendly teddy bear step-by-step using simple shapes, shading, and color. Practice proportions, symmetry, and basic sketching skills confidently.

Get inspired with these


Instructions
How To Draw A Teddy Bear - US National Teddy Bear Day
Step 1
Lightly draw a large circle near the top center of your paper for the teddy bear's head.
Step 2
Draw a slightly larger oval that overlaps under the head to make the teddy's body.
Step 3
Draw two round semicircles on top of the head to make the teddy's ears.
Step 4
Draw a small oval in the lower middle of the head for the snout.
Step 5
Draw two small circles for the eyes on either side of the snout.
Step 6
Draw a small rounded triangle or oval on the snout for the nose.
Step 7
Draw a short curved line under the nose to make a smiling mouth.
Step 8
Draw two rounded arms on each side of the body with little ovals at the ends for paws.
Step 9
Draw two wide ovals at the bottom of the body for the legs and feet.
Step 10
Erase any extra overlapping guide lines so the teddy has clean outlines.
Step 11
Add short curved strokes along the body and ears to suggest soft fur texture.
Step 12
Color your teddy with a light base color and press a little darker on one side to create a shaded look showing where the light hits.
Step 13
Trace the final outlines with a black marker if you want your teddy to stand out (optional).
Step 14
Take a photo of your finished teddy bear and share your creation on DIY.org.
Help!?
What can we use if we don't have a black marker, colored pencils, or a camera to share our teddy drawing?
If you don't have a black marker or colored pencils, use a dark pen or crayons to trace and color the teddy, and if you can't take a photo use a flatbed scanner or ask someone to photograph your paper for sharing on DIY.org.
My circles and ovals look messy with overlapping guide lines—how do I clean them up?
Draw your initial head and body shapes lightly with pencil, then either erase extra overlapping guide lines as instructed or place tracing paper over the sketch and trace only the clean final outlines before inking or coloring.
How can I change the activity for younger or older kids?
For younger children pre-draw the large circle and oval for them to color and add sticker eyes, while older kids can follow every step including adding short curved fur strokes and practicing the light base color with darker shading on one side for depth.
How can we make the teddy drawing more special or challenging once it's finished?
Personalize or extend the project by adding clothing, a background scene, or a name tag, experimenting with different base colors and shading as described, tracing final outlines with a black marker for contrast, and then photographing the result to share on DIY.org.
Related videos
How to Draw a Teddy Bear For Kids Step by Step and Coloring | Teddy Bear Drawing #teddybear #teddy
4 Videos
How to Draw a Teddy Bear For Kids Step by Step and Coloring | Teddy Bear Drawing #teddybear #teddy
How to draw a Teddy Bear Step by Step | Drawings Tutorials
How To Draw A Teddy Bear | Drawing, Coloring, And Painting For Kids | The Drawing Formula
Teddy Bear Drawing Easy Tutorial Step By Step || Easy Drawing For Beginners
Fun Facts
🧸 The teddy bear was named for U.S. President Theodore “Teddy” Roosevelt after a 1902 hunting story.
🏷️ The first popular commercial teddy bears were made by the German company Steiff in 1902 and often had a button in the ear.
✏️ Many artists start a teddy bear with simple circles and ovals—think of it as building the bear from cookies and balloons!
🎨 Gentle shading on one side makes a flat drawing look round and fluffy, giving your teddy a soft, 3D feel.
📏 Drawing a vertical centerline helps keep eyes, ears, and limbs symmetrical—small measurements make a big difference!
How do I draw a friendly teddy bear step-by-step?
What materials do I need to draw a teddy bear?
What ages is this teddy bear drawing activity suitable for?
What are the benefits of drawing a teddy bear?


