How to draw a tarantula - a free tarantula drawing guide
Draw a realistic tarantula using simple shapes, step-by-step guidance, shading, and color to learn observation, proportion, and basic drawing techniques.

Drawing Apps
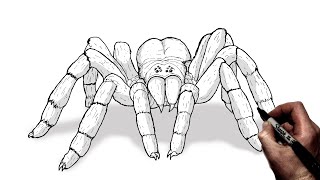
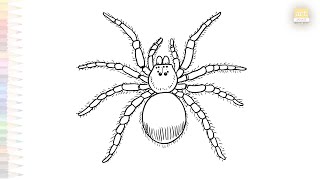
Photos of realistic tarantula drawings


Step-by-step guide to draw a realistic tarantula
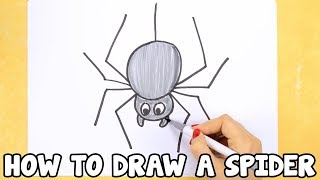
How To Draw A Tarantula (Red Knee)
Step 1
Look closely at a picture of a tarantula and notice the big oval body the smaller front section the long legs and the fuzzy hair.
Step 2
Lightly draw a large oval for the abdomen and a smaller circle overlapping in front for the cephalothorax.
Step 3
Draw eight straight guideline lines radiating from the sides of the cephalothorax to map where each leg will go.
Step 4
Add two small angled joints along each guideline so every leg is divided into three segments.
Step 5
Draw two short arm-like pedipalps and tiny fang shapes at the front of the cephalothorax.
Step 6
Thicken each leg by drawing parallel lines around the segmented guidelines to create leg shapes that taper toward the ends.
Step 7
Erase the light guideline lines inside the legs and body so only the clear tarantula outline remains.
Step 8
Add short quick strokes all over the legs and body to make fuzzy hair texture.
Step 9
Shade the lower side of the abdomen and the area under the body with soft pencil strokes to show roundness.
Step 10
Darken the shadows near leg joints and under the body to make the tarantula look three-dimensional.
Step 11
Color the tarantula using your colored pencils or crayons following the reference colors you observed.
Step 12
Gently blend pencil shading and colored areas with a cotton swab or tissue to smooth transitions.
Step 13
Sign your name in a corner of the paper to show your art.
Step 14
Share your finished tarantula drawing on DIY.org
Help!?
What can I use if I don't have cotton swabs, colored pencils, or crayons from the materials list?
If you don't have a cotton swab for blending (step 13) or colored pencils/crayons for coloring (step 12), substitute a clean fingertip, a paper towel or blending stump for smoothing and use markers, watercolor washes, or colored pens to add color.
My tarantula's legs look uneven or the joints are misplaced—how do I fix that?
If legs look uneven, lightly redo the eight guideline lines radiating from the cephalothorax (step 3), reposition the two angled joint marks on each guideline (step 4), and only thicken the legs (step 6) once the guides are symmetric before erasing inner guidelines (step 7).
How can I adapt this drawing activity for different age groups?
For young children simplify to one large oval and four thick legs and skip segment joints (steps 1–6), for elementary-age follow the full steps including joint segmentation and fuzzy hair (steps 3–11), and for older kids add refined shading, blending (steps 9–13), and detailed color matching to the reference (step 12).
What are some ways to enhance or personalize the finished tarantula drawing?
To personalize, pick distinct reference colors (step 12), add a background like leaves or a burrow, intensify shadows near leg joints and under the body for depth (steps 9–11), sign your name in a corner (step 14), and share the result on DIY.org (step 15).
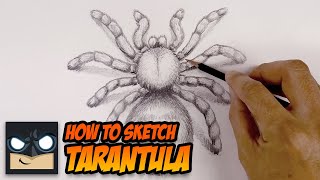
Watch videos on how to draw a realistic tarantula
How To Draw a Tarantula | Step By Step
4 Videos
How To Draw a Tarantula | Step By Step
Tarantula drawing easy | Spider sketches | How to draw A Tarantula step by step | #artjanag
How To Draw A Spider | Tarantula Sketch Tutorial
How to Draw a Spider - drawing tutorial for beginners or kids
Facts about animal drawing for kids
🕷️ Tarantulas are arachnids with 8 legs and two main body parts: the cephalothorax and the abdomen.
🪶 Many tarantulas are covered in tiny hairs (setae) that help them sense the world and some species can flick irritating hairs to defend themselves.
✏️ Artists often begin with simple shapes—circles, ovals, and lines—to block in correct proportions before adding details.
🎨 Tarantulas display subtle color variations and patterns, so layering colors and observing small tones makes drawings more realistic.
🌓 Using at least three tonal values (light, mid, dark) with hatching or blending helps flat shapes look three-dimensional.
How do you draw a realistic tarantula step by step?
What materials do I need to draw a realistic tarantula?
What ages is drawing a tarantula suitable for?
What are the benefits of drawing a tarantula and safe ways to explore variations?
