How to draw a t shirt - a free t shirt drawing guide
Draw a T shirt step by step using simple shapes, add sleeves, collar and patterns. Practice proportions and creativity with clear steps.

Drawing Apps
Photos of T-shirt drawing examples


Step-by-step guide to draw a T-shirt
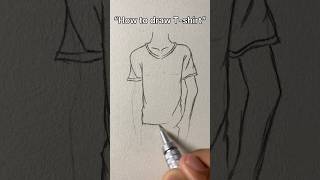
How to draw a T-Shirt Step by Step | T-Shirt Drawing Lesson for kids beginners and toddlers baby
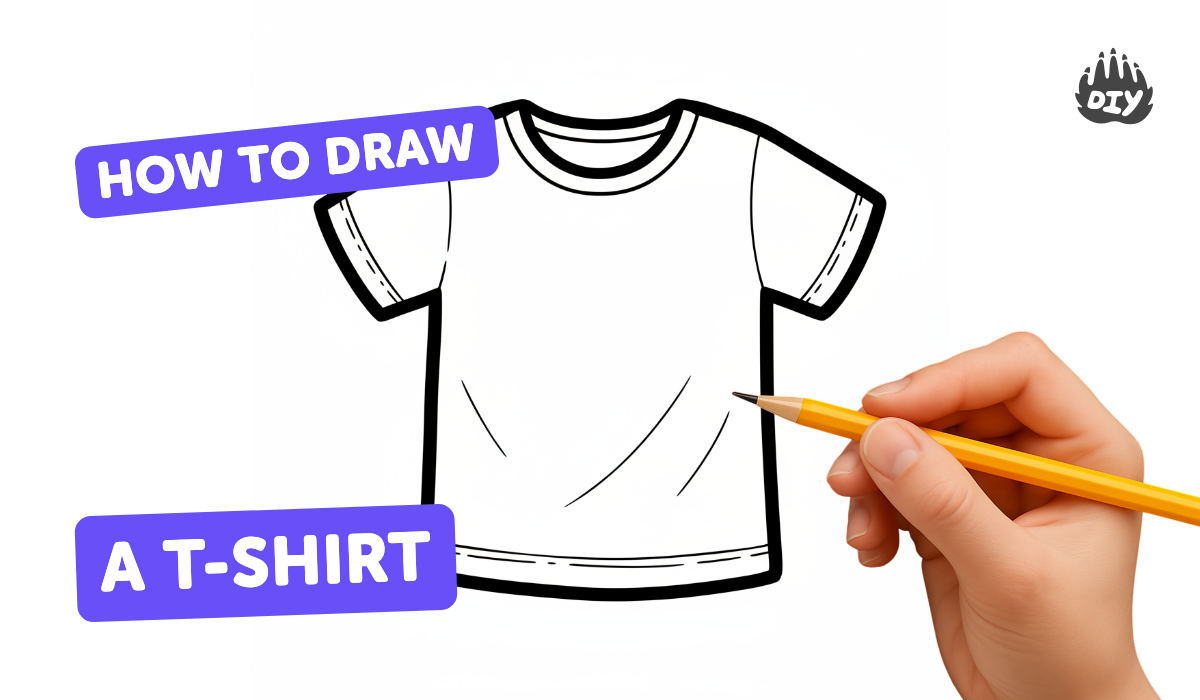
Step 1
Place your paper and pencil and draw a light vertical center line down the page to help balance your shirt.
Step 2
Draw a horizontal shoulder line near the top crossing the center line to show how wide the shirt shoulders will be.
Step 3
From the shoulder ends draw two slightly angled lines down and connect them with a curved or straight line to form a trapezoid for the shirt body.
Step 4
On each side of the shoulder line draw a short curved rectangle or triangle attached to the body to make the sleeves.
Step 5
Draw a U or V shape at the top center of the shoulder line to create the neckline.
Step 6
Draw a horizontal line a little above the bottom of the trapezoid to add the shirt hem.
Step 7
Draw thin vertical lines just inside the left and right edges of the body to mark the side seams.
Step 8
Sketch a small rectangle or square on one chest area to add a pocket.
Step 9
Add a pattern by drawing simple shapes like stripes dots or stars across the body and sleeves to practice symmetry and creativity.
Step 10
Erase the center line and any extra guide marks so your T-shirt lines look clean.
Step 11
Color your T-shirt and patterns using your coloring materials to finish your design.
Step 12
Share your finished T-shirt drawing on DIY.org.
Help!?
I don’t have a pencil or eraser—what can we use instead to follow the 'place your paper and pencil' and 'erase the center line' steps?
Use a pen or fine-tip marker on scrap paper or the back of a printout and, if you can’t erase, draw the center line and shoulder guide more lightly or draw extra cleaner outlines over the guides before removing the rough sketch with another sheet.
My trapezoid body or sleeves look uneven after drawing—how can we fix the lopsided shape from the 'draw a light vertical center line' and 'from the shoulder ends draw two slightly angled lines' steps?
Check your light vertical center line and realign one side by comparing the shoulder line, hem line, and side seam marks, then redraw the angled body line or sleeve shape to mirror the opposite side before erasing guides.
How can this t-shirt drawing be simplified for younger kids or made more challenging for older kids based on the steps like 'draw a U or V shape' and 'add a pattern'?
For younger kids, pre-draw the vertical center and shoulder line for them and let them add a simple U neckline and big shapes to color, while older kids can add collars, seam details, precise side seams, pocket stitching, and repeat patterns to practice symmetry.
What are some fun ways to extend or personalize the activity after you 'color your T-shirt and patterns' and 'erase the center line'?
Turn the finished colored drawing into a paper T-shirt by cutting it out and gluing fabric scraps for texture, adding a name tag or logo on the pocket, and then photograph and share the design on DIY.org.
Watch videos on how to draw a T-shirt
How to Draw a T-shirt | Easy step by step tutorial for Kids and Toddlers
4 Videos
How to Draw a T-shirt | Easy step by step tutorial for Kids and Toddlers
How to draw a T-Shirt Step by Step
✅ How to Draw: Tshirt Drawing tutorial (step by step easy)
How to draw t-shirt
Facts about drawing clothes and proportions for kids
👕 The modern T‑shirt shape exploded into everyday fashion in the 1950s after earlier use as an undergarment.
✏️ Artists often block in clothing with simple shapes (rectangles for the torso, ovals for sleeves) to nail proportions fast.
🎨 A tiny change in a pattern—stripes, polka dots, or a logo—can totally change a shirt's style and mood.
🧵 In sewing, collars and sleeves are drafted from measurements; small pattern tweaks make big style differences.
📏 Fashion illustrators use head-unit proportions (usually 7–10 heads tall) to keep clothing looking balanced on figures.
How do I teach my child to draw a T-shirt step by step?
What materials do I need to draw a T-shirt with my child?
What ages is drawing a T-shirt suitable for?
What are the benefits and fun variations of a T-shirt drawing activity?
