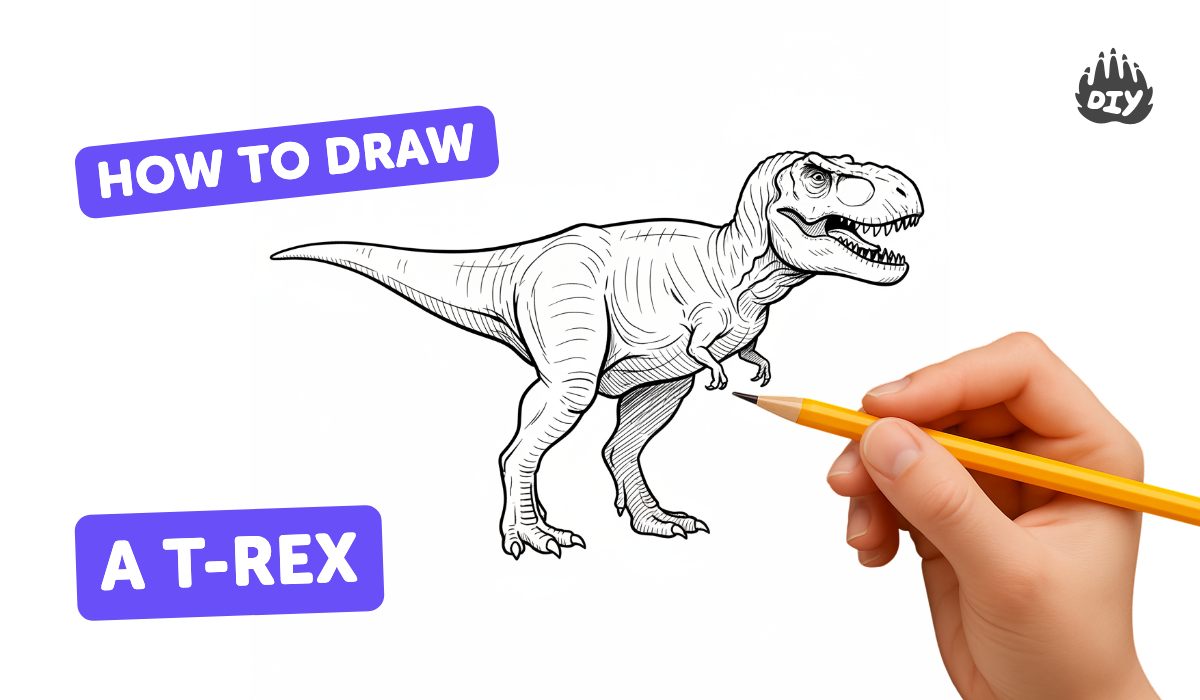
How to draw a t-rex - a free t-rex drawing guide
Draw a detailed T-Rex using simple shapes, proportion guides, and shading to create a realistic dinosaur sketch. Practice observation and shading skills.

Drawing Apps
Photos of T-Rex drawing examples


Step-by-step guide to draw a T-Rex
How to Draw Trex dinosaur (Draw for Kids) Beginner vs Pro - Easy Step By Step
Step 1
Gather your drawing materials and put them on a flat surface.
Step 2
Lightly draw a horizontal ground line across the paper so your T‑Rex has a place to stand.
Step 3
Sketch a large sideways oval in the middle of the paper for the T‑Rex body.
Step 4
Draw a medium circle in front of the oval to mark the head position.
Step 5
Add a small circle near the back of the oval to mark the hip joint.
Step 6
Connect the head circle to the body with two curved lines to make a neck guide.
Step 7
Draw a long curved line from the back of the body to make a tail guide.
Step 8
Sketch angled line guides from the hip circle to place the hind legs and draw two short lines near the front of the body for the tiny arms.
Step 9
Smooth and connect the simple shapes to refine the T‑Rex contour into a clear head jaw chest belly legs and tail outline.
Step 10
Add facial and skin details like the open mouth with teeth the eye the nostril and a few wrinkles or scale marks.
Step 11
Decide where your light comes from by drawing a small arrow and lightly mark the areas that will be in shadow.
Step 12
Shade the shadow areas with your pencil using hatching and layered tones then gently blend with a stump or tissue and erase stray construction lines to clean up the drawing.
Step 13
Share your finished T‑Rex sketch on DIY.org
Help!?
What can I use if I don't have a blending stump or a range of pencils?
If you don't have a blending stump, gently blend the shaded shadow areas after hatching with a clean tissue, cotton swab, or fingertip, and use whatever softer pencils you have (e.g., a 2B or 4B) for darker tones while keeping an HB for the light construction lines like the sideways oval and head circle.
My T‑Rex looks out of proportion when I smooth the shapes—how do I fix that?
Lighten and recheck the initial construction guides—the horizontal ground line, the large sideways oval for the body, the medium head circle, and the hip circle with angled leg guides—and resize or reposition those shapes before refining the contour and erasing stray construction lines.
How can I adapt this activity for different ages?
For younger kids use only the big sideways oval, head circle, and two short arm lines and skip shading; for elementary kids add tail and leg guides and simple hatching; and for older kids encourage detailed teeth, skin marks, directional light arrow, layered shading with a stump or tissue, and posting to DIY.org.
What are some ways to extend or personalize my T‑Rex drawing?
Personalize by changing the light arrow direction and deepening hatching in the shadow areas, adding a background along the ground line, coloring the sketch with colored pencils or markers, or drawing multiple poses to create a T‑Rex scene to share on DIY.org.
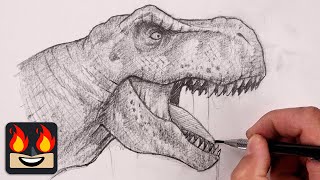
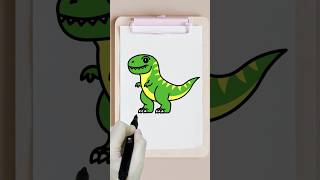
Watch videos on how to draw a T-Rex
How to Draw a T-Rex Dinosaur Easy
4 Videos

How to Draw a T-Rex Dinosaur Easy
How To Draw T-Rex | Step By Step Sketch Tutorial
How to Draw a T-Rex Dinosaur: Easy Step-by-Step Tutorial for Beginners!

How to Draw a T-Rex in 30 Seconds! 🦖 Easy Dinosaur Drawing for Kids | JunyTony #Shorts
Facts about drawing and sketching
🦖 T. rex lived about 68 to 66 million years ago and was one of the last non-avian dinosaurs.
🦴 A grown T. rex could reach over 12 meters (about 40 feet) long and weigh up to around 9 tons.
🔍 Paleontologists study bone proportions and tooth patterns — info artists use to draw realistic dinosaur shapes.
✏️ Many artists start a T. rex sketch with simple shapes (circles, ovals, lines) to get proportions right before adding details.
🎨 Shading and texture (like cross-hatching) make muscles and scales pop, turning a flat outline into a lifelike sketch.
How do I draw a detailed T-Rex step by step?
What materials do I need to draw a realistic T-Rex?
What ages is drawing a detailed T-Rex suitable for?
What are the benefits of drawing a detailed T-Rex?
