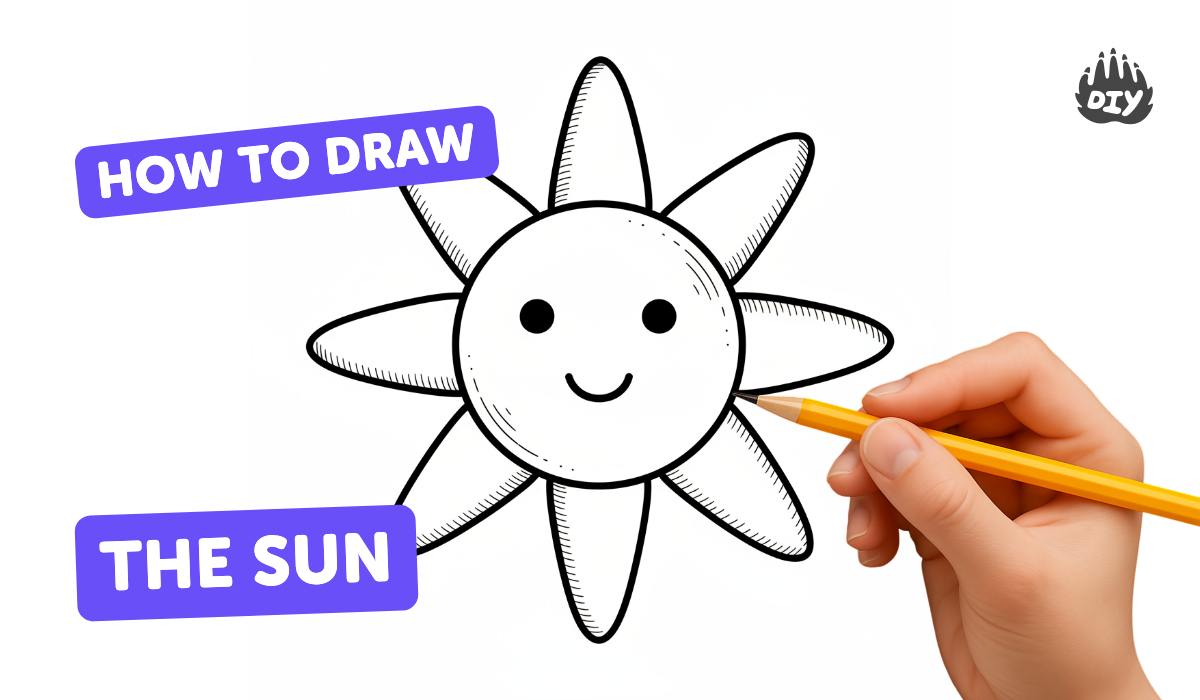
How to draw a sun - a free sun drawing guide
Draw a sun with a circle and alternating straight and wavy rays, then color and shade it. Practice observation and pencil control.

Drawing Apps
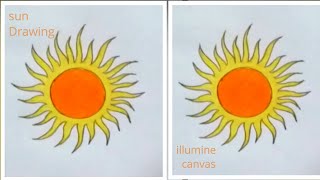
Photos of sun drawing examples with alternating straight and wavy rays


Step-by-step guide to draw a sun with alternating straight and wavy rays
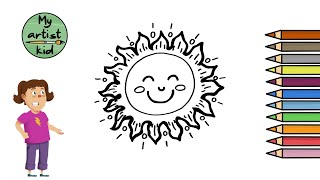
How to Draw the Sun 🌞 Draw and Color a Cute Sun 🌈 Drawings for Kids
Step 1
Gather your materials and sit at a flat table.
Step 2
Lightly mark the center of your paper with a small pencil dot.
Step 3
Draw a light circle around the center dot using freehand or by tracing something round.
Step 4
Decide how many rays you want and lightly mark evenly spaced dots around the circle for the ray tips.
Step 5
Draw straight rays from the edge of the circle to every other dot so the straight rays are spaced evenly.
Step 6
Draw wavy rays from the circle to the remaining dots so the wavy rays alternate with the straight rays.
Step 7
Erase any extra construction marks you do not want to keep.
Step 8
Trace over the circle and all rays with a darker pencil line to finish your outlines.
Step 9
Add gentle pencil shading along the base of each ray and the lower edge of the circle to make your sun look round.
Step 10
Color your sun using bright colors in the center and slightly darker shades near the shaded edges for depth.
Step 11
Share your finished sun on DIY.org.
Help!?
What can I use if I don't have a compass or a darker pencil for outlining?
If you don't have a compass or a round object to trace for the circle, use a cup or jar lid for step 3 and, if you lack a darker pencil for step 8, use a fine-tip marker.
My rays look uneven or crooked—how do I fix that?
If your straight rays look crooked or your dots are uneven from step 4, fold the paper to mark evenly spaced dots or use a ruler to place dots and redraw the rays lightly before tracing.
How can I adapt this activity for different ages?
For younger children, pre-draw the center dot and circle from steps 2–3 and give chunky crayons for coloring, while older kids can add more alternating straight and wavy rays and detailed pencil shading in step 9 using colored pencils for blending.
What are some ways to personalize or extend the sun drawing?
To personalize and extend the activity, add a smiling face and patterned rays after tracing in step 8, try watercolor or oil pastel over your colored pencil shading for richer depth, and photograph the finished sun to share on DIY.org.
Watch videos on how to draw a sun with alternating straight and wavy rays
Kids Drawing Tutorial: How to Draw Sun Easy Step by Step
4 Videos
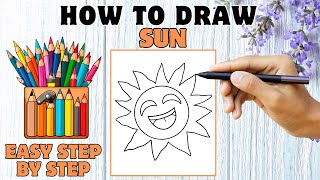
Kids Drawing Tutorial: How to Draw Sun Easy Step by Step
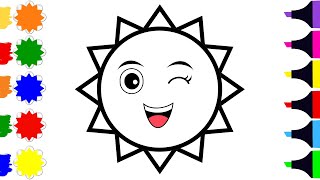
How to Draw the Sun - Easy drawing, painting and coloring for kids
How to Draw a Cute Sun | Easy Step by Step Tutorial | Artful Joyland
How to Draw a Sun | Easy Drawing for Kids & Beginners
Facts about basic drawing techniques and pencil control
☀️ The Sun is a huge ball of hot gas about 109 times the diameter of Earth.
✏️ Practicing simple shapes like circles and rays builds pencil control and strengthens fine motor skills.
🔆 Artists have used straight and wavy rays for centuries to show brightness, heat, and movement.
🎨 Shading one side of a circle with soft pencil strokes can make a flat sun look three-dimensional and glowing.
🌀 Alternating straight and wavy rays creates visual rhythm — a common trick in cartoons and logo design.
How do you draw a sun with alternating straight and wavy rays?
What materials do I need to draw and shade a sun?
What ages is this sun-drawing activity suitable for?
What are the benefits of drawing a sun with alternating rays?
