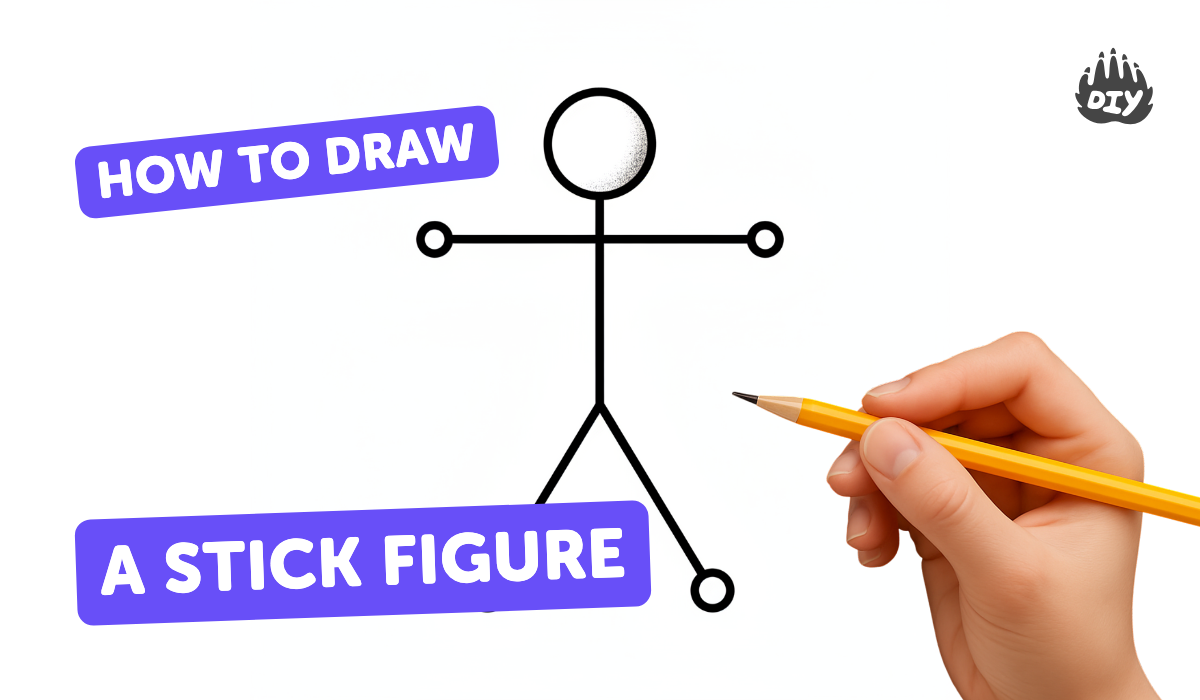
How to draw a stick figure - a free stick figure drawing guide
Learn to draw a stick figure using simple shapes and lines, practice proportions and poses, and add basic details to create lively characters.

Step-by-step guide to draw a stick figure
12 Easy Stick Figures in Different Poses: Easy Step by Step Drawing Tutorial for Beginners
Step 1
Gather your materials and find a flat spot to draw.
Step 2
Lightly draw a circle near the top of the page for the head.
Step 3
Draw a straight vertical line down from the head about two head-heights long as the spine guideline.
Step 4
Put a short horizontal mark across the top of the spine for the shoulders.
Step 5
Put a short horizontal mark lower on the spine for the hips.
Step 6
Draw a simple rectangle or curved line between the shoulder and hip marks to make the torso.
Step 7
From each shoulder mark draw a straight line outward for the upper arm and add a small circle where the elbow will bend.
Step 8
From each hip mark draw a straight line down for the upper leg and add a small circle where the knee will bend.
Step 9
Add simple hands and feet as small circles or ovals at the ends of the arms and legs.
Step 10
Draw a face expression inside the head circle like a smile and add a simple hairstyle.
Step 11
Erase any extra light guide lines you no longer need.
Step 12
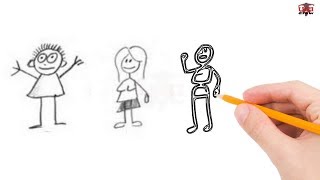
Draw two more stick figures with different poses to practice proportions and movement.
Step 13
Color your stick figures and add clothing or small details with your coloring materials.
Step 14
Take a photo and share your finished stick-figure characters on DIY.org.
Help!?
I don't have a pencil or eraser — what can I use instead to make the light guide lines and still erase them later?
Use an erasable colored pencil or put your paper in a plastic sheet protector and draw the light guide lines with a dry-erase marker so you can erase them after the step 'Erase any extra light guide lines.'
My stick figure's arms look too long or the knees are in the wrong place — how can I fix the proportions?
Follow the instruction to make the spine 'about two head-heights long' and use that head circle as a measuring unit to place the shoulder/hip marks and the elbow/knee circles so limbs line up correctly per the steps 'Put a short horizontal mark... for the shoulders' and 'add a small circle where the knee will bend.'
How can I adapt this activity for a 3-year-old or a 12-year-old?
For a 3-year-old skip the light spine guideline and use big crayons and stickers to make one simple figure, while a 12-year-old can draw three figures with varied poses, added clothing details, and shading as suggested in 'Draw two more stick figures' and 'Color your stick figures and add clothing or small details.'
How can we personalize or extend the finished stick figures beyond just coloring?
Turn each stick figure into a character by adding unique hairstyles, outfits, props, a background or a short comic strip of the different poses and then 'Take a photo and share your finished stick-figure characters on DIY.org.'
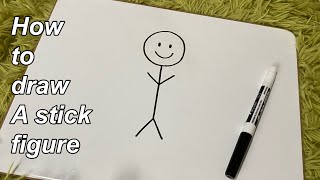
Watch videos on how to draw a stick figure
How to Draw Stick figure Step by Step Easy for Beginners/Kids - Stick Figures Drawing Tutorial
3 Videos
How to Draw Stick figure Step by Step Easy for Beginners/Kids - Stick Figures Drawing Tutorial
How to draw a stick figure (super easy tutorial)

How To Draw Better Stick People | Easy Tutorial!
Facts about figure drawing for kids
🦴 Stick figures appear in cave paintings and ancient art — people have been drawing simple humans for thousands of years!
🎨 Gesture drawing is a quick-sketch practice artists use to capture movement in just 30 seconds to a few minutes.
📏 Artists often use the head as a measuring unit — an adult is roughly 7–8 heads tall, which helps with proportions.
✨ Adding tiny shapes (circles for joints, ovals for bodies) makes a stick figure look more lively and 3D.
🕺 A small tilt, a curve, or motion lines can turn a static stick figure into a dancing, running, or jumping character.
How do you draw a stick figure?
What materials do I need to draw stick figures?
What ages is this activity suitable for?
What are the benefits of drawing stick figures?
