How to draw a spring - a free spring drawing guide
Draw a coiled metal spring with pencil, ink, and shading to create a realistic 3D effect. Practice spirals, perspective, and shading.


Drawing Apps
Photos of coiled spring drawing examples


Step-by-step guide to draw a coiled spring
How To Draw A Spring Landscape
Step 1
Gather your materials and find a clean flat spot to draw.
Step 2
Lightly draw two vertical parallel guide lines on your paper to set the spring’s width.
Step 3
Mark a small tick at the top and a small tick at the bottom between the guide lines to set the spring’s length.
Step 4
Lightly draw a smooth spiral centerline between the guide lines from the top tick down to the bottom tick.
Step 5
Draw a second spiral line parallel to the first to create the thickness of the coil, keeping the spacing even.
Step 6
Draw short curved connecting lines at the ends of each loop so each coil looks like a solid band.
Step 7
Draw a rounded ellipse at the top between the guides to show the open rim of the spring and match the spiral direction.
Step 8
Carefully ink the outer edges of the coils and the front-overlapping edges with your pen to define the shape.
Step 9
Let the ink dry and then gently erase the remaining pencil guide lines.
Step 10
Pick a direction for your light source so you know which side of the coils will be lighter.
Step 11
Shade the underside of each coil with a pencil using darker strokes near the inner edge and lighter strokes outward.
Step 12
Blend the shaded areas with a blending stump or cotton bud to smooth the tones.
Step 13
Darken the deepest shadow gaps between coils to boost the 3D look and make the spring pop.
Step 14
Draw a soft cast shadow on the surface beneath the spring so it looks grounded.
Step 15
Share your finished coiled spring drawing on DIY.org
Help!?
What can I use instead of a blending stump or special pens if I don't have them?
If you don't have a blending stump, use a cotton bud or a folded tissue to 'Blend the shaded areas,' and if you lack an ink pen for the 'Carefully ink the outer edges' step, substitute a fine-tip marker or a sharpened colored pencil.
My spiral looks wobbly or the coil spacing is uneven—how do I fix that?
If your spiral centerline or spacing becomes uneven, redraw or reinforce the two vertical parallel guide lines and add extra small ticks between the top and bottom ticks to guide a smoother 'lightly draw a smooth spiral centerline' and keep the 'second spiral line' evenly spaced.
How can I adapt this spring drawing activity for different ages or skill levels?
For younger children, pre-draw the two vertical guide lines and top/bottom ticks and let them trace the spiral with a crayon instead of inking, while older kids can follow all steps—especially 'shade the underside,' 'blend the shaded areas,' and 'darken the deepest shadow gaps'—to develop realistic shading skills.
What are some ways to enhance or personalize the completed spring drawing?
To personalize the drawing, add metallic highlights with a white gel pen on the front-overlapping edges, apply colored-pencil gradients inside each coil after blending, or draw multiple springs with varied widths and matching cast shadows before sharing on DIY.org.
Watch videos on how to draw a coiled spring
How To Draw A Cherry Blossom Spring Tree
4 Videos
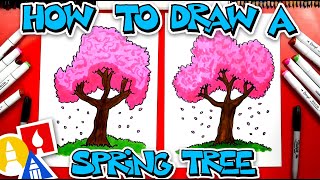
How To Draw A Cherry Blossom Spring Tree
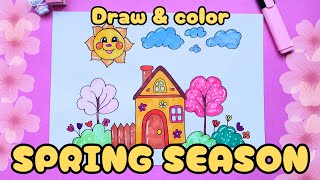
How to draw Spring Season easy for kids. Drawing of Spring Season step-by-step for children
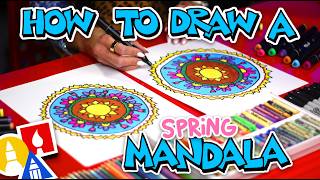
How To Draw A Spring Mandala: Step-by-Step Art Lesson for All Ages

How To Draw A Spring Tree House for Kids and Beginners
Facts about drawing and shading techniques for kids
🌀 The curve of a metal spring is a helix — the same basic shape seen in telephone cords and snail shells.
🔩 Coil springs can store mechanical energy and are used in everything from watches to car suspensions.
✏️ Practicing smooth spirals helps artists gain better wrist control and steadier, more confident lines.
🎨 Cross-hatching is a classic ink shading method that builds darker tones by layering angled lines.
👀 To make a drawn spring look 3D, darken the inner/underside of each coil and add a thin highlight on the top edge.
How do I teach my child to draw a realistic coiled metal spring with pencil, ink, and shading?
What materials do I need to draw a coiled spring with pencil, ink, and shading?
What ages is this spring-drawing activity suitable for?
What are some fun variations and practice tips for drawing springs?
