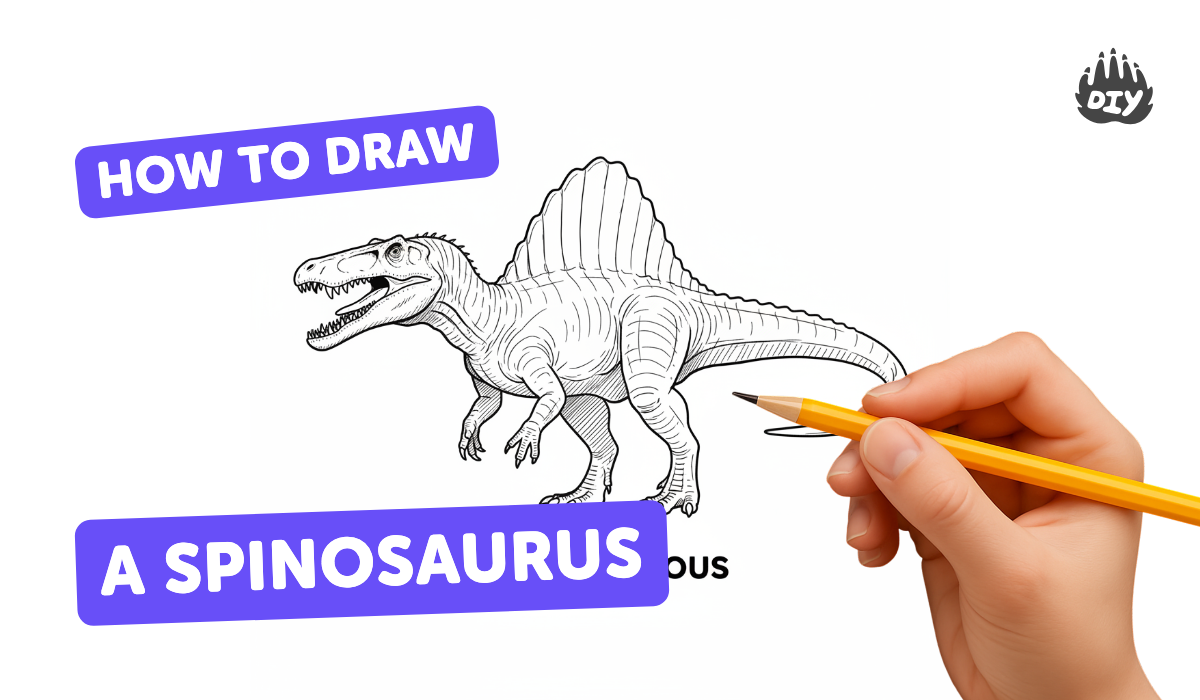
How to draw a spinosaurus - a free spinosaurus drawing guide
Draw a realistic Spinosaurus step-by-step using basic shapes, adding scales, sail, and shading. Practice proportions, texture, and color choices for accuracy.

Drawing Apps
Photos of Spinosaurus drawing examples


Step-by-step guide to draw a realistic Spinosaurus
How To Draw A Spinosaurus Dinosaur
Step 1
Clear a flat space and get your paper and pencils ready so you have a comfy drawing spot.
Step 2
Put a Spinosaurus reference picture where you can see it to help you copy accurate shapes.
Step 3
Lightly draw a long oval for the torso to map the main body of your Spinosaurus.
Step 4
Lightly draw a circle for the head and connect it to the torso with a gentle neck line.
Step 5
Draw a long curved guideline from the back of the torso to set the tail length and balance.
Step 6
Mark shoulder hip and knee joints with small circles to plan where the limbs will go.
Step 7
Sketch the sail along the back as a line of tall curved triangles following the spine guideline.
Step 8
Shape the snout and jaw outline on the head so the mouth looks long and dinosaur like.
Step 9
Thicken the limb and tail guidelines into solid muscle shapes and add simple toes.
Step 10
Erase extra construction lines and smooth the outer contour to create a clean silhouette.
Step 11
Add scale texture by drawing small overlapping rounded shapes and larger scales where the skin would stretch.
Step 12
Pick color choices for the skin sail and stripes that make your Spinosaurus look realistic or exciting.
Step 13
Decide where the light is coming from and add shading with your pencil placing darker tones on the belly behind the sail and under limbs then blend softly with tissue.
Step 14
Apply your chosen colors starting with a base color then layer darker tones and highlights and add final details like the eye teeth and sail stripes.
Step 15
Share your finished Spinosaurus drawing on DIY.org
Help!?
What can I use if I don't have colored pencils, blending tissue, or a Spinosaurus reference picture?
If you don't have colored pencils, use crayons, markers, or watercolor paints, substitute tissue for blending with a clean cotton swab or your fingertip, and use a smartphone photo or a page from a dinosaur book as your Spinosaurus reference picture for step 2.
My Spinosaurus looks out of proportion or the sail is wrong—how can I fix it?
If proportions or the sail placement look off, revisit steps 3–8 to lightly adjust the long oval torso, head circle, limb joint circles, and sail triangle guideline before you thicken shapes, then erase extra construction lines as in step 10.
How can I adapt this drawing activity for younger or older kids?
For younger children simplify steps 3–8 to big ovals and triangles and use chunky markers or crayons for easier control, and for older kids encourage adding scale texture in step 11 and advanced shading/blending and color layering from steps 13–14.
How can we extend or personalize the Spinosaurus drawing when we're finished?
Extend the activity by creating a background scene, experimenting with mixed media like a watercolor base under your chosen colors from step 12, adding extra details from steps 11 and 14, and photographing the final piece to share on DIY.org as in step 15.
Watch videos on how to draw a realistic Spinosaurus
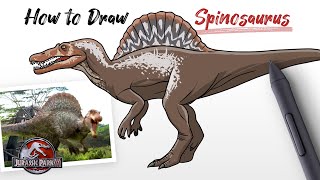
How to Draw Spinosaurus dinosaur from Jurassic World Rebirth Easy Step By Step
4 Videos
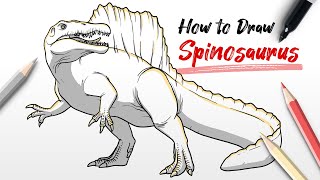
How to Draw Spinosaurus dinosaur from Jurassic World Rebirth Easy Step By Step
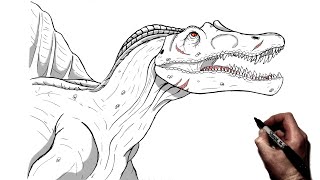
How To Draw a Spinosaurus | Step by Step
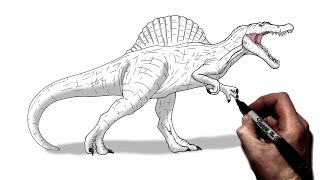
How To Draw Spinosaurus | Step By Step | Jurassic World
How to Draw a Spinosaurus dinosaur from Jurassic Park 3 easy Step By Step
Facts about Spinosaurus and dinosaur anatomy
🦖 Spinosaurus may have been the largest meat-eating dinosaur, reaching lengths around 15 meters (50 ft) — bigger than many famous theropods.
🪶 Scientists still debate its skin and colors, so artists get creative: realistic-looking dinosaurs can be any pattern or shade you choose!
💦 Recent fossils suggest Spinosaurus was adapted for swimming and fishing, making water and wet-texture practice useful for authenticity.
🦷 It had cone-shaped, straight teeth great for catching fish — unlike the serrated teeth of T. rex, a detail that helps realism in close-ups.
📐 The tall sail was formed by elongated vertebral spines; practicing proportions with simple shapes (rectangles, ovals) helps you place it correctly.
How do I draw a realistic Spinosaurus step-by-step?
What materials do I need to draw a realistic Spinosaurus?
What ages is this Spinosaurus drawing activity suitable for?
What are the benefits of drawing a realistic Spinosaurus with my child?
