How to draw a snow globe - a free snow globe drawing guide
Draw a detailed snow globe: sketch the glass dome and base, add a tiny winter scene, then shade and color floating snowflakes.

Drawing Apps
Photos of detailed snow globe drawings


Step-by-step guide to draw a detailed snow globe
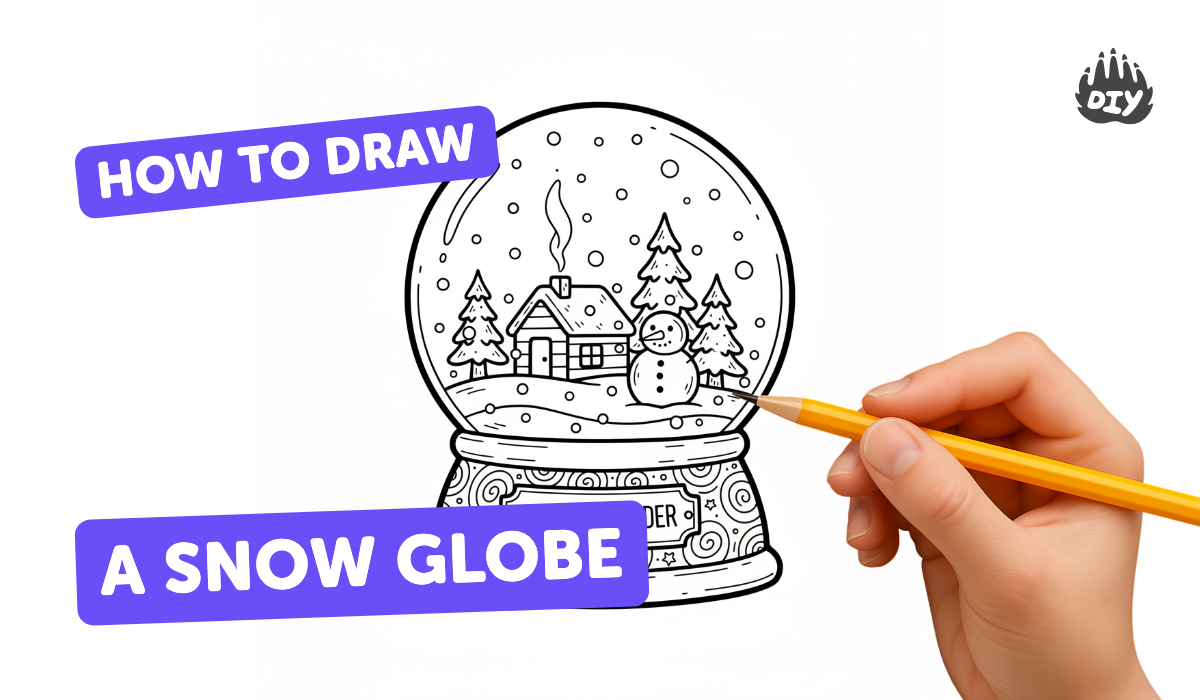
How To Draw A Snowglobe
Step 1
Gather all your materials and put them on a clear table so you are ready to draw.
Step 2
Place the round object on the paper and lightly trace a circle with your pencil to make the snow globe dome.
Step 3
Draw a flat oval under the circle and a rectangle below it to make the base of the snow globe.
Step 4
Inside the circle draw a slightly smaller circle to show the glass edge of the dome.
Step 5
Draw a low curved line inside the dome to make the snowy ground where your tiny scene will sit.
Step 6
Sketch one main tiny object in the center like a little house a pine tree or a snowman.
Step 7
Add small details around the main object such as windows a door tree branches or a chimney.
Step 8
Draw many tiny snowflakes and dots floating around the scene using small circles stars or crosses.
Step 9
Trace all the final lines carefully with your black fine-liner pen to make the drawing bold.
Step 10
Wait a minute for the ink to dry so it won’t smudge when you erase.
Step 11
Gently erase the pencil guide lines so only your inked drawing remains.
Step 12
Shade the dome and the base with your pencil using light strokes and smudging to show glass and shadow.
Step 13
Colour the tiny scene inside the globe using your colouring materials and make the base bright or patterned.
Step 14
Use the white gel pen or white crayon to add bright snowflake dots highlights and sparkles on the glass.
Step 15
Take a picture of your finished snow globe and share your creation on DIY.org
Help!?
What can I use instead of the round object, black fine-liner, or white gel pen if I don't have them?
Use a cup or jar lid to trace the dome in the 'Place the round object' step, swap the black fine-liner for a thin permanent marker or felt-tip pen when you 'Trace all the final lines,' and replace the white gel pen with white acrylic paint, correction fluid, or a white crayon for the 'add bright snowflake dots' step.
My ink smudged and pencil lines won't erase cleanly — what should I do?
If ink smudges when you 'Gently erase the pencil guide lines,' let the fineliner dry longer, blot the ink with scrap paper, and then use a soft kneaded eraser to gently lift the pencil without rubbing the ink.
How can I change this activity for younger or older kids?
For younger kids pre-trace the circle and oval and let them stick simple shapes or color a pre-drawn snowman instead of using a fine-liner, while older kids can add detailed 'Shade the dome and the base' pencil shading, intricate patterns on the base, and tiny highlights with a white gel pen.
How can we make the finished snow globe more special or interactive?
Make it interactive by adding glued sequins or loose glitter under a taped acetate layer to shake like real snow, painting a personalized pattern on the base when you 'Colour the tiny scene,' and then 'Take a picture of your finished snow globe and share' it online.
Watch videos on how to draw a detailed snow globe
How to Draw a Cute Christmas Tree Snow Globe - Easy Step-by-Step for Kids!
4 Videos
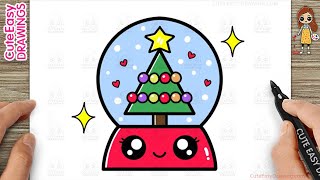
How to Draw a Cute Christmas Tree Snow Globe - Easy Step-by-Step for Kids!
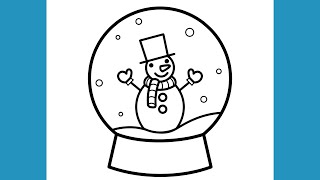
How To Draw A Snow Globe Easy Step by Step
How To Draw A Snow Globe

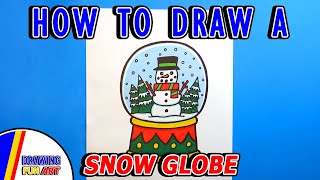
#DrawWithRob 167 Snowglobe
Facts about drawing and shading
❄️ Snow globes make snowfall by suspending tiny particles in liquid so they drift slowly when you shake them.
🎨 Using perspective (like horizon lines and vanishing points) helps your tiny winter scene look realistic inside the dome.
🌲 A snow globe’s little world is like a miniature diorama — artists arrange tiny objects to tell a story in a small space.
🪞 Glass domes reflect light, so adding small bright highlights makes the globe look shiny and round.
✨ To show depth in falling snow, draw different sizes of white flakes and blur or fade the ones that look farther away.
How do you draw a detailed snow globe?
What materials do I need to draw a snow globe?
What ages is this snow globe drawing activity suitable for?
What are some creative variations or safety tips for drawing a snow globe?
