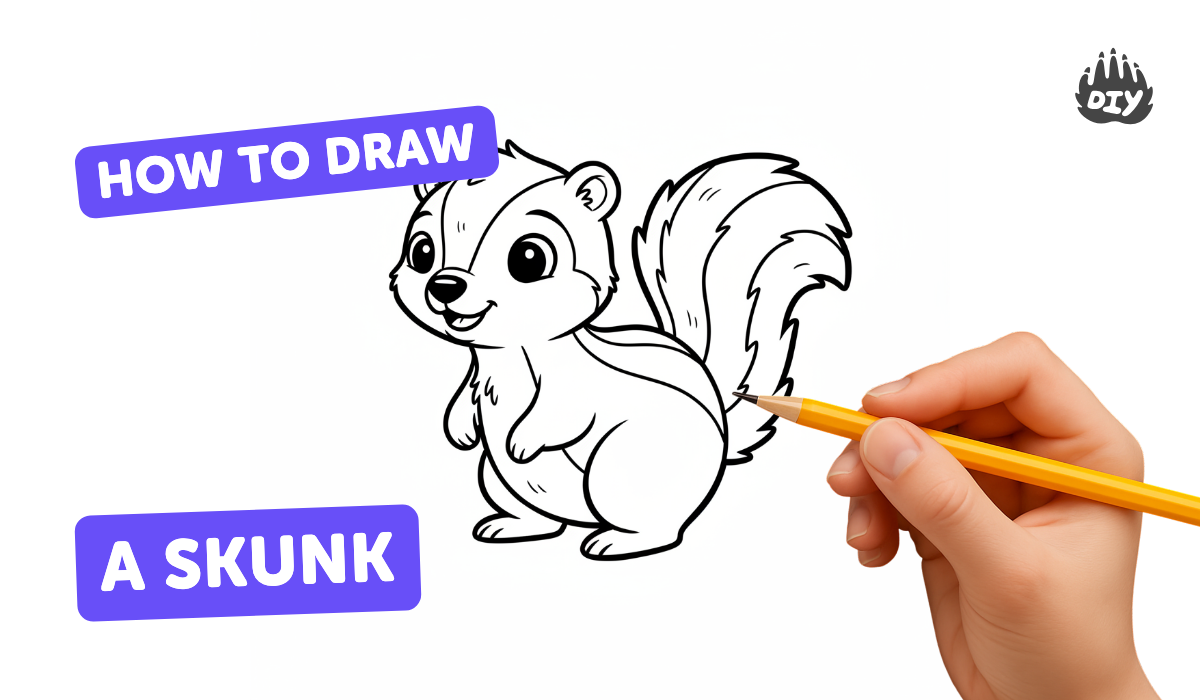
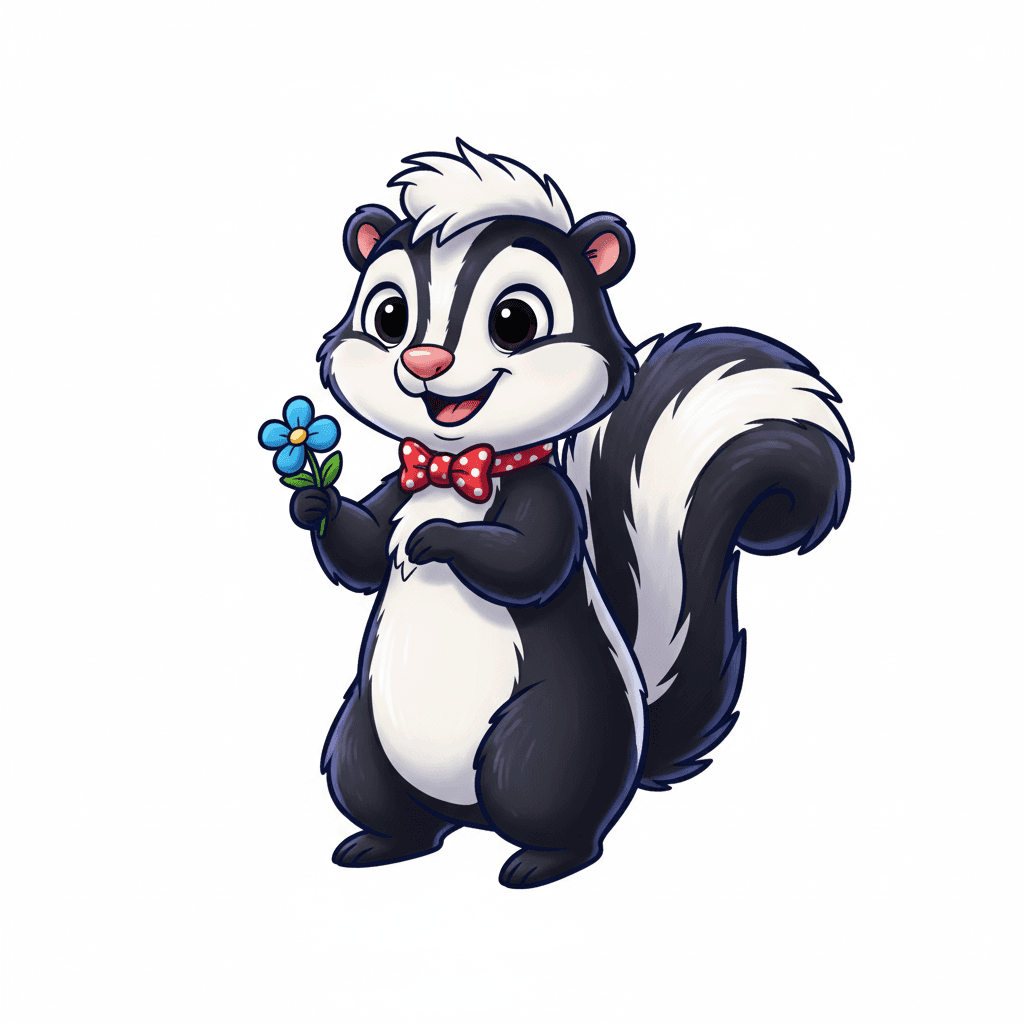
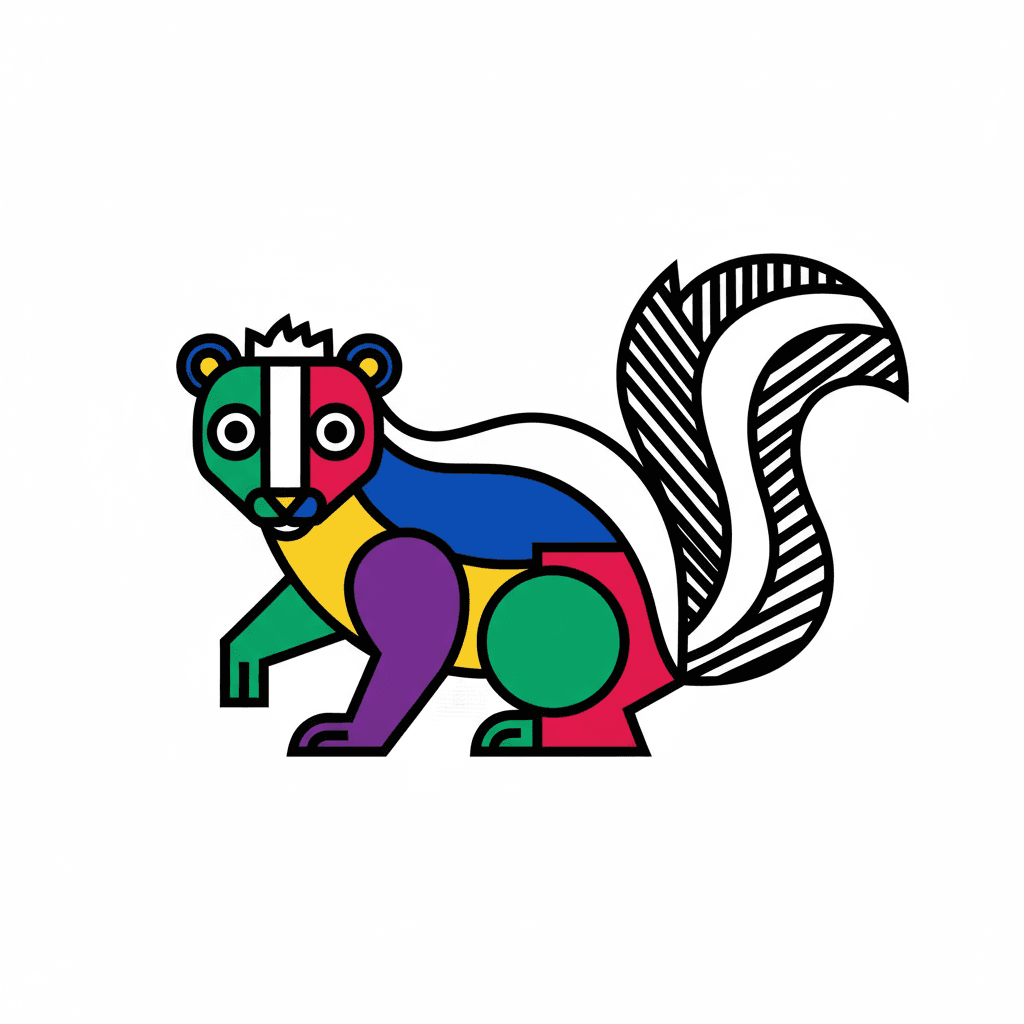
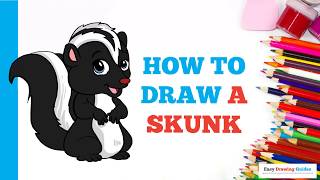
How to draw a skunk - a free skunk drawing guide
Draw a skunk step by step using simple shapes, lines, and shading to add the white stripe and tail detail. Practice proportions and texture.

Drawing Apps
Get inspired with these

Instructions
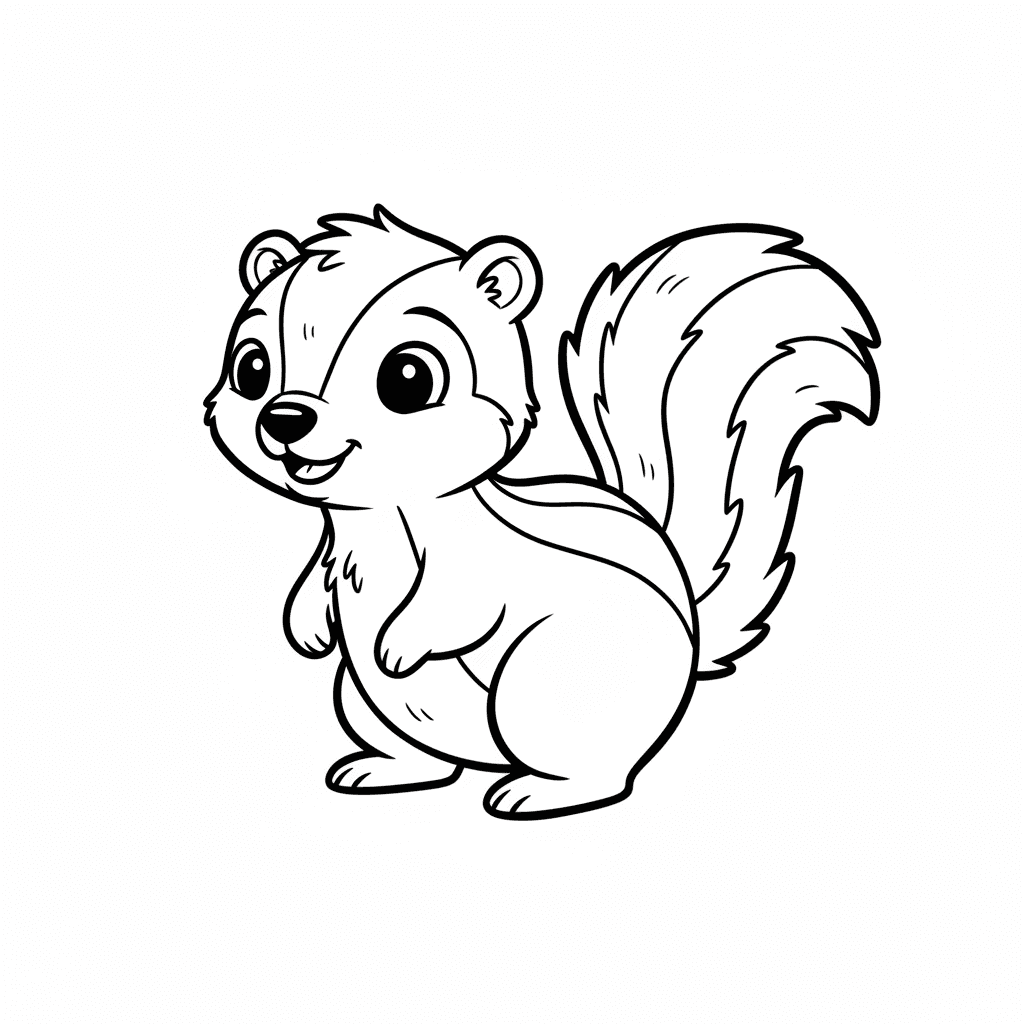
How to Draw a Skunk Step by Step for Kids
Step 1
Draw a small circle near the left side of the paper for the skunk's head.
Step 2
Draw a larger oval that touches the circle behind it for the skunk's body.
Step 3
Add two small rounded triangles on top of the head for ears.
Step 4
Draw a short curved snout extending from the front of the head.
Step 5
Draw four short rounded legs under the body using small ovals or rectangles.
Step 6
Draw a big bushy tail starting at the back of the body using a long curved shape.
Step 7
Sketch two long curved lines from the forehead down the back and along the tail to outline the white stripe.
Step 8
Draw a small circle for the eye a tiny oval for the nose and a short curved line for the mouth.
Step 9
Lightly erase extra guide lines so the skunk shape looks clean.
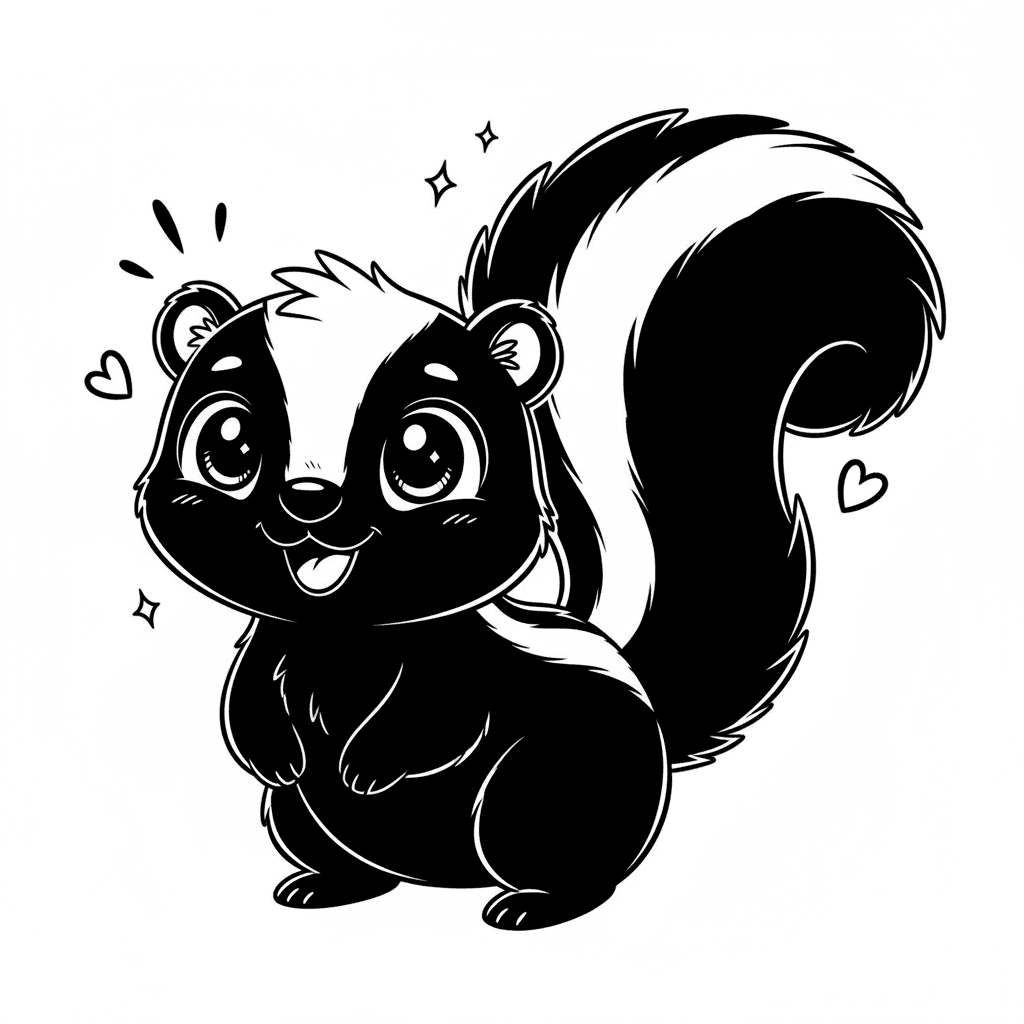
Step 10
Trace over your final pencil outlines with a black marker or black crayon to make the skunk bold.
Step 11
Shade the skunk's black fur with short pencil strokes using the grey pencil leaving the stripe and face highlights white.
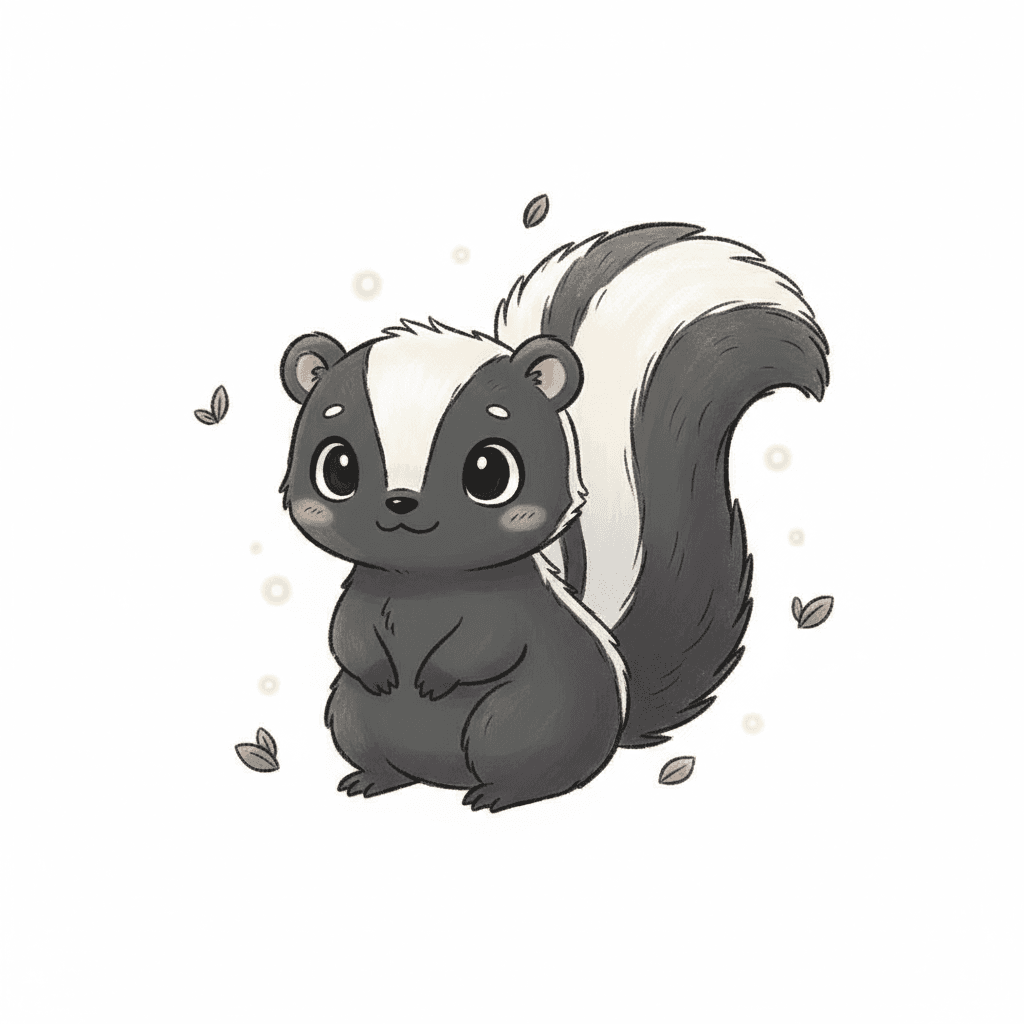
Step 12
Take a photo or scan your finished skunk and share your creation on DIY.org
Help!?
What can I use instead of a grey pencil, black marker, or black crayon if I don't have them?
Use a regular graphite pencil (HB or 2B) to shade the black fur instead of the grey pencil and trace the final outlines with a dark ballpoint pen or fine-tip marker if you don't have a black marker or crayon, keeping the stripe and face highlights white.
My skunk's tail doesn't look bushy or my lines smudge when erasing—how can I fix that?
Lightly sketch the long curved tail starting at the back with faint guide lines, add short outward pencil strokes to build bushy fur, and use a kneaded eraser to gently lift extra guide lines before tracing with the black marker to avoid smudging.
How can I adapt this drawing for younger or older children?
For younger kids, simplify by using big shapes (a pre-drawn circle and oval) and thick markers to trace, while older children can add more realism by refining the snout and ears and shading the black fur with short grey-pencil strokes and cross-hatching on the tail.
How can we personalize or extend the activity after finishing the skunk?
Extend the project by adding a background scene, drawing baby skunks or plants around the skunk, experimenting with color on the tail or sky, and then photographing the finished skunk to share on DIY.org as suggested in the instructions.
Related videos
How To Draw A Skunk (For Young Artists)
4 Videos
How To Draw A Skunk (For Young Artists)
🦨 How to Draw a Simple Skunk | Step-by-Step Lesson 🐾
How to Draw a Skunk in a Few Easy Steps: Drawing Tutorial for Beginner Artists
How to Draw a Cute Skunk Easy | Adorable Skunk Drawing Tutorial 🦨✨
Fun Facts
🦨 Skunk stripe patterns can vary between individuals, so no two skunks look exactly the same.
🎨 Many artists start drawings with simple shapes (circles, ovals, rectangles) to plan proportions.
✏️ Light shading and short strokes give a skunk's tail a fluffy texture and make it look three-dimensional.
📏 Exaggerating the tail size slightly helps keep the skunk looking balanced because the tail is a key feature.
🚫 Skunks spray as a defense—drawing a relaxed pose (tail down or gently curved) makes your skunk look friendly.
How do you draw a skunk step by step for kids?
What materials do I need to draw a skunk with my child?
What ages is drawing a skunk suitable for?
What are the benefits of drawing a skunk and fun variations to try?
