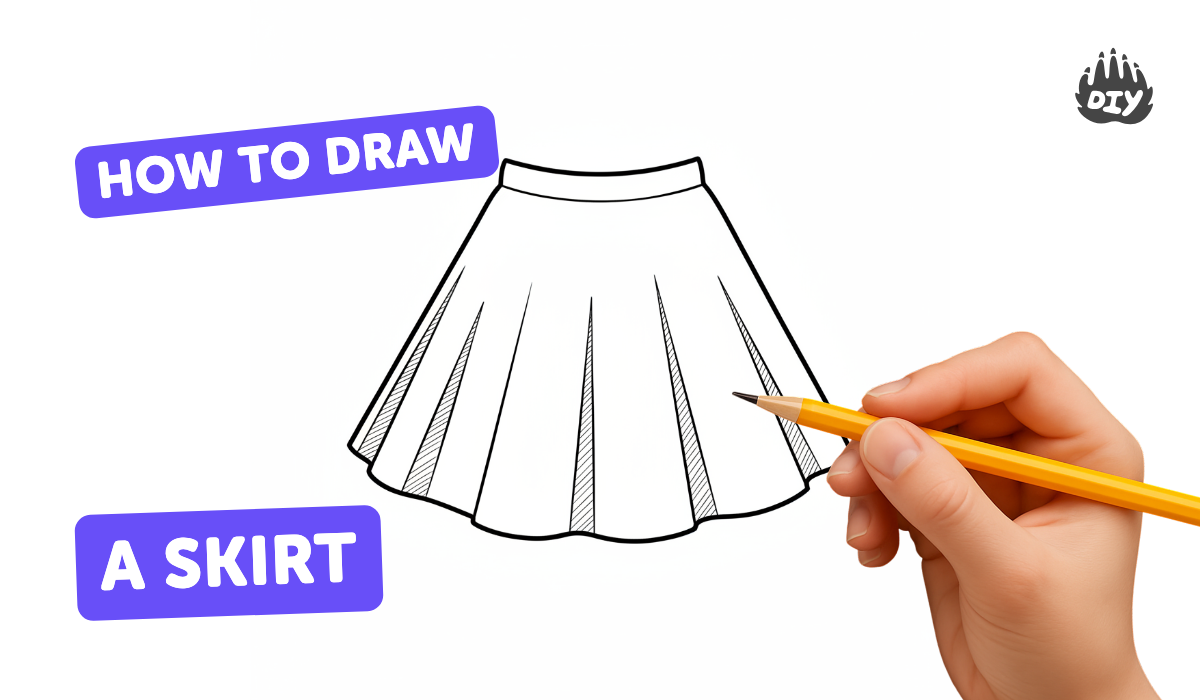
How to draw a skirt - a free skirt drawing guide
Draw a skirt step by step using simple shapes, fold lines, and light shading. Practice proportion, pleats, and contour to create a realistic skirt drawing.

Drawing Apps
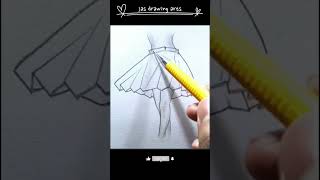
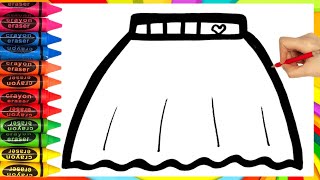
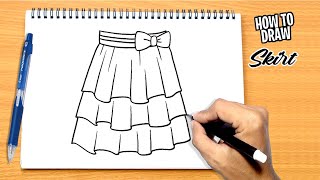
Photos of skirt drawings


Step-by-step guide to draw a skirt
How To Draw A Skirt Step By Step 👗 Skirt Drawing Easy
Step 1
Lightly draw a vertical guide line down the middle of your paper to help keep the skirt centered.
Step 2
Mark a short horizontal line near the top for the waistline so you know where the skirt starts.
Step 3
Draw another horizontal line a little lower for the hip line to help with proportion.
Step 4
Sketch the skirt’s outer shape by drawing a simple trapezoid or gentle A-line from the waist down to the hem.
Step 5
Add 3 to 5 light vertical fold lines from the waist to the hem to show where pleats will be.
Step 6
At the top of each fold line draw a small angled V or curved notch to show the pleat tops at the waistband.
Step 7
Redraw a clean curved hem and smooth side edges to make the skirt’s contour neat and even.
Step 8
Gently erase the center and guide lines that you no longer need so the skirt lines are clear.
Step 9
Shade lightly along the inside edges of each pleat and under the waistband to make the folds look deep.
Step 10
Soften the shading by blending gently with a tissue or blending stump for smooth shadows.
Step 11
Make small fixes by erasing and redrawing any lines that look uneven until the proportions feel right.
Step 12
Share your finished skirt drawing on DIY.org
Help!?
What can we use if we don't have a blending stump or tissue to soften the shading?
Use a clean fingertip, a cotton swab (Q‑tip), or a small piece of soft cloth to gently blend the pencil shading along the pleat edges and under the waistband instead of a blending stump or tissue.
My pleats look flat or my hem is uneven—how can I fix that?
Lighten or redraw the 3–5 vertical fold lines, deepen shading along the inside edges of each pleat and under the waistband, then erase the center guide line and carefully redraw a smooth curved hem and side edges until proportions feel right.
How can I adapt this skirt drawing activity for different ages?
For younger kids keep it simple with one trapezoid shape, a short waistline mark and 1–2 pleats, while older kids can add 3–5 pleats, refined curved hems, blended shadows with a stump or tissue, and make small fixes for realism.
How can we extend or personalize the finished skirt drawing?
Add a patterned fabric, pockets, or decorative waistband, color with markers or colored pencils after erasing guide lines and blending shadows, and then photograph and share the finished skirt drawing on DIY.org.
Watch videos on how to draw a skirt
Drawing a skirt made easy step by step
4 Videos
Drawing a skirt made easy step by step
How to draw a skirt for kids || skirt drawing || Drawings for kids
How to draw a Skirt step by step
How To Draw SKIRTS FROM BASIC SHAPES
Facts about drawing clothing for kids
👗 Skirts have been worn for thousands of years — ancient Egyptian and Mesopotamian art shows skirt-like garments from over 4,000–5,000 years ago.
✏️ Fashion illustrators often start with a quick croquis (a simple figure) that can take less than a minute to sketch to get pose and proportion right.
🔁 Different pleat types change a skirt’s look: knife pleats tighten the silhouette while box pleats add big, bouncy volume.
🎨 Simple techniques like light shading, fold lines, and contour strokes can turn flat shapes into realistic-looking fabric on paper.
📏 In both drawing and sewing, measurements (like waist-to-hip ratio and skirt length) determine how pleats and folds sit and how the skirt drapes.
How do I draw a skirt step by step?
What materials do I need to draw a skirt?
What ages is drawing a skirt suitable for?
What variations can I try when drawing skirts?
