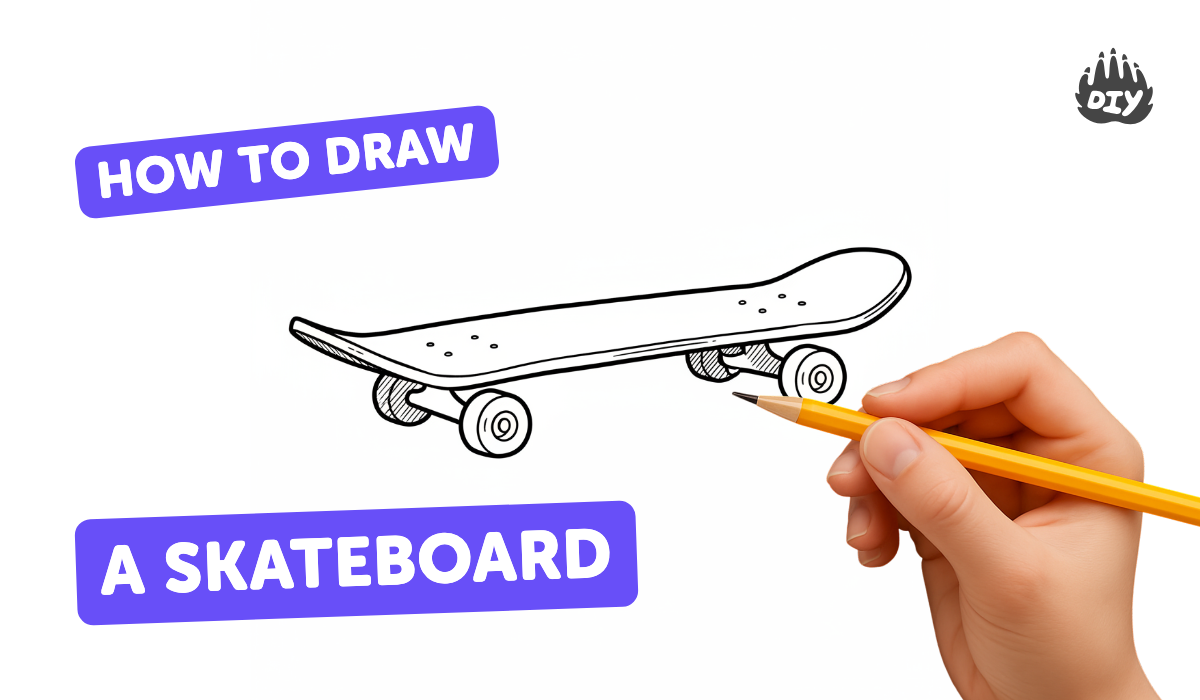
How to draw a skateboard - a free skateboard drawing guide
Draw a realistic skateboard with deck, trucks, and wheels using pencil, ruler, and colors. Practice perspective, proportions, and shading to create a polished final sketch.

Drawing Apps
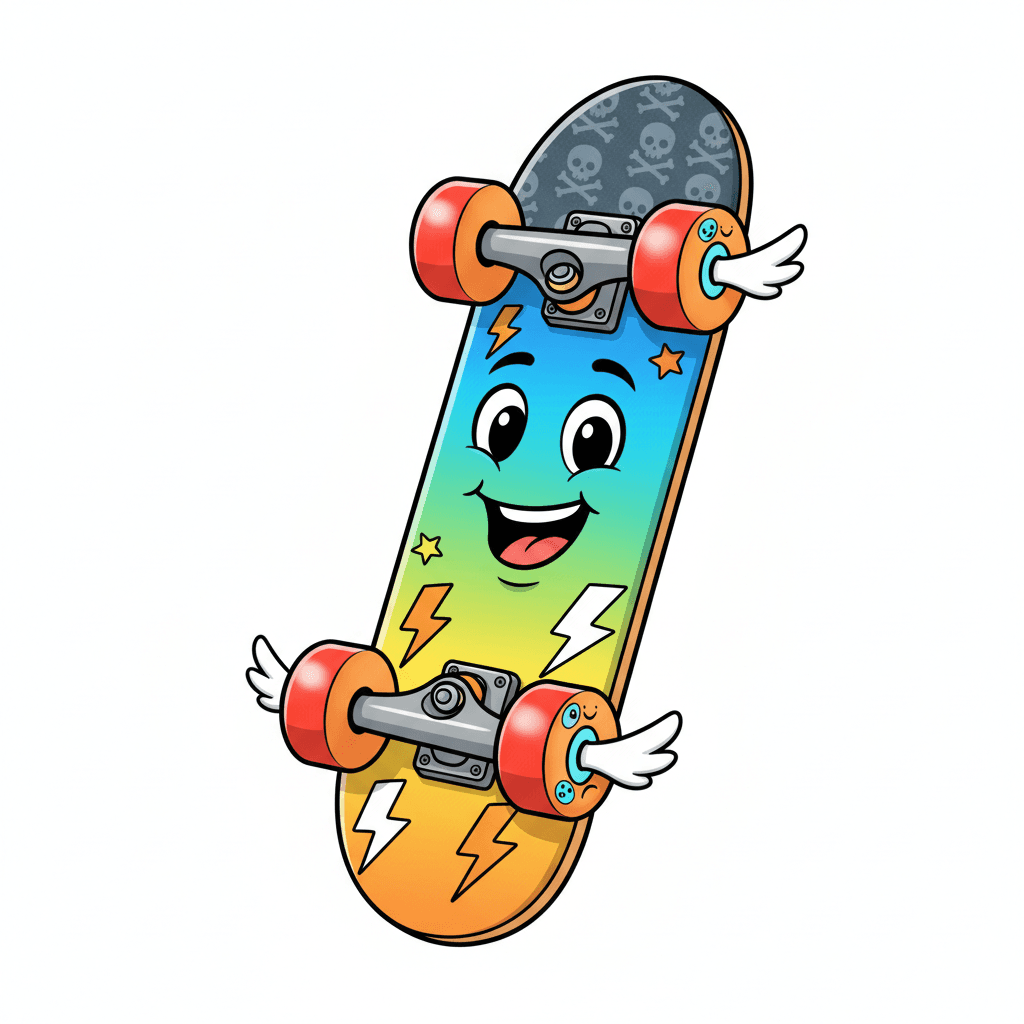
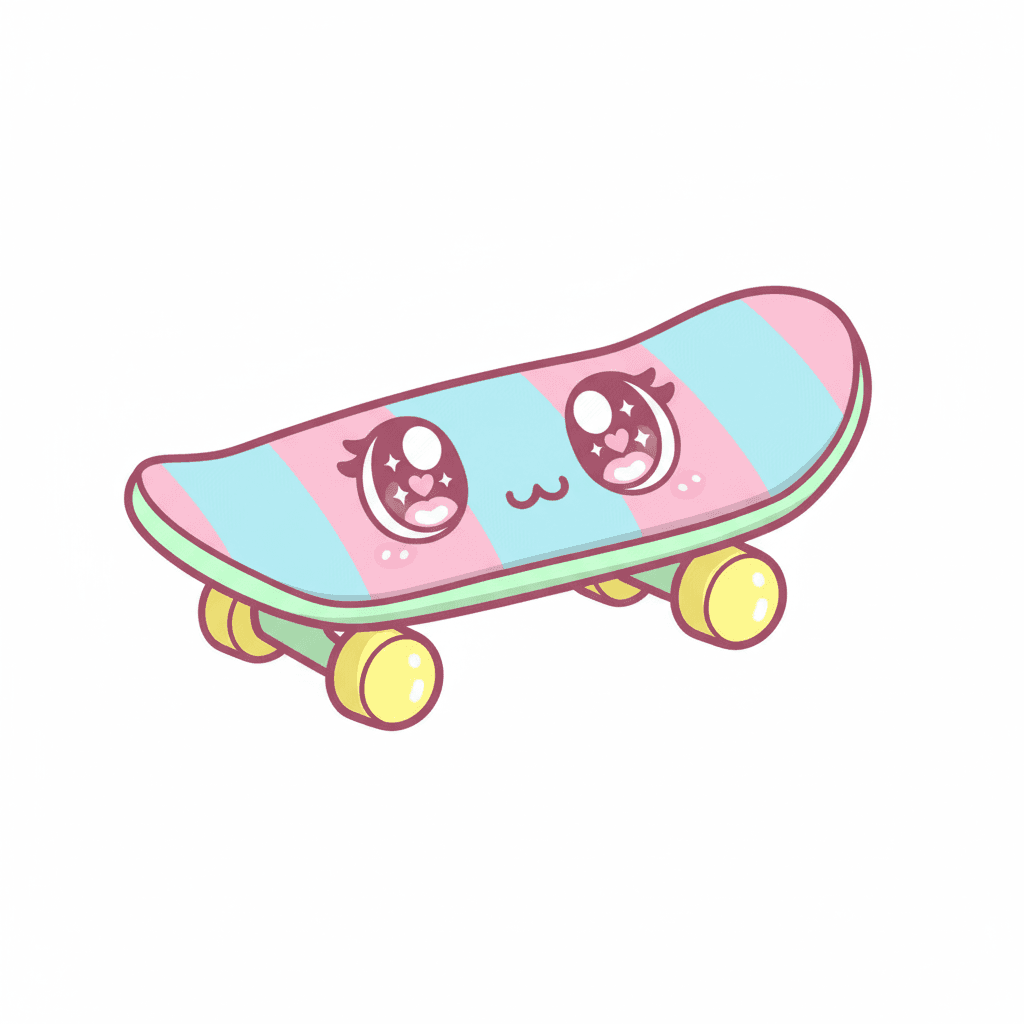
Get inspired with these

Instructions
HOW TO TEACH A KID TO SKATEBOARD!
Step 1
Gather your materials and set them neatly on your table so you are ready to draw.
Step 2
Look at a real skateboard or a clear picture of one and notice the deck trucks and wheels.
Step 3
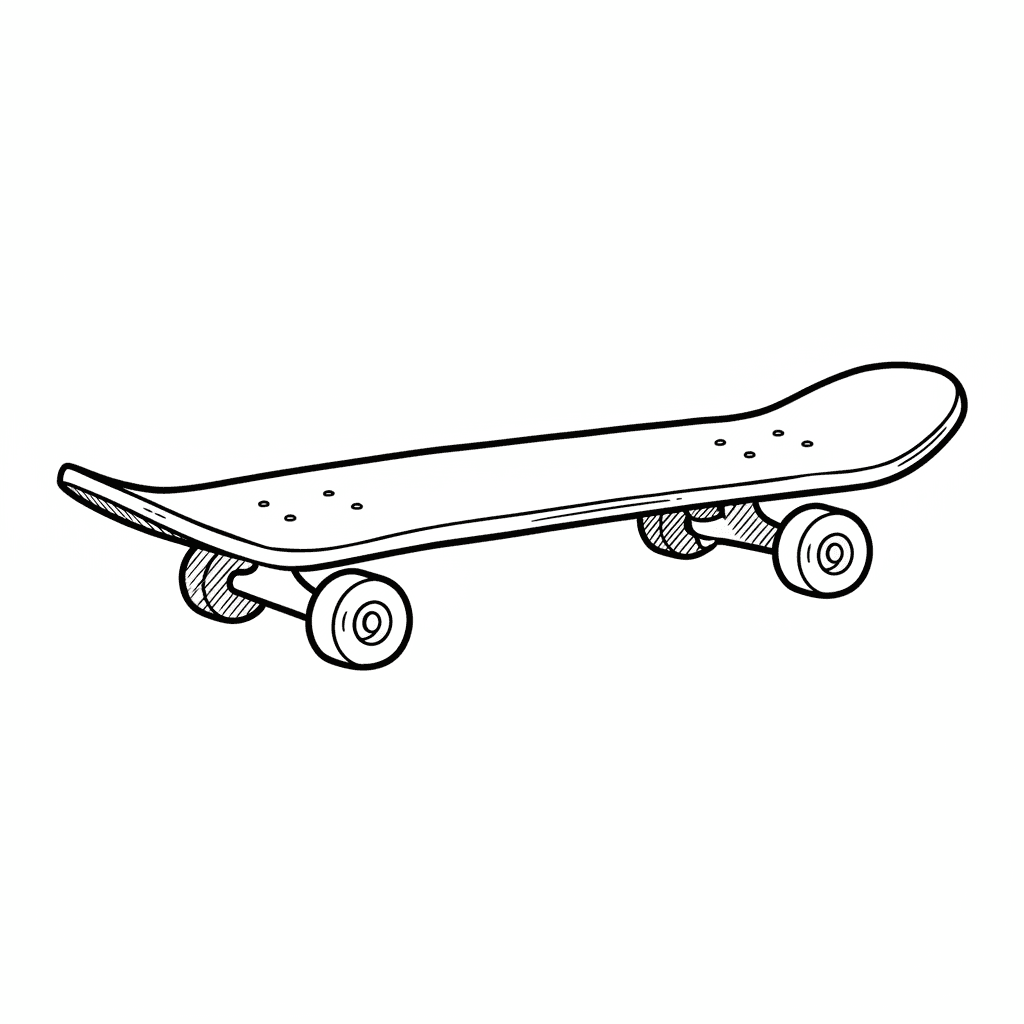
Lightly draw a long horizontal guideline across your paper to mark the center of the skateboard deck.
Step 4
Draw two long curved parallel lines above and below the guideline to form the top and bottom edges of the deck.
Step 5
Round the nose and tail by drawing smooth curved ends on both sides of the deck.
Step 6
Draw a thin parallel line beneath the top edge to show the deck thickness and connect it around the nose and tail.
Step 7
Mark the truck positions by drawing two small vertical rectangles under the deck spaced toward each end.
Step 8
Sketch four wheels as circles or ellipses around the truck marks with nearer wheels slightly larger for perspective.
Step 9
Draw the truck parts by adding hanger and axle shapes that connect each pair of wheels to the deck.
Step 10
Add deck details like a center grip tape line or a fun logo so your board looks unique.
Step 11
Shade the deck trucks and wheels with your pencil using darker tones where shadows would naturally fall.
Step 12
Gently smudge the shaded areas with a blending stump or your fingertip to smooth the shadows.
Step 13
Erase the light construction guidelines to tidy up your sketch and keep the strong final lines.
Step 14
Color the deck trucks and wheels using your coloring materials to finish the polished look.
Step 15
Share your finished skateboard drawing on DIY.org.
Help!?
I don't have a blending stump or special blending tool — what can I use instead when step 9 asks to smudge shaded areas?
Use a clean fingertip, a folded tissue, a cotton swab, or a soft piece of paper towel to gently smudge the shaded areas in step 9 instead of a blending stump.
My wheels look uneven and the trucks don't line up — how can I fix perspective and alignment from steps 3–8?
Keep the light horizontal guideline from step 3, draw the small truck rectangles in step 6 with very light lines, make the nearer wheels slightly larger as instructed in step 7, and erase and adjust until the hanger and axle shapes in step 8 connect symmetrically to the deck.
How can I change the activity for different ages — what should younger children do versus older kids?
Younger children can trace a toy skateboard or a printed photo and use simple circle stickers for wheels while skipping detailed shading (steps 9–10), whereas older kids can study a real skateboard (step 2), refine deck thickness in step 5, practice foreshortened wheels in step 7, and add complex shading and a custom logo in step 11.
How can we enhance or personalize the finished skateboard drawing beyond coloring in step 13?
Personalize the deck by creating a collage or sticker design to glue onto the drawn deck in step 11, strengthen shadows and motion lines during shading (steps 9–10), and then photograph the finished colored sketch in step 13 to share on DIY.org.
Related videos
ONLINE SKATEBOARD LESSONS
4 Videos

ONLINE SKATEBOARD LESSONS
HOW TO CHEAT IN LEARNING TO SKATEBOARD THE EASIEST WAY TUTORIAL
Learning How To Skateboard with NO Experience!
HOW TO PICK UP YOUR SKATEBOARD THE COOLEST WAY TUTORIAL
Fun Facts
🛹 The average skateboard deck is about 28–33 inches long — a handy size to copy when measuring your drawing!
✏️ Artists often use the pencil-as-measuring-tool trick: hold your pencil at arm’s length to compare proportions accurately.
📐 One-point perspective makes a board look like it's pointing straight at you; two-point perspective makes it look like it's turned.
🎨 Shading with gradual values (light to dark) makes wheels look round and trucks look metallic — highlights sell the illusion of light.
🔁 Many pro skateboard diagrams show symmetry: trucks are mounted evenly under the deck to keep the board balanced in drawings.
How do I draw a realistic skateboard step by step?
What materials do I need to draw a realistic skateboard?
What ages is this skateboard drawing activity suitable for?
What are some variations or creative ideas for drawing skateboards?
