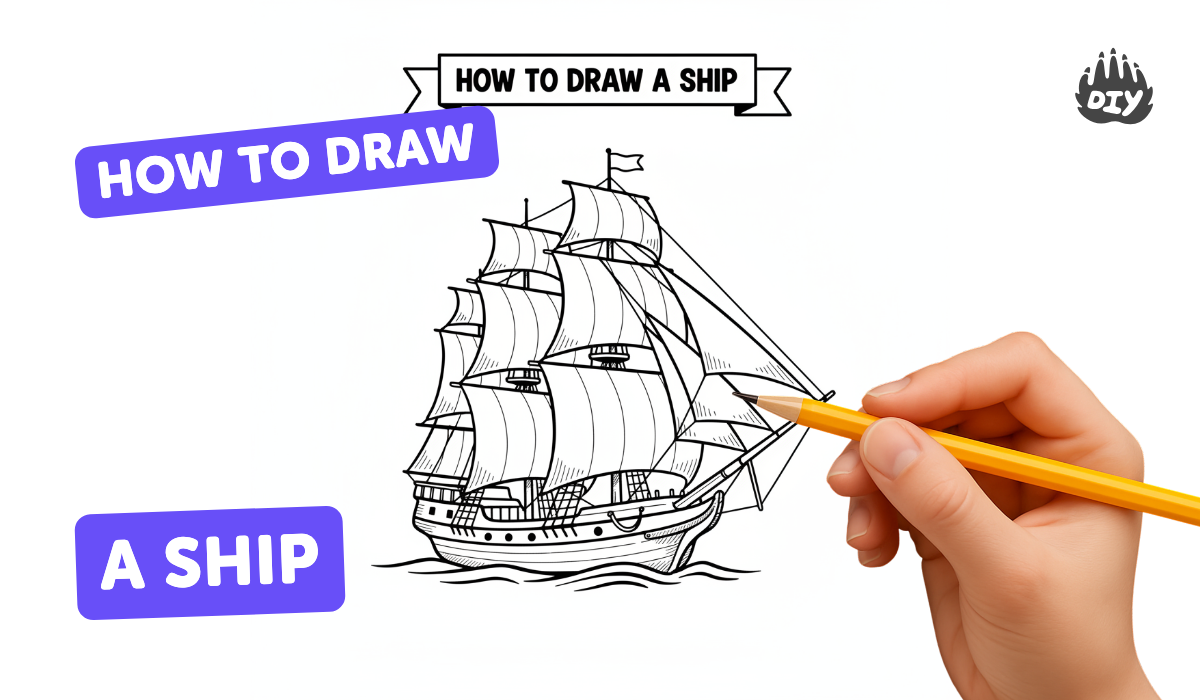
How to draw a ship - a free ship drawing guide
Draw a sailing ship using simple shapes, perspective, and shading. Practice step by step sketching and coloring to complete a finished ship.

Drawing Apps
Get inspired with these


Instructions
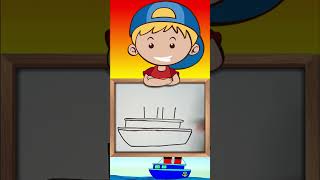
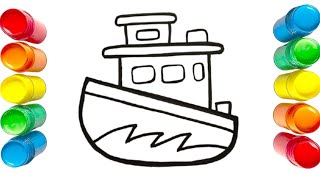
How to Draw a Ship in Easy Steps 🚢 | Fun Drawing Tutorial for Kids #shipdrawing #drawing4kids
Step 1
Gather your materials.
Step 2
Place your paper horizontally on a flat surface.
Step 3
Lightly draw a horizon line across the page about one-third from the top.
Step 4
Mark a small dot on the horizon to be your vanishing point.
Step 5
Sketch the ship's hull as a long curved shape near the bottom of the page.
Step 6
Draw a straight deck line along the top edge of the hull using your ruler.
Step 7
Draw the main mast as a vertical line rising from the deck toward the vanishing point.
Step 8
Sketch large sails attached to the mast as triangles or gently curved triangles.
Step 9
Add small details such as a rectangle cabin a few circular portholes and a flag on the mast.
Step 10
Choose which side the light is coming from so you know where shadows will fall.
Step 11
Shade the hull and sails on the opposite side of the light source using light pencil strokes to show shadow.
Step 12
Draw simple waves under the hull with curved lines to place the ship on the water.
Step 13
Color your ship using your colouring materials and make shaded areas darker for depth.
Step 14
Share your finished sailing ship on DIY.org
Help!?
What can we use if we don't have a ruler or colored pencils?
Use the straight edge of a hardcover book or a piece of cardboard to draw the deck line in step 4, and substitute colored pencils with crayons, markers, or watercolor paints for step 13.
My mast doesn't look like it's pointing to the vanishing point—how do I fix the perspective?
Erase or lighten the mast and redraw it as a straight line from the deck up toward the dot on the horizon (the vanishing point from step 3) using your straight edge so the mast visually aligns with that point.
How can I adapt this drawing activity for different ages?
For younger kids, pre-draw the hull and horizon and have them add big sails, flag, and color with markers (steps 2–6,13), while older kids can add extra masts, careful vanishing-point lines, detailed portholes, and advanced shading with light pencil strokes (steps 3,5,8,12).
How can we enhance or personalize the finished ship?
Add background elements like a distant island or lighthouse on the horizon, texture the waves under the hull, paint patterns on the sails, or try watercolor washes before adding shaded pencil details and then share the finished sailing ship on DIY.org as suggested in step 14.
Related videos
How to Draw a Ship for Kids 🚢 Easy Step-by-Step Tutorial
4 Videos
How to Draw a Ship for Kids 🚢 Easy Step-by-Step Tutorial
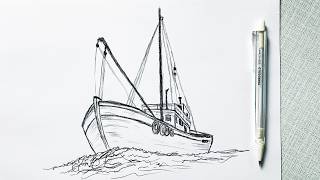
How to Draw a Ship Step by Step / Drawing a Ship / Easy Drawing Tutorials
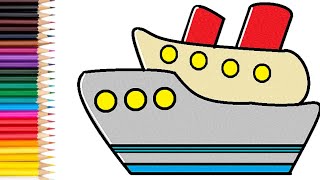
Easy Ship Drawing for Kids | Step by Step Boat Drawing Tutorial
Easy Ship Drawing for Kids | Step-by-Step Boat Sketch | Rainbow Art Hub
Fun Facts
🚢 Some historic sailing-ship masts were over 100 feet tall—about the height of a 10‑story building.
📐 Using one-point or two-point perspective makes a flat drawing look like it’s popping out of the page.
✏️ Start ship drawings with simple shapes: a curved rectangle for the hull and triangles for the sails.
🎨 Shading one side darker and adding a thin highlight can turn flat shapes into shiny wood and rippling water.
⚓ Different ship types have different silhouettes—galleons are boxy and tall while clippers are long and sleek.
How do I teach my child to draw a sailing ship step by step using simple shapes, perspective, and shading?
What materials do I need to draw a sailing ship with my child?
What ages is drawing a sailing ship suitable for?
What are the benefits of drawing a sailing ship, and how can I vary the activity?
