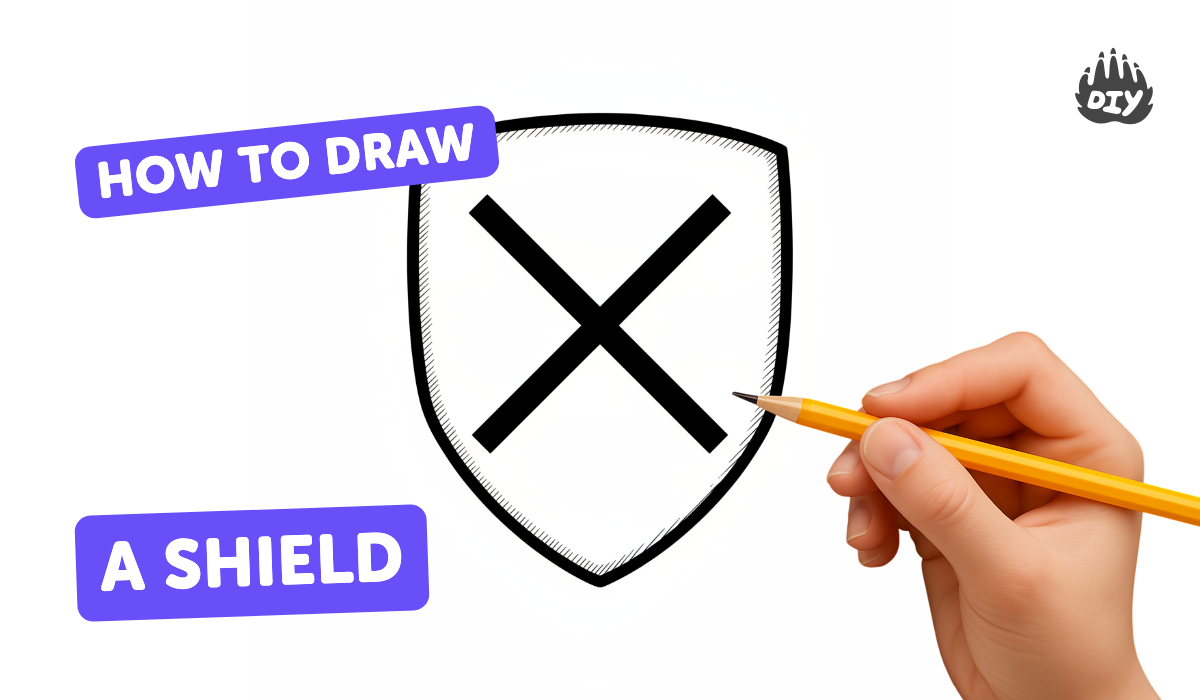
How to draw a shield - a free shield drawing guide
Draw a shield step by step using pencil, ruler, and colors to create a symmetrical design. Practice outlining, patterning, and simple shading.

Drawing Apps
Photos of shield drawing examples


Step-by-step guide to draw a shield
How to Draw a Shield Step by Step for Kids
Step 1
Put your paper upright (portrait) on a flat table so you have lots of room to draw.
Step 2
Lightly draw a straight vertical center line down the middle of the paper using your ruler.
Step 3
Make a small dot on the center line where you want the top of the shield to be.
Step 4
Make a small dot lower on the center line where you want the bottom tip of the shield to be.
Step 5
Use the ruler to put a small mark to the left of the center line and a matching mark the same distance to the right to set the shield’s width.
Step 6
Carefully draw a smooth curved line from the left width mark up to the top dot and mirror it from the top dot to the right width mark to form the top of the shield.
Step 7
Use the ruler to draw straight lines from each width mark down to the bottom dot to make the shield’s sides.
Step 8
Pick a simple pattern (like a stripe a chevron or a star) and lightly sketch it on the left half of the shield using your pencil.
Step 9
Copy the exact same pattern onto the right half so both sides match and stay symmetrical.
Step 10
Trace over the shield outline and the pattern with a slightly darker pencil line to finalize the shapes.
Step 11
Gently erase the centerline and any extra construction marks so your shield looks clean.
Step 12
Color the shield with matching colors on both sides so the design stays symmetrical.
Step 13
Add simple shading by pressing a bit darker along one side of shapes and gently blending to show depth.
Step 14
Share a photo of your finished shield on DIY.org so everyone can see your design.
Help!?
What can I use if I don't have a ruler, blending stump, or colored pencils?
Use a hardcover book or credit card as a straightedge for the vertical center line and straight sides, a clean tissue or your fingertip to gently blend the pencil shading from the 'Add simple shading' step, and washable markers or crayons in place of colored pencils when you 'Color the shield'.
My shield looks uneven after I copy the pattern—how can I fix symmetry and messy marks?
Make sure you measure and mark equal distances left and right of the centerline with a straightedge before drawing, sketch the pattern lightly on the left half and then reproduce it on the right using those matching marks so both sides stay symmetrical, and erase construction lines gently after you 'Trace over the shield outline'.
How can I change the activity for younger or older children?
For younger kids pre-draw the shield outline or provide stickers instead of asking them to 'Carefully draw a smooth curved line,' for middle ages follow all steps with simpler patterns, and for older kids add detailed shading techniques from the 'Add simple shading' step or use a compass for more precise curves.
How can we enhance or personalize the finished shield before sharing it on DIY.org?
Personalize the shield by cutting it out and mounting it on cardboard to create a 3D prop, add metallic paint or textured details when you 'Color the shield' and 'Add simple shading,' or photograph it against a themed background before you 'Share a photo of your finished shield on DIY.org.'
Watch videos on how to draw a shield
How to Draw a Perfect Shield with Ruler and Compass Real Easy
4 Videos
How to Draw a Perfect Shield with Ruler and Compass Real Easy
#438 How to Draw a Shield - Easy Drawing Tutorial
How to Draw Easy Coat of Arms Shield
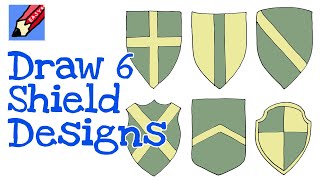
How to draw 6 Different Heraldic Shield Designs Real Easy
Facts about basic drawing and sketching
🛡️ Shields in heraldry were designed to be simple and bold so people could recognize them from far away.
📐 A ruler makes it much easier to draw straight guide lines and keep both sides of a shield symmetrical.
✏️ Kids can get perfect symmetry by drawing one half, folding the paper, and tracing or rubbing the lines across.
🔺 Many historical shields used easy geometric patterns like chevrons, crosses, and stripes that are fun to copy.
🌈 In heraldry, colors (called tinctures) had meanings — for example red often meant courage and blue meant loyalty.
How do I teach my child to draw a shield step by step?
What materials do I need to draw a shield with my child?
What ages is drawing a shield suitable for?
What are the benefits of having my child draw a shield?
