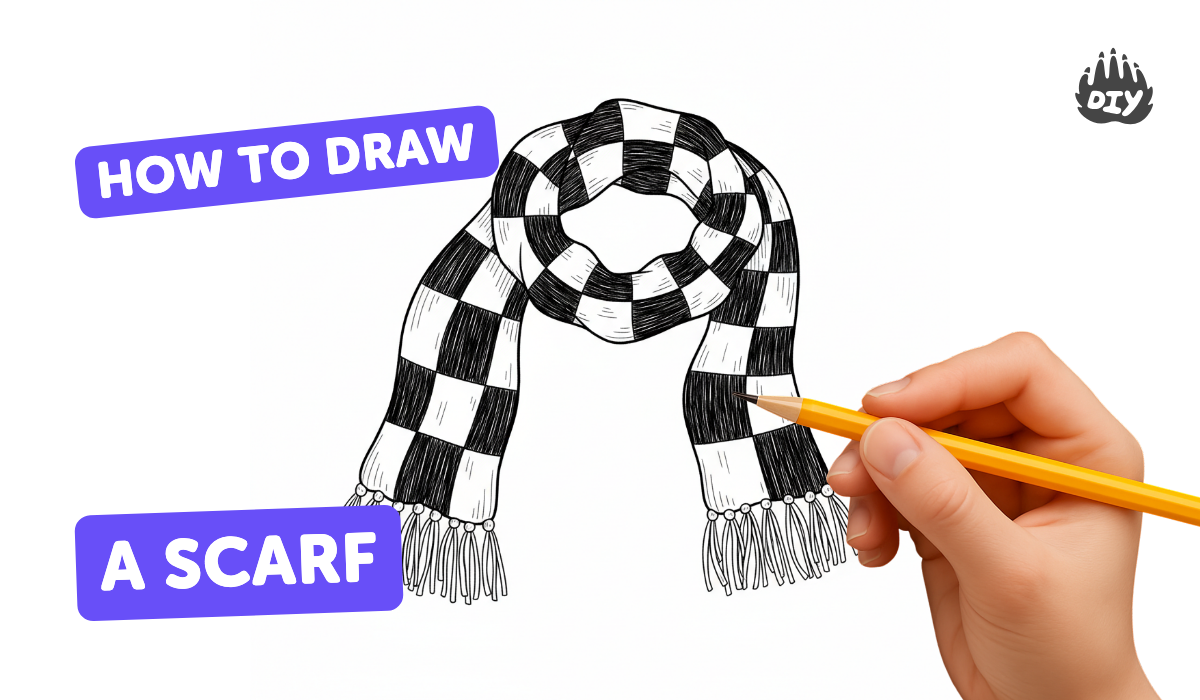
How to draw a scarf - a free scarf drawing guide
Draw a cozy scarf with folds, fringe, and pattern. Practice observation, proportion, line work, and basic shading to create a realistic accessory.

Drawing Apps
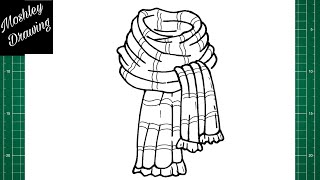
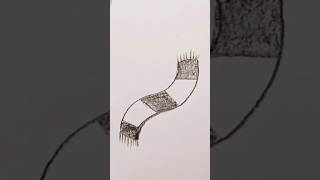
Photos of cozy scarf drawing examples


Step-by-step guide to draw a cozy scarf
How to draw scarf step by step #howtodraw #drawing #shorts
Step 1
Look at a real scarf or a picture of a scarf and notice its folds fringe and pattern for one minute.
Step 2
Lightly draw two long parallel curved lines across your paper to make the top and bottom edges of the scarf.
Step 3
Draw the scarf ends so they look like they are wrapping around or hanging down from the main strip.
Step 4
Add a few curvy fold lines along the scarf to show where the fabric bends and creases.
Step 5
Sketch the fringe at one or both ends by drawing many short parallel lines.
Step 6
Draw a simple repeating pattern like stripes checks or zigzags across the scarf surface.
Step 7
Make small adjustments to your pattern and fold lines so they fit the shape and look even along the scarf.
Step 8
Trace the main outer edges and the important fold lines with a black pen or fineliner.
Step 9
Erase any extra pencil marks so the drawing looks clean.
Step 10
Add shading with your pencil along fold lines and where the scarf overlaps to make it look three dimensional.
Step 11
Colour the scarf using your colouring materials to bring your cozy design to life.
Step 12
Gently blend shaded areas with a tissue or blending tool to make the shadows smooth.
Step 13
Take a photo or scan your finished scarf and share your creation on DIY.org.
Help!?
What can we use if we don't have a fineliner or blending tool?
Use a fine-tipped black marker or a sharpened pencil to trace the main outer edges and important fold lines instead of a fineliner, and use a tissue, cotton bud, or your fingertip to gently blend the shaded areas in place of a blending tool.
My scarf looks flat or my pattern warps—how can I fix it?
Keep your initial pencil lines very light as the instructions say, redraw the repeating pattern so it follows the curved top and bottom edges so stripes/checks sit evenly, and darken shading along fold lines and overlaps to add depth before blending.
How can we change the activity for different ages?
For preschoolers pre-draw the two long parallel curved lines and fringe for them to colour and use stickers for patterns, for elementary kids have them draw the edges, add curvy fold lines and simple repeating patterns, and for older children ask them to study a real scarf for one minute then add realistic shading and more complex patterns before inking and erasing pencil marks.
How can we enhance or personalize our finished scarf?
Invent a themed repeating pattern (initials, animals, or holiday motifs), glue short yarn or sequins onto the sketched fringe for texture, add extra pencil shading and blended shadows for realism, then take a photo or scan and share your finished scarf on DIY.org as the instructions suggest.
Watch videos on how to draw a cozy scarf
How to Draw a Scarf
4 Videos
How to Draw a Scarf
How to draw a scarf step by step كيفية رسم وشاح خطوة بخطوة
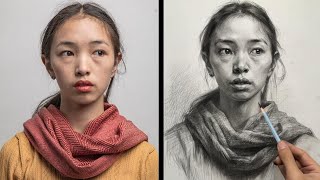
How to Draw a Girl Wearing Scarf Step by Step | Portrait Drawing Tutorials
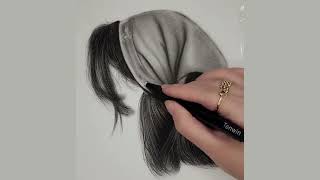
How to Draw a Hair Scarf Realistically | Step by Step Pencil Tutorial 🧣✏️
Facts about drawing fabric and clothing
🧣 Scarves date back thousands of years — ancient Egyptians and Romans used neck cloths for warmth, fashion, and status.
🧶 Many scarves are knitted in simple repeat patterns like garter stitch, which is one of the easiest stitches to learn.
✂️ Fringe began as a practical way to stop fabric edges from unraveling and later became a decorative style choice.
🎨 Artists study drapery (how fabric folds and hangs) to make clothing and accessories look realistic in drawings.
✏️ You can make a flat drawing look 3D by using just three shading tones: light, mid, and dark.
How do I draw a cozy scarf with folds, fringe, and pattern?
What materials do I need to draw a realistic scarf at home?
What ages is this scarf drawing activity suitable for?
What are the benefits of drawing scarves with folds, fringe, and patterns?
