How to draw a satellite - a free satellite drawing guide
Learn to draw a detailed satellite step-by-step: sketch the body, add solar panels and antennas, then shade and color for realistic space appearance.

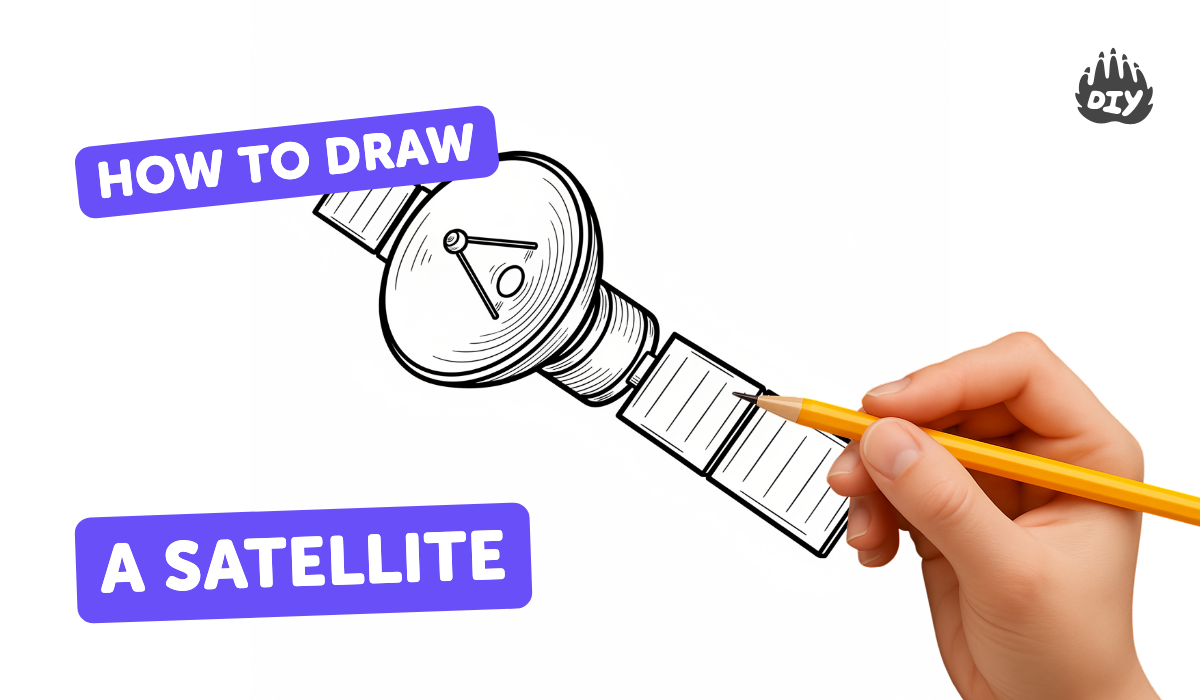
Step-by-step guide to draw a satellite
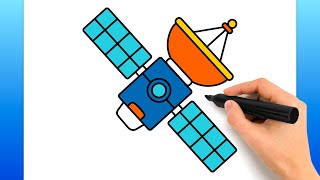
How To Draw Satellite Easy For Kids | Satellite Drawing Step By Step | Space Satellite Drawing
Step 1
Gather all your materials and find a clean flat workspace.
Step 2
Lightly draw a centered rectangle for the main body of the satellite.
Step 3
Draw two narrow rectangles sticking out from the middle of the left and right sides as the support arms.
Step 4
At the ends of the arms draw large rectangles for the solar panels.
Step 5
Inside each solar panel draw several thin horizontal and vertical lines to make the solar cell grid.
Step 6
Draw a curved dish shape attached to the top or side of the body to make a dish antenna.
Step 7
Draw a long thin rod with a small circle at the tip to make a boom antenna.
Step 8
Add small details on the satellite body like tiny rectangles for hatches and small circles for bolts.
Step 9
Trace the lines you want to keep with a black fine liner pen to make the drawing bold.
Step 10
Wait for the ink to dry and then gently erase the extra pencil guidelines.
Step 11
Shade the satellite body with your pencil on the side away from your imagined light source to create depth.
Step 12
Smooth the shading with a blending stump or soft tissue to make the metal look smooth.
Step 13
Colour the solar panels dark blue or black to make them look realistic.
Step 14
Colour the satellite body with grey or silver tones to give it a metallic look.
Step 15
Take a photo of your finished satellite and share your creation on DIY.org.
Help!?
What can I use if I don't have a blending stump, black fine liner pen, or silver/grey colouring?
Use a cotton swab or soft tissue to smooth the pencil shading as the instructions say to 'smooth the shading', substitute a black gel pen or fine-tipped marker for the black fine liner when you 'trace the lines you want to keep', and use light grey pencils or a silver gel pen to 'colour the satellite body with grey or silver tones'.
My ink smears and the pencil guidelines won't erase cleanly — how do I fix that?
Follow the step to 'wait for the ink to dry' fully before you 'gently erase the extra pencil guidelines', then use a kneaded eraser and erase slowly away from traced ink lines to avoid smudging.
How can I change the activity for younger kids or make it more challenging for older kids?
For younger children, simplify by drawing a centered rectangle body and large solar panel rectangles with thick markers instead of a fine liner, and for older kids add the thin solar cell grid lines, extra tiny hatches and bolts, and refined pencil shading blended with a stump for more realistic metal tones.
How can we extend or personalize the finished satellite drawing?
Add a space background with stars and Earth, label parts like the dish antenna and boom antenna, apply metallic highlights with silver paint or a gel pen over your grey shading to enhance the 'metal look', and then 'take a photo of your finished satellite and share your creation on DIY.org'.
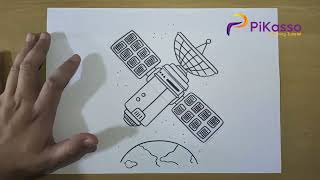
Watch videos on how to draw a satellite
How To Draw A Satellite (Easy Drawing Tutorial)
4 Videos
How To Draw A Satellite (Easy Drawing Tutorial)
How to Draw a Satellite Easy step by step

Let's Draw a Satellite | Simple Drawing for Kids
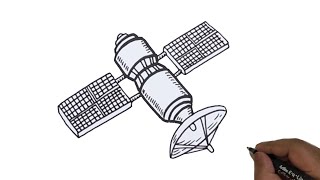
Satellite line drawing Easy/ How to draw Satellite.
Facts about satellites and space
🚀 A satellite in low Earth orbit zooms around Earth at about 7.8 km/s (≈28,000 km/h) — draw motion with speed lines!
☀️ Most satellites get power from solar panels that unfold like wings — great rectangular shapes to practice shading.
📦 Satellites come in all sizes: tiny CubeSats the size of a shoebox to huge observatories like the Hubble.
📡 Many satellites use dish or whip antennas for communication — adding small antenna details makes drawings look realistic.
✨ Satellites often appear to sparkle from sunlight reflecting off metal and panels — use highlights and contrast when coloring.
How do I draw a detailed satellite step-by-step?
What materials do I need to draw a satellite?
What ages is drawing a detailed satellite suitable for?
What are the benefits of drawing a satellite?
