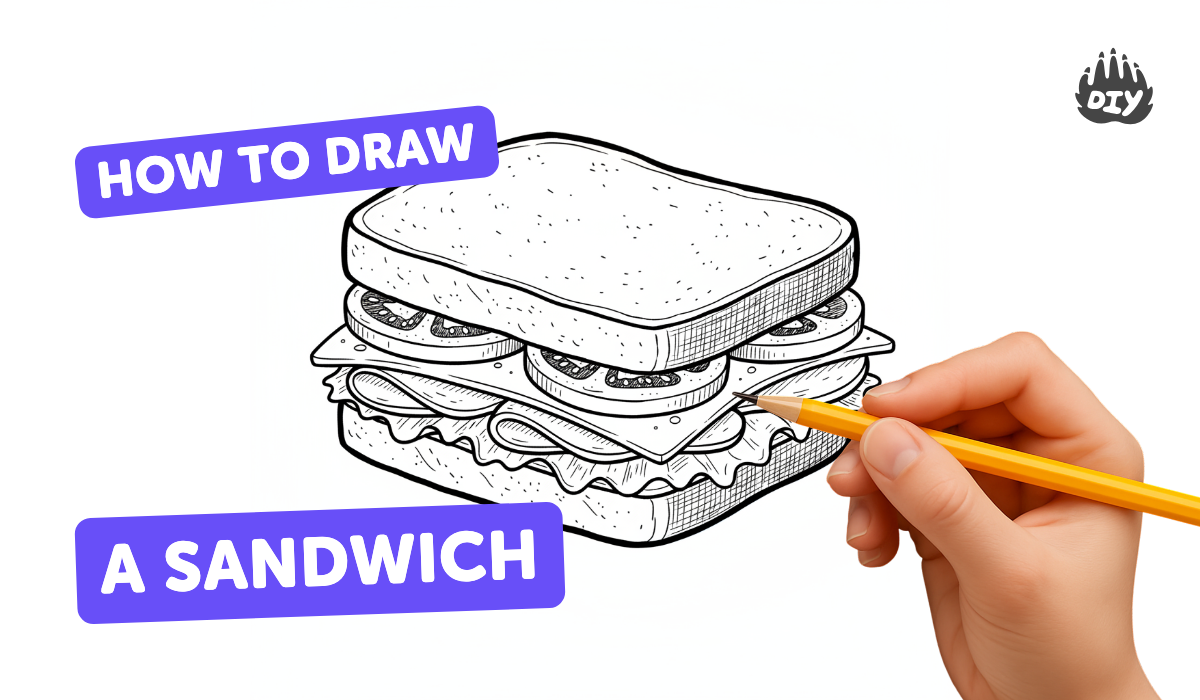
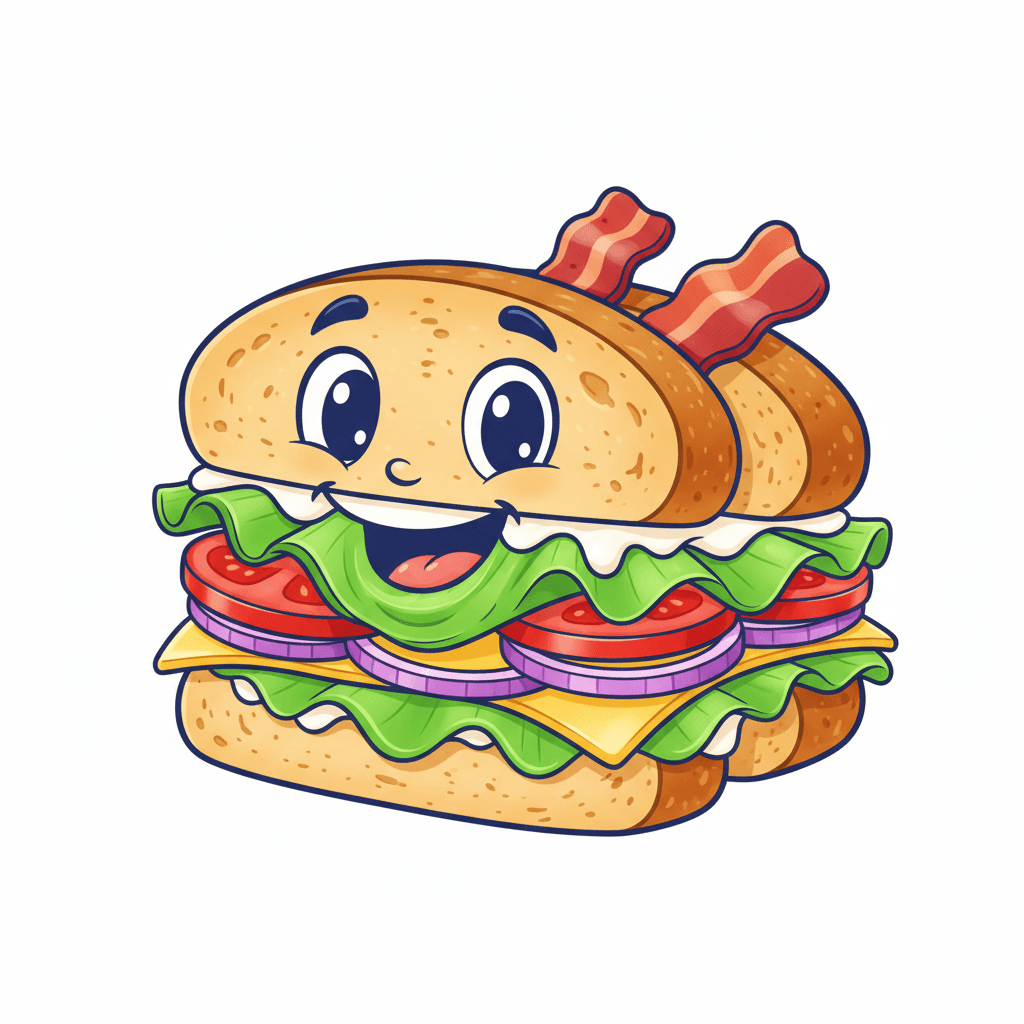
How to draw a sandwich - a free sandwich drawing guide
Draw a layered sandwich using simple shapes, add details like lettuce, cheese, and texture. Practice proportions, shading, and step by step drawing.

Drawing Apps
Get inspired with these

Instructions
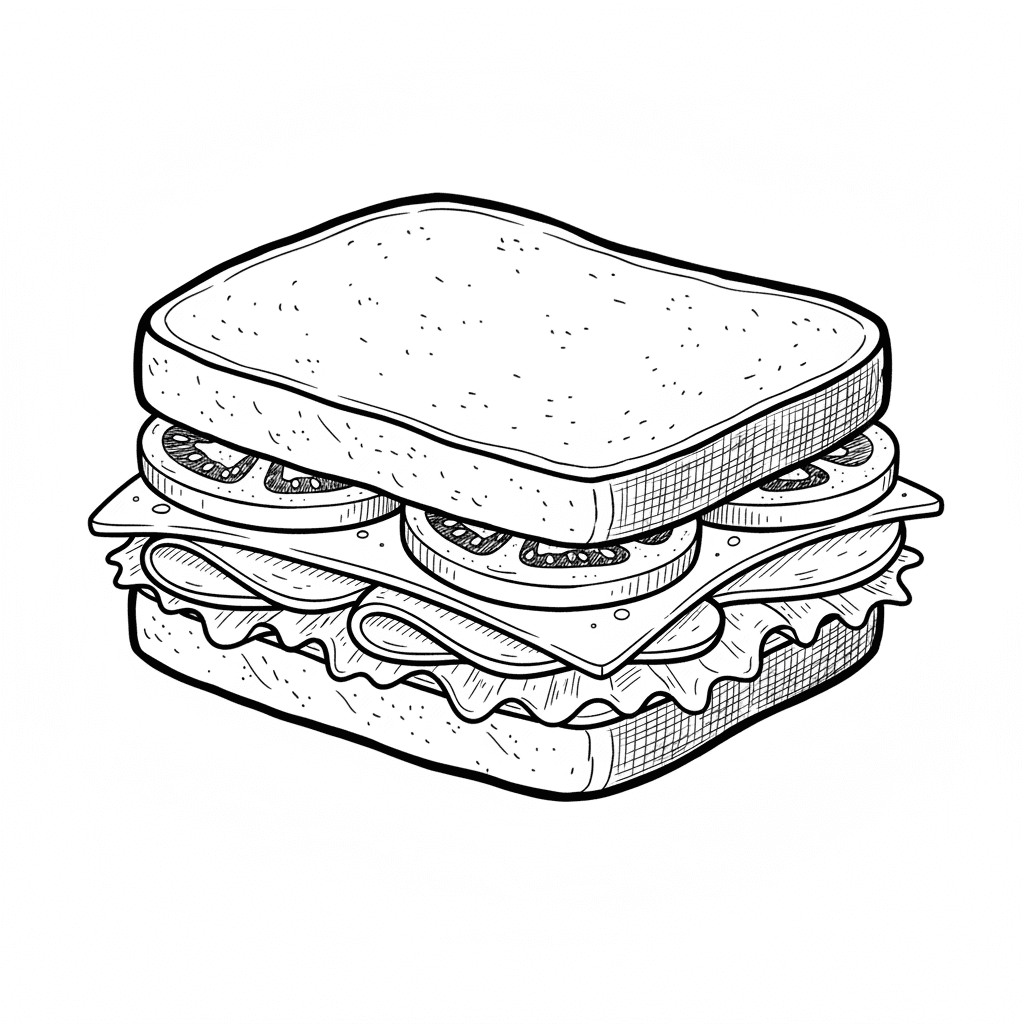
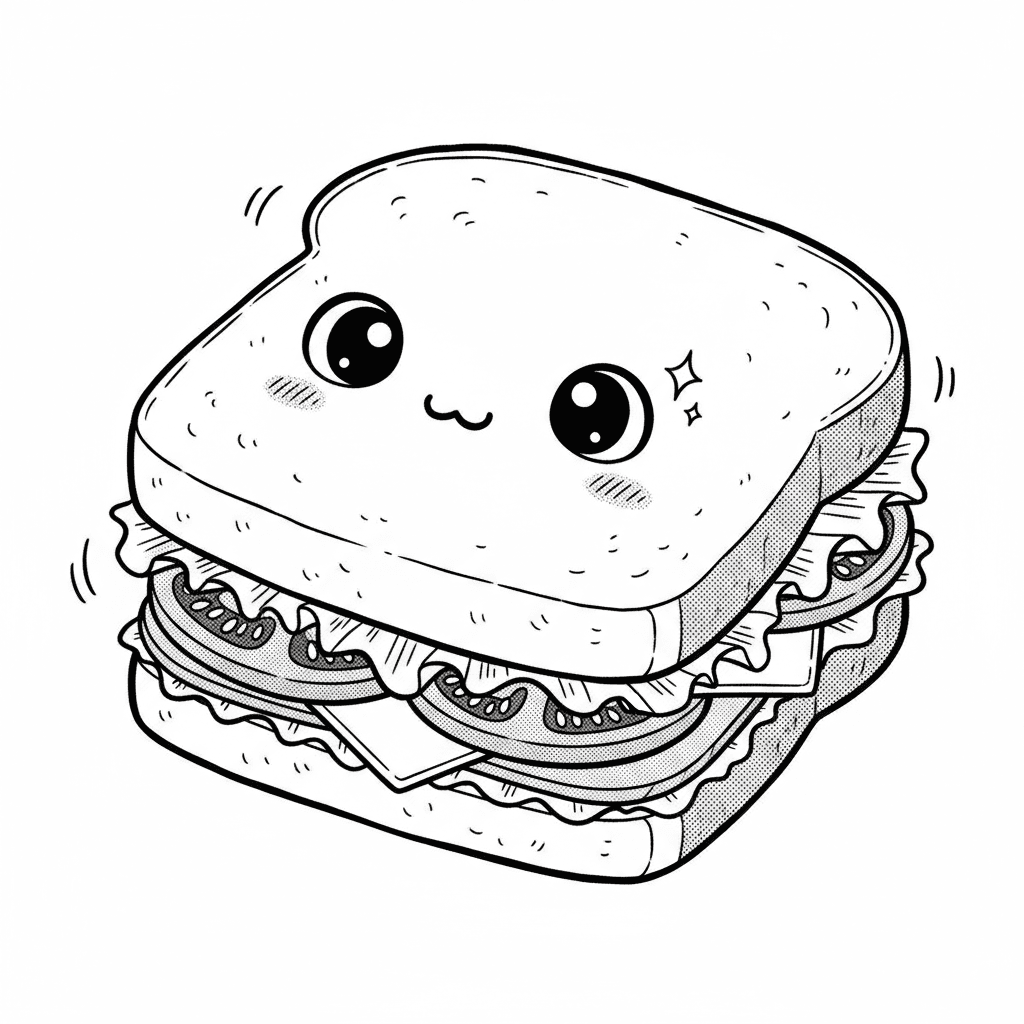
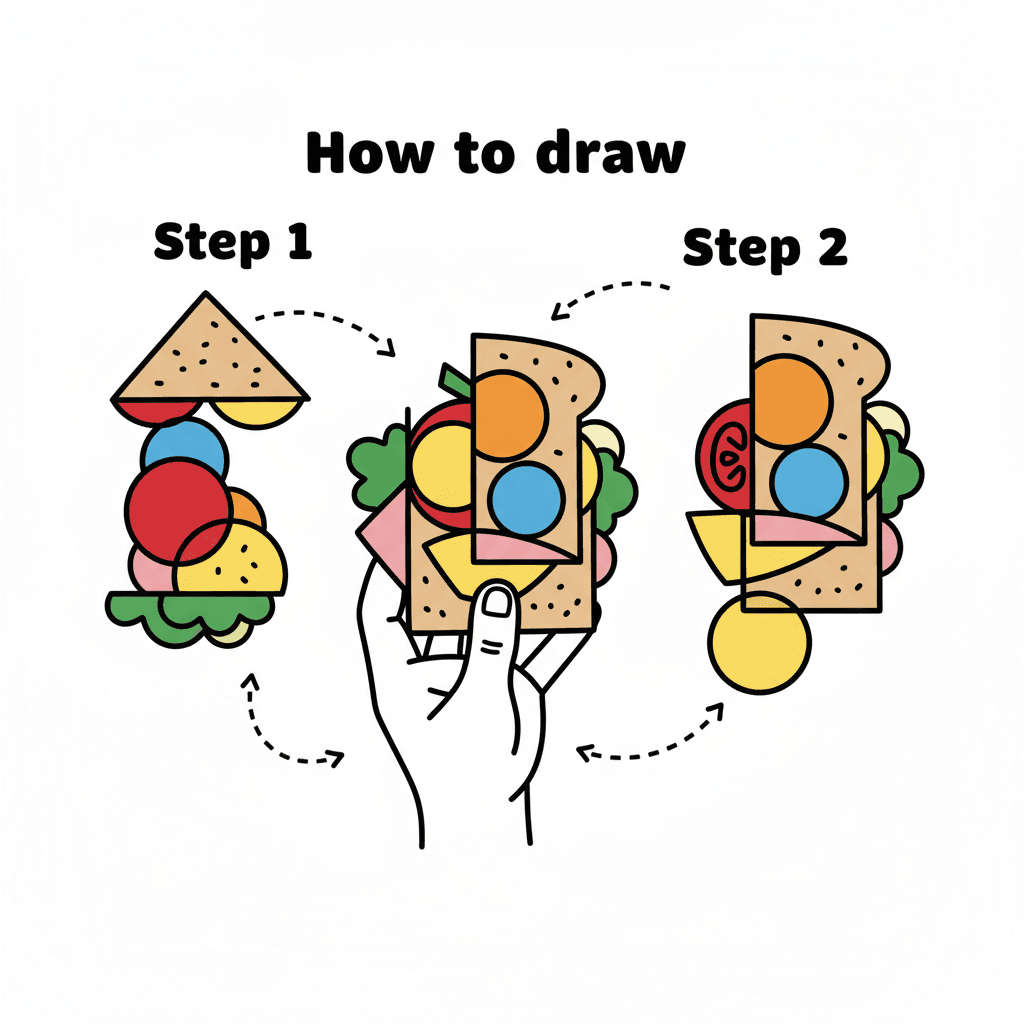
How To Draw A Funny Sandwich
Step 1
Draw a light rounded rectangle near the bottom of the page to make the bottom bread slice.
Step 2
Draw a thick rounded rectangle directly above the bottom bread to make the meat or patty layer.
Step 3
Draw a flat rectangle above the meat to make a cheese slice and add one or two drip lines if you want melting cheese.
Step 4
Erase any parts of the meat or cheese that stick out past the bread so all layers stay the same width.
Step 5
Draw a wavy line layer above the cheese to make a leafy lettuce layer.
Step 6
Draw one or two partial circles peeking out from the sides of the layers to make tomato slices.
Step 7
Draw a rounded rectangle above the fillings that matches the bottom bread to make the top bread slice.
Step 8
Add small dots and short curved lines on both bread slices to create bread texture.
Step 9
Lightly shade the bottom edge of each layer with short pencil strokes to show shadows and depth.
Step 10
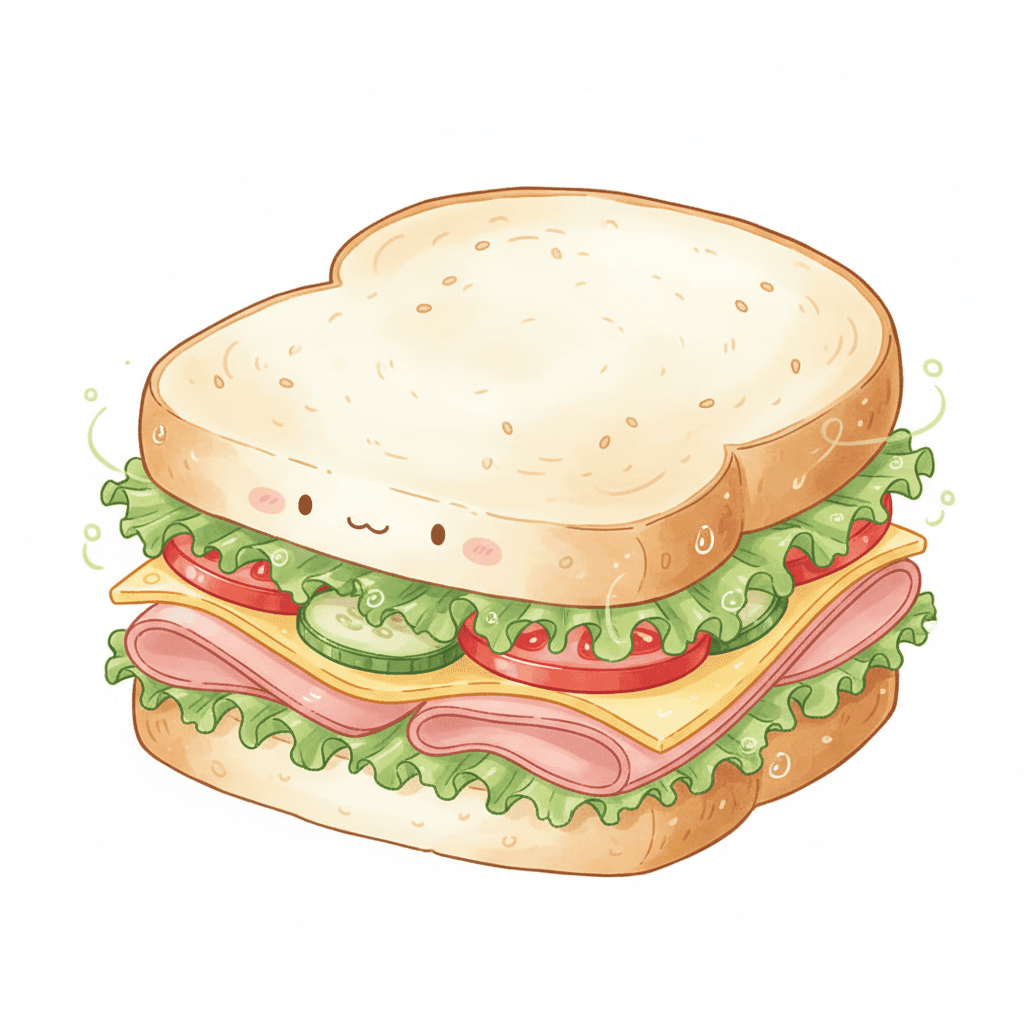
Trace your final lines with a black marker if you like and then color each layer using your colouring materials.
Step 11
Take a photo and share your finished layered sandwich drawing on DIY.org.
Help!?
What can we use if we don't have a black marker, eraser, or colouring materials?
Use a dark ballpoint or fine-tip pen to trace your final lines instead of a black marker, swap crayons or washable markers for the colouring materials, and use the corner of scrap paper or a new clean pencil tip to gently lift graphite if you don't have an eraser.
My meat or cheese still sticks out past the bread after drawing—what should I do?
Lightly redraw the layer edges with pencil to match the bottom bread width, then carefully erase the parts of the meat or cheese that stick out (as the instructions say) before darkening lines so all layers stay the same width.
How can I change the activity for younger or older kids?
For younger kids, simplify by drawing just the rounded bread and one filling and skip shading and tracing with a marker, while older kids can add the short pencil shading on each layer, more detailed bread texture dots, and color with colored pencils or watercolours for realism.
How can we enhance or personalize the sandwich drawing after finishing the basic steps?
Add sesame seed dots and extra short curved bread lines for more texture, draw a picnic or plate background, swap in different fillings like avocado or bacon, or cut colored copies of each layer to assemble a 3D sandwich before photographing to share on DIY.org.
Related videos
How To Draw A Funny Breakfast Sandwich
4 Videos
How To Draw A Funny Breakfast Sandwich
How To Draw A Funny Grilled Cheese Sandwich

How to Draw Cute Cartoon Food - Peanut Butter and Jelly Sandwich
How to Draw an Ice Cream Sandwich Easy
Fun Facts
🥪 The sandwich is named after John Montagu, 4th Earl of Sandwich, who reportedly ate meat between bread so he could keep playing cards without using utensils.
✏️ Artists often start with simple shapes (circles, rectangles, triangles) to build complex drawings — it's like using LEGO for lines!
🥬 Lettuce has ruffled edges that are easy to show with quick wavy lines — a tiny detail that makes a sandwich look crunchy on paper.
🎨 Even simple shading (light, mid, dark) can turn flat layers into believable bread, cheese, and fillings.
📏 Many artists check proportions by holding a pencil at arm's length to compare sizes and angles before committing to lines.
How do I teach my child to draw a layered sandwich step by step?
What materials do I need to draw a layered sandwich with my child?
What ages is drawing a layered sandwich suitable for?
What are the benefits of drawing a layered sandwich and how can we vary the activity?
