How to draw a room - a free room drawing guide
Draw a simple room plan with furniture, windows, and doors using pencil, ruler, and colored pencils to learn measurement, perspective, and design.

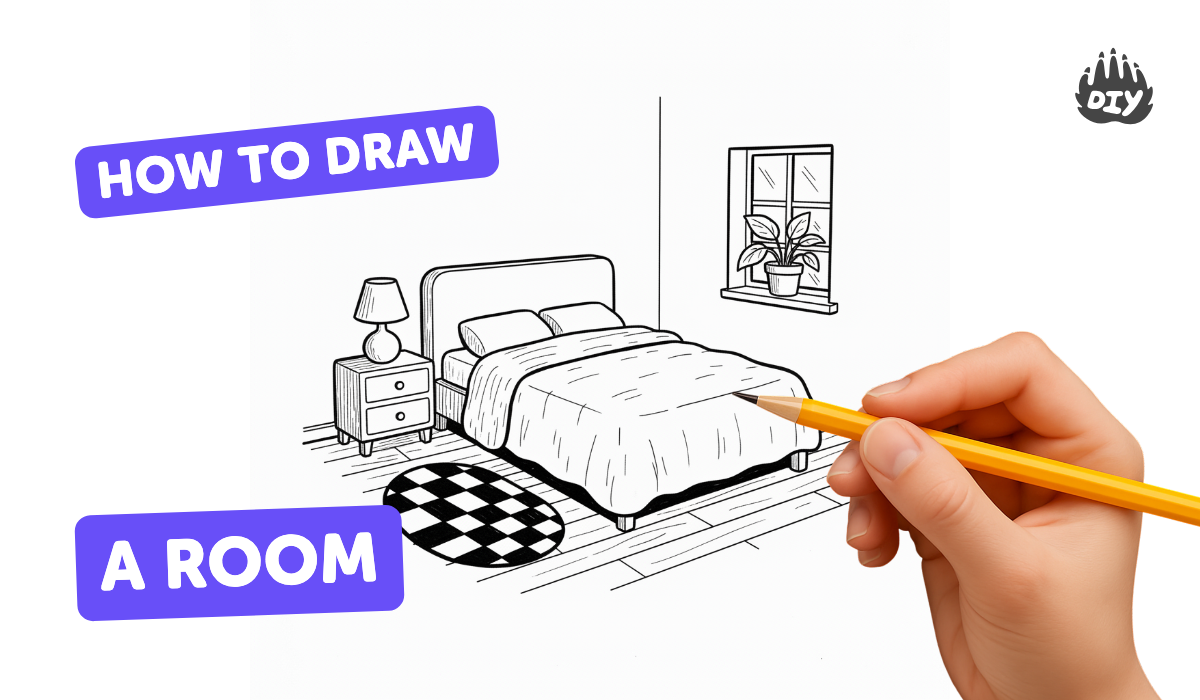
Step-by-step guide to draw a simple room plan
How to Draw a Room in 1-Point Perspective Step by Step for Beginners
Step 1
Gather all the Materials Needed and put them on a clear table.
Step 2
Pick one room in your home that you want to draw.
Step 3
Walk around the room and look for the doors windows and big furniture to include.
Step 4
Use the measuring tape to measure the room's length.
Step 5
Use the measuring tape to measure the room's width.
Step 6
Write the room length and width measurements on your paper.
Step 7
Decide a scale for your drawing (for example one centimetre equals one metre).
Step 8
Use your pencil and ruler to draw the room outline on paper to the scale you chose.
Step 9
Mark and draw the doors and windows on the room outline to the same scale.
Step 10
Measure the major furniture pieces you want to include and write their sizes.
Step 11
Draw each furniture shape inside your room plan to the same scale using pencil and ruler.
Step 12
Add a title and labels for each item on your plan so people know what everything is.
Step 13
Erase any stray pencil marks to make your plan neat.
Step 14
Color your room and furniture with colored pencils or crayons.
Step 15
Share your finished room plan on DIY.org
Help!?
What can we use if we don't have a measuring tape or colored pencils?
If you don't have a measuring tape, use a length of string and measure it against a ruler or a phone measuring app for the room length and width, and replace colored pencils with crayons or markers when you Color your room and furniture.
My drawing doesn't look to scale—what should we check or fix?
Re-measure the room and major furniture with the measuring tape, confirm your chosen scale (for example one centimetre equals one metre), then erase stray marks and redraw the room outline and furniture with your pencil and ruler using grid paper or a scale bar to keep sizes accurate.
How can we adapt the activity for younger or older kids?
For younger children, simplify by having them pick a room, trace big furniture shapes and Color with crayons while a parent measures length and width, and for older kids, require exact measurements, a precise scale, labeled dimensions, and neater pencil-and-ruler drawings of each furniture piece.
What are some ways to extend or personalize our finished room plan?
Add a clear title and labels as instructed, create a legend for furniture symbols, glue on fabric or texture samples to represent materials, build a small cardboard 3D mockup using your measured furniture sizes, and then photograph and share your finished room plan on DIY.org.
Watch videos on how to draw a simple room plan
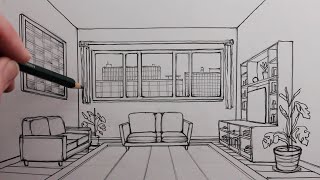
How to Draw a Simple Room using 2-Point Perspective for Beginners
4 Videos
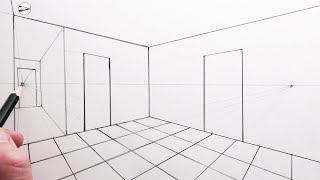
How to Draw a Simple Room using 2-Point Perspective for Beginners
How to Draw a Room using One-Point Perspective for Beginners
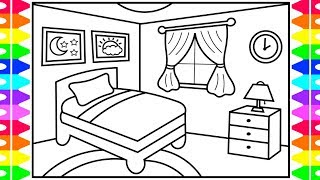
How to Draw a Bedroom Step by Step for Kids 💚💜Bedroom Drawing | Bedroom Coloring Pages for Kids
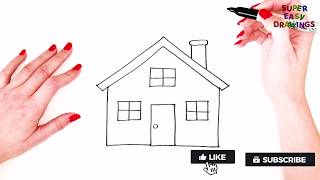
How To Draw A House Step By Step | House Drawing For Kids | Super Easy Drawing Tutorials
Facts about drawing floor plans
🏠 Floor plans show a room layout from above and help builders and homeowners plan where everything will go.
📐 One-point perspective makes parallel lines look like they meet at a single vanishing point—Renaissance artists used it to create depth.
✏️ Colored pencils can be layered and blended to build rich shading and subtle color blends, just like paint.
📏 Common drawing scales like 1:50 or 1/4 inch = 1 foot let you fit a whole room on paper while keeping measurements accurate.
🎨 Many interior designers start with quick pencil sketches and tiny doodles before refining a final plan.
How do I draw a simple room plan with furniture, windows, and doors?
What materials do I need to draw a room plan?
What ages is this room-drawing activity suitable for?
What are the benefits, safety tips, and variations for drawing a room plan?
