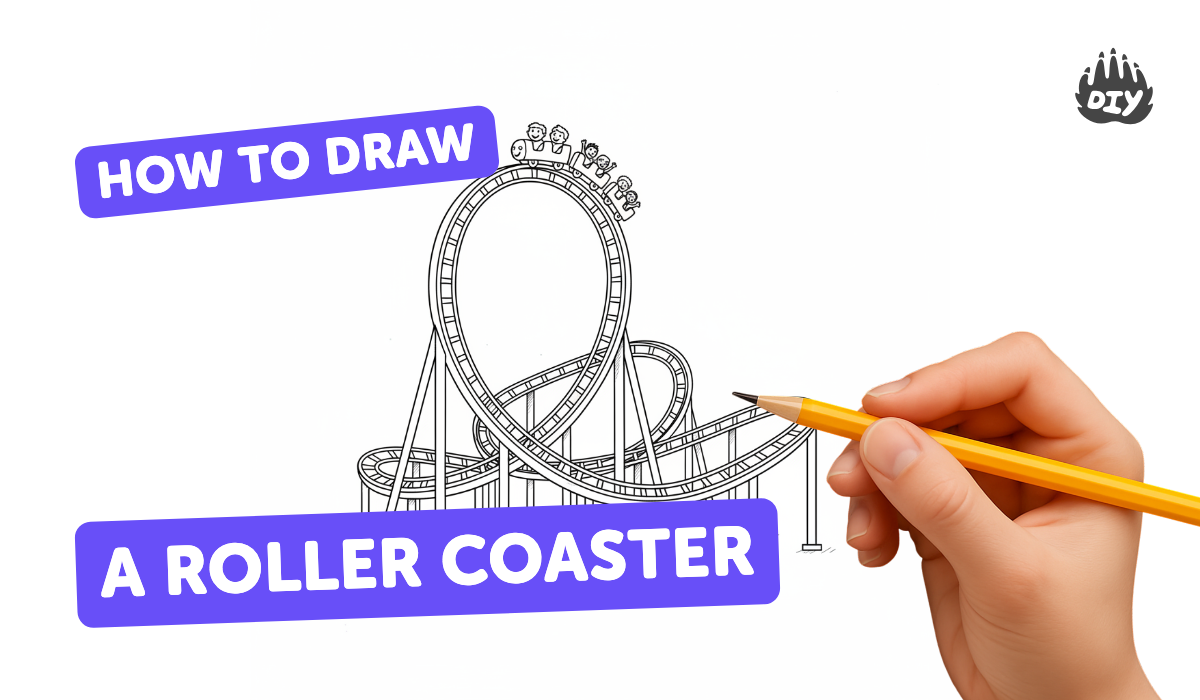
How to draw a roller coaster - a free roller coaster drawing guide
Draw a roller coaster scene with pencil and markers. Plan the track, sketch supports and cars, then color and shade for depth.

Drawing Apps
Get inspired with these


Instructions
How To Draw A Roller Coaster
Step 1
Lay your paper flat on a table so it does not move.
Step 2
Put your pencil eraser ruler sharpener and colouring materials within easy reach.
Step 3
Lightly draw a horizontal line across the lower third of the paper to show the ground.
Step 4
Mark two points on the paper where the roller coaster will start and end.
Step 5
Use your pencil to draw a curving track line between the start and end points with hills loops or drops.
Step 6
Draw a second line running parallel to the first to make the two rails of the track.
Step 7
Add short cross ties between the rails to show the wooden or metal pieces that hold the rails together.
Step 8
Draw support pillars from the track down to the ground under the highest sections of the track.
Step 9
Sketch small connected roller coaster cars on the track and draw simple stick-figure riders inside them.
Step 10
Gently erase any extra pencil lines that you do not want to keep.
Step 11
Use your pencil to add shading under the supports the cars and along the underside of the track to create depth.
Step 12
Color your roller coaster scene with your colouring materials making bright cars and a lively background.
Step 13
Share your finished creation on DIY.org
Help!?
What can we use instead of a ruler or special colouring materials if we don't have them?
If you don't have a ruler use the straight edge of a book or a folded piece of paper to draw the horizontal ground line and the second parallel rail line, and swap expensive markers for crayons, colored pencils, or even sharpened regular pencils for colouring materials.
My rails don't look parallel and my eraser smudges the paper—how can I fix that?
Lightly redraw the first curving track line with a well-sharpened pencil, use a book edge to guide the second line running parallel to the first, and use a clean kneaded eraser to gently lift extra pencil lines without smudging.
How can I change the activity to suit younger or older kids?
For younger children simplify by tracing large curves and placing pre-cut car stickers on the track, while older kids can add detailed support pillars, shading under the supports and cars, and complex hills, loops, or perspective for more advanced outcomes.
What are some fun ways to make my roller coaster drawing more exciting or personal?
Personalize it by drawing themed cars and stick-figure riders, adding bright colours with your colouring materials, naming the coaster, creating a lively background, and sharing the finished creation on DIY.org as suggested.
Related videos
How to draw a roller-coaster? Learn to draw | easy drawings | drawing for kids
3 Videos
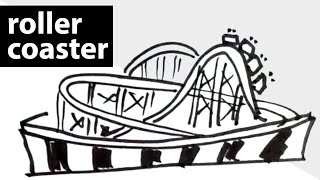
How to draw a roller-coaster? Learn to draw | easy drawings | drawing for kids

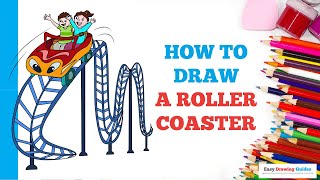
How to Draw a Roller Coaster 🎢 | Easy Step by Step for Beginners | Drawing Tutorial | Ep. 71
How to Draw a Roller Coaster in a Few Easy Steps: Drawing Tutorial for Beginner Artists
Fun Facts
🎢 Kingda Ka at Six Flags Great Adventure is the world's tallest roller coaster at 456 feet (139 m).
🎡 The oldest operating roller coaster is Leap-The-Dips (built in 1902) at Lakemont Park in Pennsylvania.
🔭 In perspective drawing, parallel lines seem to meet at a vanishing point on the horizon to create depth.
✏️ Artists often make tiny 'thumbnail' pencil sketches first to plan the roller coaster's track and composition.
🖍️ Many art markers are alcohol-based and can be layered to blend colors smoothly for shading.
How do I help my child draw a roller coaster scene step by step?
What materials do we need to draw a roller coaster with pencil and markers?
What ages is this roller coaster drawing activity suitable for?
What are some fun variations of the roller coaster drawing activity?
