How to draw a restaurant - a free restaurant drawing guide
Draw a restaurant step-by-step: sketch the building, windows, tables, plates, people, and sign, then add colors to learn perspective and details.

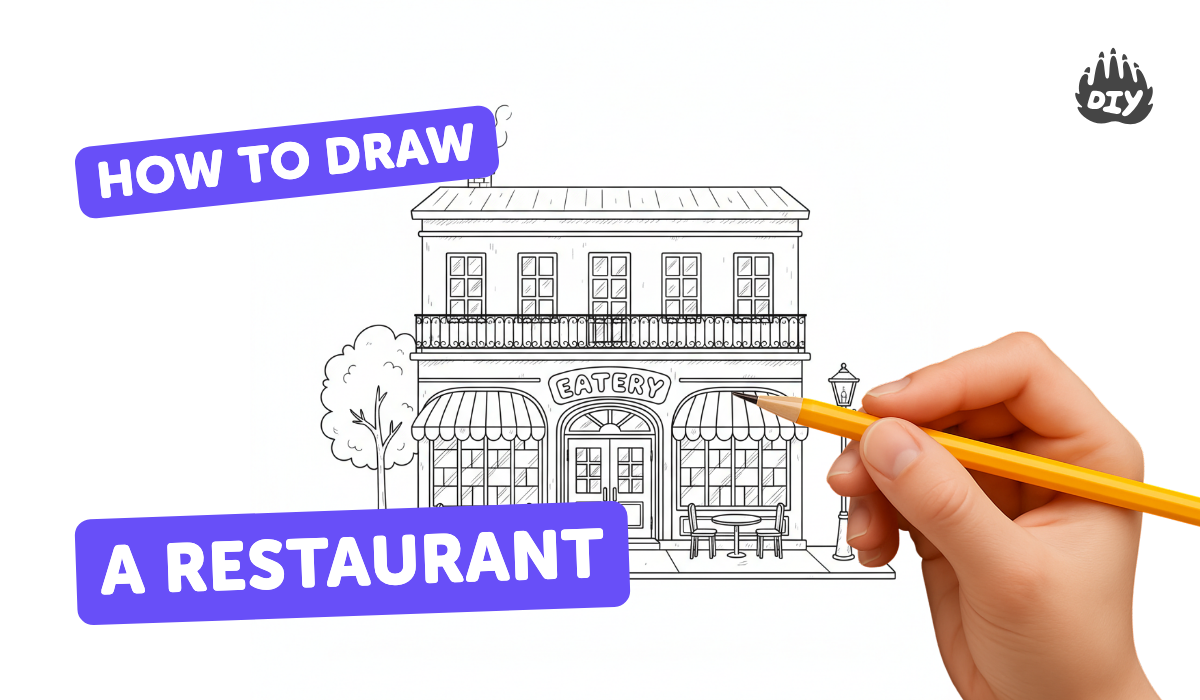
Step-by-step guide to draw a restaurant
How To Draw A Kid Chef
Step 1
Draw a straight horizontal line near the bottom of your paper to be the ground.
Step 2
Lightly sketch a large rectangle above the ground line for the front of the restaurant.
Step 3
Draw a roof shape on top of the rectangle by adding a triangle or a thin rectangle.
Step 4
Put a small dot on the ground line a little to one side of the building to be your vanishing point.
Step 5
Use your ruler to draw faint straight lines from the vanishing point to each corner of the front rectangle to make perspective guide lines.
Step 6
Close the side wall by drawing a vertical line where the perspective guides meet so the restaurant looks three-dimensional.
Step 7
Draw two or three rectangular windows on the front and one on the side and add simple cross-lines inside each window for panes.
Step 8
Draw a door in the front of the restaurant and include a small circle for a doorknob.
Step 9
Sketch a sign above the door by drawing a rectangle or oval for the restaurant name.
Step 10
Add an awning above the front windows by drawing a curved stripe shape with lines for folds.
Step 11
Draw two round tables inside or outside the restaurant using circles for the tabletops.
Step 12
Add small circles on each table to be plates.
Step 13
Draw simple people near the tables using circles for heads and lines or rounded shapes for bodies and arms.
Step 14
Color your restaurant neatly using your coloring materials to fill the building windows tables plates people and sign.
Step 15
Share your finished restaurant drawing on DIY.org.
Help!?
What can I use if I don't have a ruler or coloring materials?
If you don't have a ruler, use a straight edge like a book or the side of a cereal box to draw the faint perspective guide lines from the vanishing point, and if you lack markers use crayons or colored pencils to color the building, windows, tables, plates, people, and sign.
My restaurant doesn't look three-dimensional — how do I fix it?
If the restaurant looks flat, erase and redraw faint perspective guide lines from the vanishing point and be sure to place the vertical closing line exactly where those guides meet so the side wall reads as three-dimensional.
How can I change the activity for different ages?
For younger children, have an adult lightly draw the ground line, front rectangle, roof, and vanishing-point dot so they can add windows, door, sign, awning, simple tables, plates, people, and color, while older kids can use the ruler for precise perspective guide lines, add interior details, shading, and more windows.
How can we extend or personalize the restaurant drawing?
To personalize and extend the activity, design a custom restaurant name and menu on the sign, draw food on the plates, add patterns or logos to the awning, create unique outfits for the people, and photograph the finished colored drawing to share on DIY.org.
Watch videos on how to draw a restaurant
How To Draw A Cheeseburger - Preschool
4 Videos
How To Draw A Cheeseburger - Preschool
How To Draw Pizza - Preschool
Easy Drawing And Painting Tutorials For Beginners
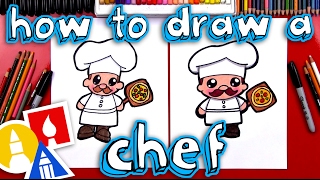
How To Draw A Cartoon Chef
Facts about drawing and perspective for kids
🍽️ Sobrino de Botín in Madrid claims to be the world’s oldest restaurant, open since 1725.
📐 In one-point perspective all parallel lines meet at a single vanishing point on the horizon—great for drawing long dining rooms or streets.
🎨 Warm colors (reds, oranges) appear closer while cool colors (blues, greens) recede—use that to make depth in your restaurant scene.
👥 People and tiny details (a steaming bowl, a tilted chair) make a drawing feel alive because our brains spot human activity quickly.
🔲 A simple grid helps keep windows, tables and plates in proportion—architects and artists use grids to stay accurate.
How do you draw a restaurant step-by-step?
What materials do I need to draw a restaurant?
What ages is drawing a restaurant suitable for?
What are the benefits of drawing a restaurant?
