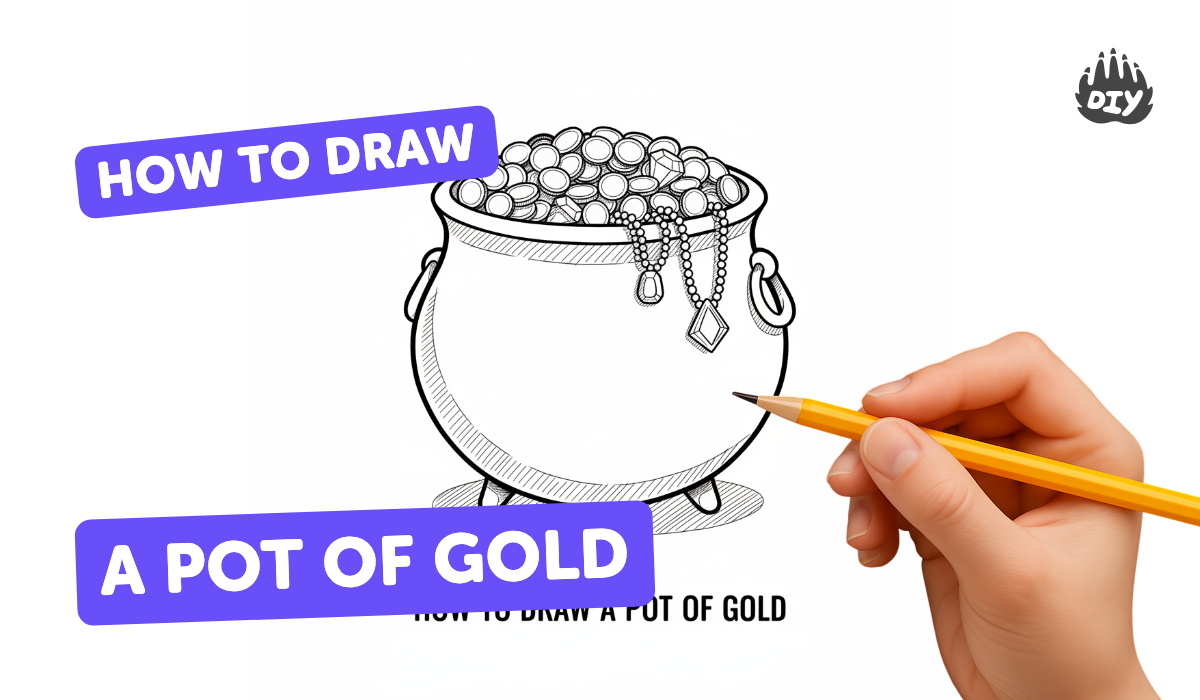
How to draw a pot of gold - a free pot of gold drawing guide
Draw a pot of gold using simple shapes, color gradients, and shading. Practice proportions, perspective, and coloring techniques step by step carefully.

Drawing Apps
Photos of pot of gold drawings


Step-by-step guide to draw a pot of gold
How To Draw A Pot Of Gold
Step 1
Gather all materials and set up a clean flat workspace.
Step 2
Draw a light horizontal line near the bottom of the page to show the ground.
Step 3
Sketch a large horizontal oval near the center for the pot's top opening.
Step 4
Draw two curved lines down from the oval edges to form the pot's sides.
Step 5
Connect the sides with a smaller horizontal oval to make the pot's base.
Step 6
Add rim thickness by drawing a thinner inner oval just inside the top oval.
Step 7
Draw overlapping small ellipses inside and spilling over the rim to make coins.
Step 8
Draw a flat oval under the base to create the pot's shadow on the ground.
Step 9
Mark a small arrow showing where your light source is coming from on the page.
Step 10
Erase extra construction lines so the pot and coins look clean and tidy.
Step 11
Color the pot and the coins with their base colors using light even strokes.
Step 12
Add shading by darkening the side of the pot and coins opposite the light source to make smooth color gradients.
Step 13
Gently blend shaded areas with a tissue or cotton swab to soften the gradients.
Step 14
Trace the final outlines with a black fine liner or dark marker to make your drawing pop.
Step 15
Share your finished pot of gold drawing on DIY.org.
Help!?
What can we use if we don't have a black fine liner or a tissue for blending?
For the final outlines in the tracing step you can use a sharpened pencil or a dark crayon instead of the black fine liner, and for blending the shaded areas in step 13 use your fingertip or a folded paper towel if you don't have a tissue or cotton swab.
My pot or coins look lopsided—how do I fix that while I'm drawing?
If the pot or overlapping ellipses for coins from steps 3–8 look uneven, lightly redraw the horizontal guide line and ovals, use gentle eraser strokes to remove the off-center construction lines in step 11, and check symmetry by folding the paper or holding it up to the light before inking.
How can I change this activity for younger children or older kids who want more challenge?
Have younger children use thick markers and skip the delicate blending and inner rim oval (steps 5 and 13), while older kids can add detailed shading gradients with colored pencils, practice rim thickness with a thinner inner oval in step 5, and refine highlights and shadows opposite the light source in steps 12–13.
What are simple ways to personalize or extend the pot of gold drawing?
Extend the scene by adding a rainbow leading to the pot before step 10, decorate the pot with patterns or initials before tracing in the final outline, and use metallic pens or glitter glue on the coins in step 12 to make the drawing unique before sharing on DIY.org.
Watch videos on how to draw a pot of gold
How to Draw a Pot of Gold | Saint Patrick's Day Art for Kids
4 Videos
How to Draw a Pot of Gold | Saint Patrick's Day Art for Kids
How To Draw Pot Of Gold For St. Patrick's Day - Preschool
How to Draw a Pot of Gold Easy | Best Step by Step Rainbow Drawing and Coloring Videos for Kids
How to draw a pot of gold step by step easy
Facts about drawing and coloring techniques
🎨 Artists often begin drawings with simple shapes like circles and ovals to build complex objects — the same trick works for a pot of gold!
🌈 A color gradient smoothly blends colors from light to dark or between hues; rainbows are a natural example of a gradient.
🥇 Real gold looks shiny because it reflects strong highlights and deep shadows — adding small bright spots makes metallic drawings pop.
🔺 Linear perspective (using a horizon line and vanishing point) helps make your pot sit correctly on the ground and look 3D.
🔍 Small proportion changes (wider rim, narrower base) create foreshortening, which makes the pot look closer or farther away.
How do I draw a pot of gold step by step?
What materials do I need to draw a pot of gold?
What ages is drawing a pot of gold suitable for?
What are the benefits of drawing a pot of gold?
