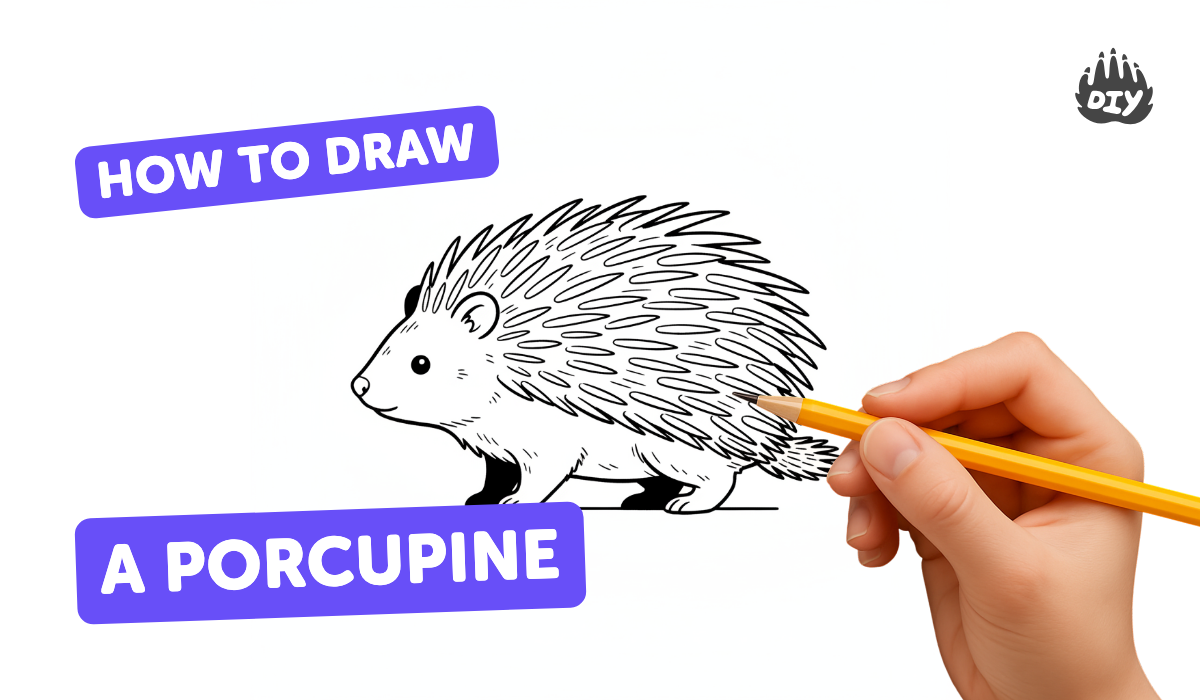
How to draw a porcupine - a free porcupine drawing guide
Draw a porcupine step by step using simple shapes, quills, and shading. Practice proportions, line control, and texture to complete your realistic drawing.

Drawing Apps
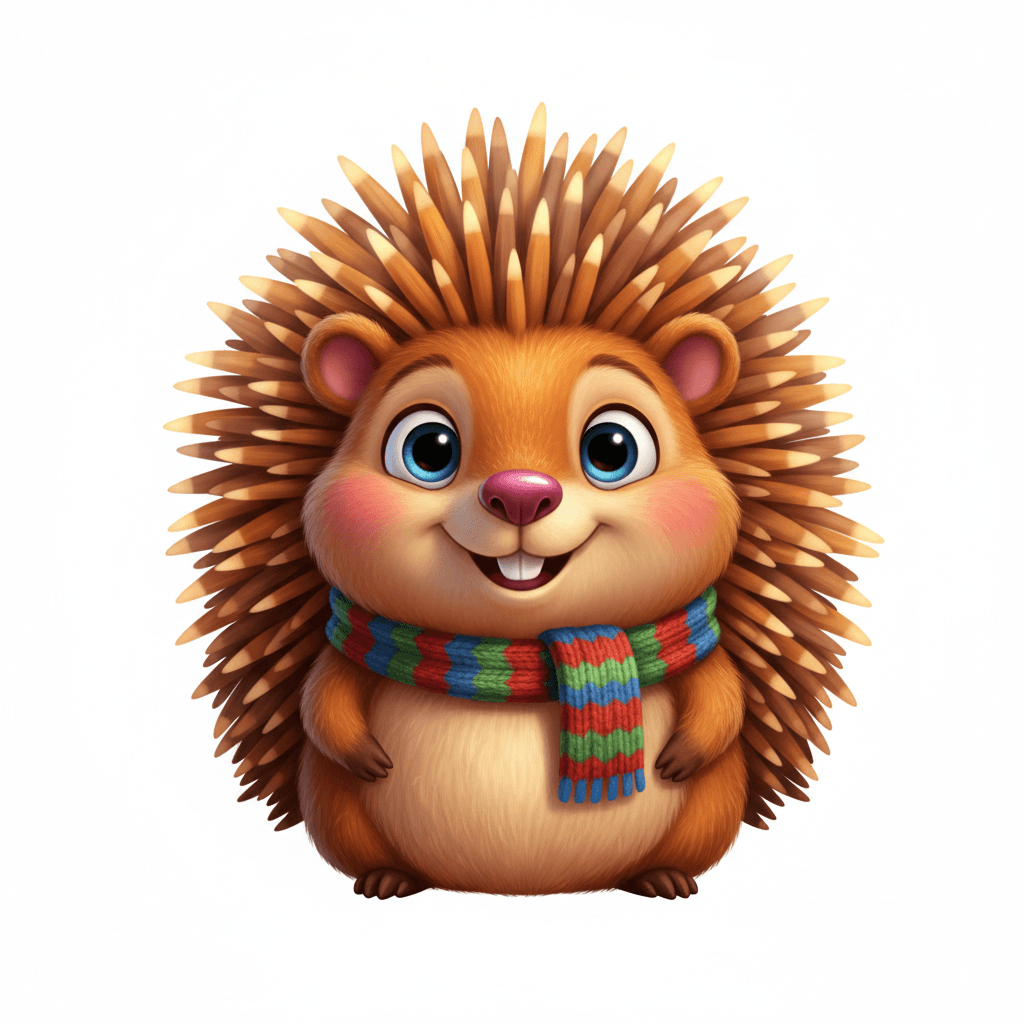
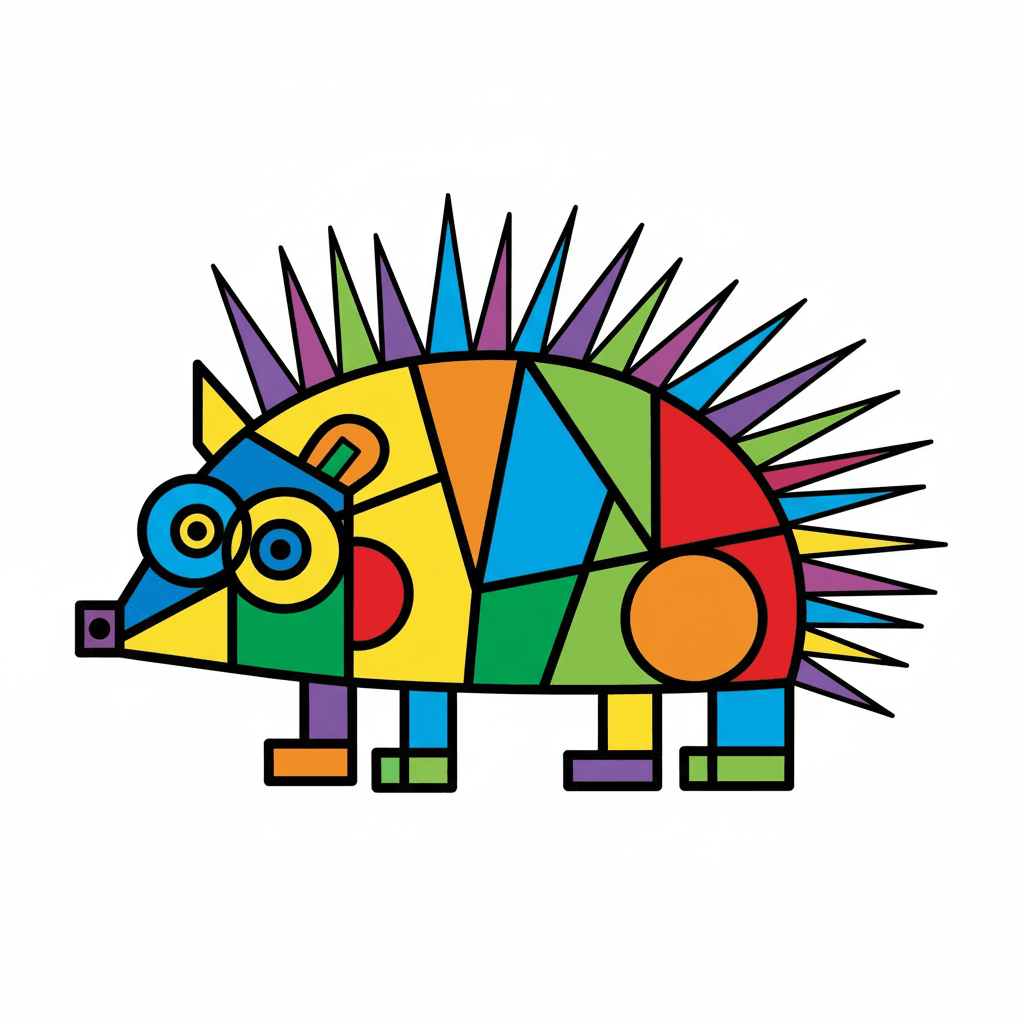
Get inspired with these

Instructions
How To Draw A Porcupine
Step 1
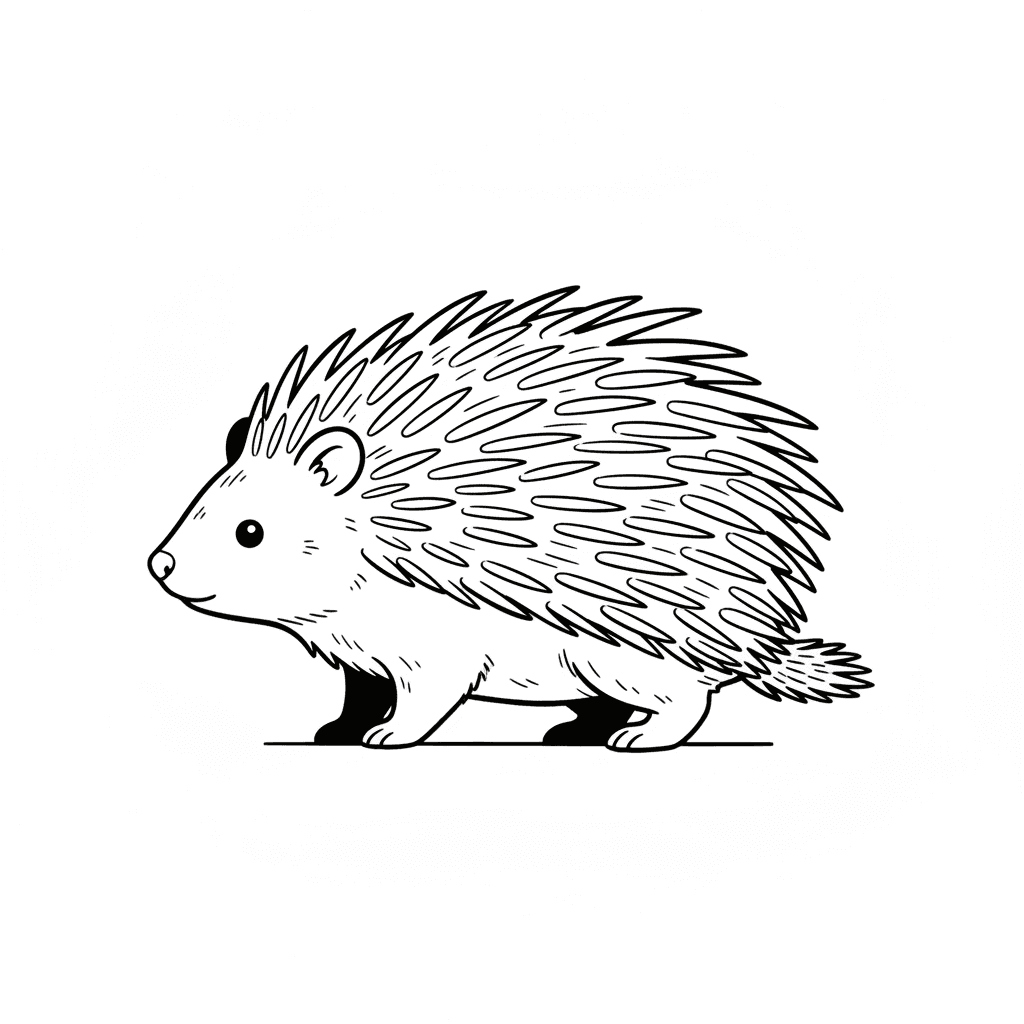
Lightly draw a big oval tilted a little to one side for the porcupine's body.
Step 2
Draw a smaller circle overlapping one end of the oval for the head.
Step 3
Lightly add one vertical and one horizontal guide line across the head to mark where the face will go.
Step 4
Draw a small rounded triangle at the front of the head for the nose.
Step 5
Add two small round ears on top of the head above the guide lines.
Step 6
Draw a smooth curved line from the top of the head along the oval to make the back outline.
Step 7
Draw a gentle curved line under the oval to form the belly outline.
Step 8
Sketch four short stubby legs under the belly with tiny rounded feet.
Step 9
Place two small round eyes and a smiling mouth using the guide lines as a position guide.
Step 10
Gently erase the extra guide lines and any overlapping sketch lines you no longer need.
Step 11
Draw many tapered quill lines along the back starting near the head and fanning outward using varied lengths.
Step 12
Shade the body and quills with light pencil strokes and blend softly with a tissue or blending stump to add texture.
Step 13
Take a photo or scan and share your finished porcupine drawing on DIY.org
Help!?
What can we use instead of a blending stump or special sketch paper?
If you don't have a blending stump, use a soft tissue, a cotton swab, or your fingertip to gently blend the shaded body and quills, and ordinary printer paper works fine for drawing and photographing the finished porcupine.
My quills look messy or all the same—how do I fix them?
When drawing many tapered quill lines along the back, make each quill a slightly different length and angle, use light pencil strokes, then softly blend only where needed with a tissue to keep the quills looking varied and textured.
How can I change the steps for different ages?
For toddlers simplify to one big oval, a circle head, nose and feet stamps; for early elementary follow the full light-guide-line method and stubby legs; and for older kids add varied quill lengths plus detailed shading and blending with a tissue or blending stump.
How can we personalize or extend the porcupine drawing before sharing it?
After you erase the guide lines, personalize the drawing by adding a grassy or forest background, decorating the quills with patterns or color, or scanning the image to add digital textures before uploading to DIY.org.
Related videos
How to Draw a Cartoon Porcupine Simple Drawing Lesson for Kids
4 Videos
How to Draw a Cartoon Porcupine Simple Drawing Lesson for Kids

(fast-version) How to Draw Porcupine | Step by Step Tutorial For Kids
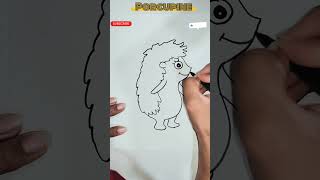
How to Draw a Porcupine Step by Step Easy
🦔 How to Draw a Cute Porcupine - Easy Step-by-Step Tutorial for Kids #PorcupineDrawing #shorts #kids
Fun Facts
🦔 Porcupines are rodents famous for their coat of sharp quills used mainly for defense.
🪶 A North American porcupine can have up to about 30,000 quills covering its body.
✨ Porcupine quills are modified hairs made of keratin — some species' quills have tiny barbs that help them stay embedded.
✏️ When drawing porcupine texture, short directional strokes and hatching can suggest thousands of quills without drawing each one.
📏 Starting with simple shapes (circles for the body, an oval for the head) makes proportion and placement much easier before adding quills and shading.
How do you draw a porcupine step by step?
What materials do I need to draw a porcupine?
What ages is this drawing activity suitable for?
What are the benefits and variations of drawing a porcupine?
