How to draw a ponytail - a free ponytail drawing guide
Learn to draw a ponytail step by step using basic shapes, lines, and shading to practice hair flow, proportion, and drawing skills.

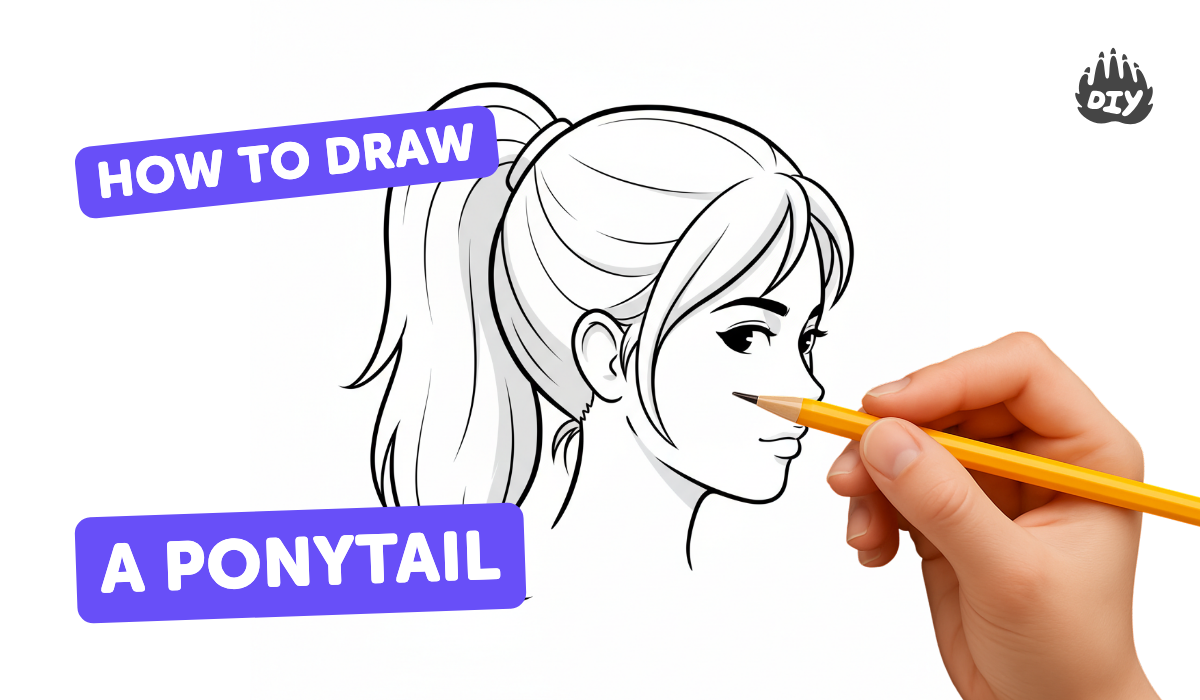
Step-by-step guide to draw a ponytail
How to Draw a Ponytail Hairstyle in 3 Easy Steps
Step 1
Lightly draw a circle for the top of the head.
Step 2
Draw a vertical center line down the circle to mark the middle of the face.
Step 3
Draw a horizontal line across the circle to mark the eye level.
Step 4
Sketch the jaw and chin lines under the circle to make the face shape.
Step 5
Draw a small oval at the back of the head where you want the ponytail to start.
Step 6
Lightly draw the hairline across the forehead and top curve of the head.
Step 7
Draw a band or small circle at the oval to show where the ponytail is tied.
Step 8
From the band, draw two long curved lines that sweep outward to make the main shape of the ponytail.
Step 9
Add several smaller curved lines inside the ponytail to show hair strands and overlapping flow.
Step 10
Erase the construction guidelines so only the face and hair lines remain.
Step 11
Shade under the ponytail and near the roots with light short strokes to add volume.
Step 12
Darken the final outer hair lines to finish the shape of the ponytail.
Step 13
Add highlights by erasing thin lines or leaving thin white strands inside the ponytail.
Step 14
Color the hair and face using your coloring materials if you want.
Step 15
Share your finished ponytail drawing on DIY.org.
Help!?
What can we use instead of an eraser or special pencils for removing guidelines and shading?
If you don't have a regular eraser for the step 'Erase the construction guidelines', substitute a kneaded eraser, gently lift graphite with a clean soft cloth, or redraw the final hair and face on a fresh sheet and trace over the original before erasing.
My ponytail looks flat or stiff — how can I fix that during drawing?
If the ponytail looks stiff when you 'draw two long curved lines' and add 'several smaller curved lines', make your initial strokes lighter, exaggerate the outward sweep from the band, and add short shaded strokes 'under the ponytail and near the roots' to create volume and flow.
How can I adapt this activity for different ages or skill levels?
For younger children skip the vertical and horizontal guidelines and use just the circle, small oval, and one large curved ponytail shape, while older kids should follow all steps including 'shading under the ponytail', adding inner strands, and 'adding highlights by erasing thin lines'.
What are simple ways to personalize or extend the finished ponytail drawing?
To personalize and extend the activity, change the band into a ribbon or scrunchie, draw braids or bangs from the 'hairline', experiment with color blends when you 'Color the hair and face', and then share the finished drawing on DIY.org.
Watch videos on how to draw a ponytail
How to draw a ponytail hairstyle! (Part 3 - the knot) #art #drawingtutorial #howtodraw
3 Videos
How to draw a ponytail hairstyle! (Part 3 - the knot) #art #drawingtutorial #howtodraw
How to draw a girl face with ponytail hairstyle step by step//how to draw a girl face step by step
Teach Your Child to Make a Ponytail in 3 Minutes (Ages 5+)
Facts about drawing hair for kids
🐴 The name "ponytail" comes from how gathered hair resembles a pony's tail — a fun visual reason for the style!
✏️ Many artists start hair by blocking in big shapes (ovals, cones, teardrops) before drawing individual strands.
🌊 Using long, curved flow lines for hair gives a stronger sense of motion than lots of short strokes.
📏 Artists often use the head as a measuring unit — an adult body is about 7–8 heads tall, so place the ponytail relative to the skull.
🎨 Lightly shading the hair mass first and then adding highlights makes shine and texture pop in a drawing.
How do I teach my child to draw a ponytail step by step?
What materials do I need to draw a ponytail with my child?
What ages is learning to draw a ponytail suitable for?
What are the benefits of practicing ponytail drawing with children?
