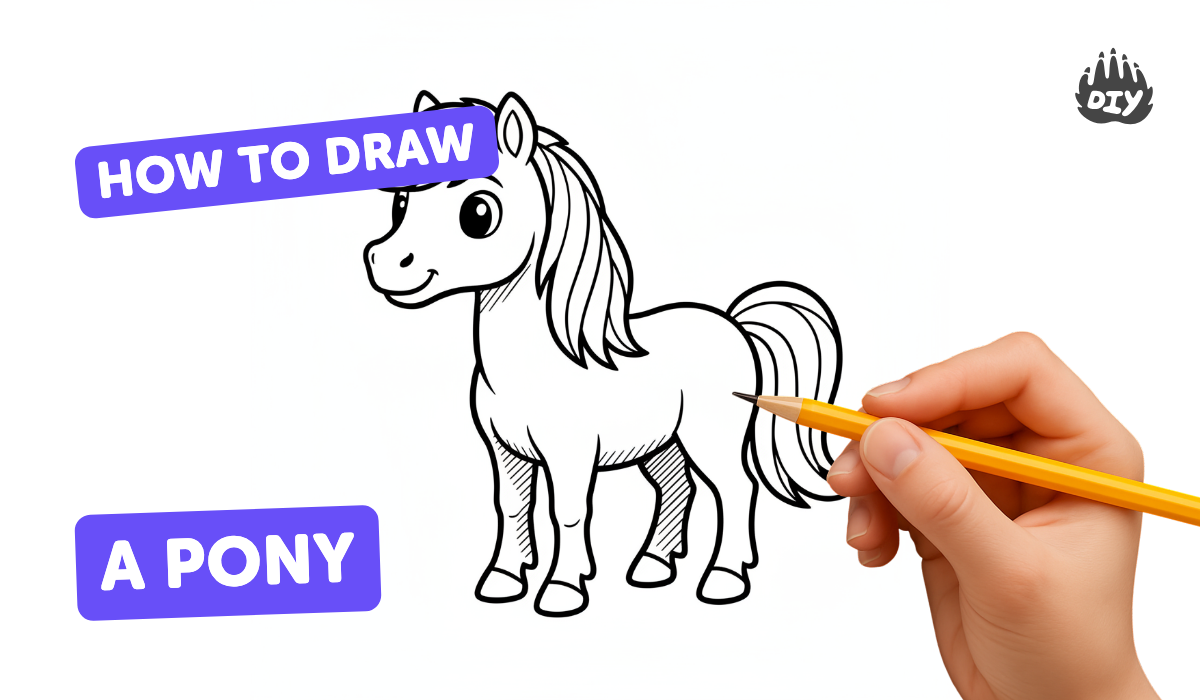
How to draw a pony - a free pony drawing guide
Draw a pony step by step using simple shapes, lines, and shading to create a proportionate pony illustration. Practice observation, proportion, and basic shading skills.

Drawing Apps
Photos of pony drawing examples


Step-by-step guide to draw a pony
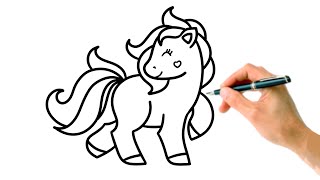
How to Draw a Super Simple Pony | Easy Drawing for Kids
Step 1
Place your paper upright in front of you in portrait orientation so you have lots of room to draw the pony.
Step 2
Lightly draw a large oval in the middle-right of the paper for the pony’s body.
Step 3
Lightly draw a smaller circle slightly above and to the left of the oval for the pony’s head.
Step 4
Draw two short curved lines connecting the head and body to make the pony’s neck.
Step 5
Draw four light vertical guidelines beneath the body to mark where each leg will go.
Step 6
Use the guidelines to draw four long rounded legs that end in small flat hooves.
Step 7
Draw a gentle curved muzzle on the head with a small oval on it for the nostril.
Step 8
Draw two pointy ears on top of the head so the pony looks alert.
Step 9
Draw a large eye on the head and darken the pupil leaving a tiny white dot for a shiny highlight.
Step 10
Add a flowing mane with overlapping curved lines down the neck and a fluffy tail at the back using long curved strokes.
Step 11
Erase any extra guidelines and smooth the outer lines so your pony looks clean and ready.
Step 12
Add light shading under the belly and behind the legs and then colour your pony however you like, and share your finished creation on DIY.org
Help!?
What can I use if I don't have drawing paper, a pencil, or coloring tools?
Use plain printer paper placed upright in portrait orientation, a regular HB or mechanical pencil for the light oval/circle guidelines and erasing, and substitute crayons, markers, or felt-tip pens for colouring.
My pony's neck or legs look wrong—what common mistakes should I fix and how?
Keep your initial ovals and circles very light, use the two short curved lines to connect head and body for a proportionate neck, rely on the four light vertical leg guidelines so each rounded leg ends evenly in a small flat hoof, and erase extra guidelines before darkening lines.
How can I adapt this activity for different ages or skill levels?
For toddlers, pre-draw the large oval and smaller circle so they trace the neck and legs, for school-age children follow all steps and practise the overlapping curved mane, and for older kids add detailed shading under the belly and behind the legs and refine the muzzle and eye highlight.
How can we make the finished pony more personal or advanced?
Add a patterned saddle or bridle, experiment with different mane and tail styles using long curved strokes, increase realism with light shading under the belly and behind legs, or create a background scene before colouring and then share the finished pony on DIY.org.
Watch videos on how to draw a pony
🦄 How to Draw a Pony for Kids | Easy Step-by-Step Tutorial 🎨 #lidoartworks
4 Videos
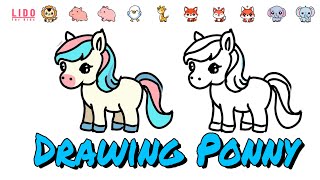
🦄 How to Draw a Pony for Kids | Easy Step-by-Step Tutorial 🎨 #lidoartworks
How to Draw a Cute Pony Step by Step
How to Draw a My Little Pony 🦄 Easy Step by Step with Coloring for Kids and Toddlers
Drawing A Little Pony Guide Step-By-Step For Kids Pencil Draw
Facts about drawing for kids
🐴 Ponies are not just small horses — by definition they are horses that measure 14.2 hands (58 inches / 147 cm) or shorter at the withers.
✏️ Many artists begin drawings with simple shapes (circles, ovals, rectangles) to map out proportions before adding details.
📏 A "hand" is the traditional unit for measuring horse height and equals exactly 4 inches (10.16 cm).
🎨 Shading uses light and dark values to make flat shapes look three-dimensional — even two values (light and shadow) can make a drawing pop.
👀 Practicing observational drawing trains you to "see" edges, angles, and negative space, which helps create more accurate animal shapes.
How do I teach my child to draw a pony step by step?
What materials do I need to draw a step-by-step pony with my child?
What ages is a step-by-step pony drawing suitable for?
What are the benefits of drawing a pony step by step?
