How to draw a planet - a free planet drawing guide
Draw a detailed planet using paper, pencils, and crayons; add craters, rings, and shading to explore texture, light, and imagination.


Step-by-step guide to draw a planet
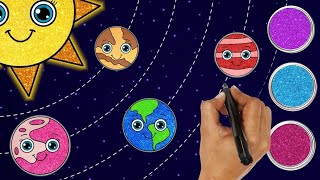
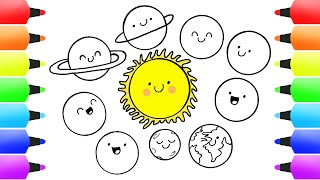
How to Draw the SOLAR SYSTEM! | Step by Step Easy Drawing for Kids | Learn Planet Names and Colors
Step 1
Gather your paper pencil eraser and coloring materials and place them on a flat table.
Step 2
Lightly draw a large circle in the center of the paper to make your planet.
Step 3
Add craters by drawing several small and medium circles or ovals on the planet surface.
Step 4
Draw one or two curved parallel lines that wrap around the planet to make rings.
Step 5
Add surface textures by drawing swirls lines or patchy shapes across the planet.
Step 6
Mark a tiny dot or little star outside the planet to show where the light is coming from.
Step 7
Lightly shade the side of the planet opposite the light dot to create a shadow.
Step 8
Shade the inside edges of each crater to make them look deep.
Step 9
Darken the area where the rings cross the planet to show the ring shadow.
Step 10
Color the planet rings and craters with your crayons or colored pencils.
Step 11
Add bright highlights by leaving small spots white or coloring them with a very light crayon.
Step 12
Outline important shapes like the planet edge craters and rings with a darker crayon or pencil to make them pop.
Step 13
Erase any stray pencil marks outside your final lines.
Step 14
Write your name and the planet's name in a small corner so everyone knows you created it.
Step 15
Take a picture and share your finished planet creation on DIY.org
Help!?
I don't have crayons or colored pencils—what can we use instead to color the planet and rings?
If you don't have crayons or colored pencils, use markers, washable paints, colored paper for a collage, or even watercolor; and use a cup or lid as a template to lightly trace the large circle.
My circle and rings look wobbly and my shading is blotchy—how can I fix that?
Draw the large circle and rings very lightly with your pencil using a round object as a guide, erase and refine shaky lines before darkening, and smooth the planet shadow by shading lightly and blending with a tissue or cotton swab.
How can I adapt this drawing activity for different ages?
For ages 3–5, have them trace a cup for the circle and use stickers or chunky crayons to add craters and rings without detailed shading; for 6–9 follow all steps with simple shading practice; and for 10+ encourage layered textures, detailed ring shadows, and subtle highlights with colored pencils.
What are some easy ways to enhance or personalize my finished planet?
Personalize by adding tiny moons or a spaceship near the light dot, glue textured paper or tissue for raised craters, sprinkle glitter on the rings before coloring dries, and write your planet's name and a one-sentence origin story next to your signature.
Watch videos on how to draw a planet
How to Draw Planets🌎| Solar System Drawing | Drawing and Coloring for Kids | HooplaKidz How To
4 Videos
How to Draw Planets🌎| Solar System Drawing | Drawing and Coloring for Kids | HooplaKidz How To
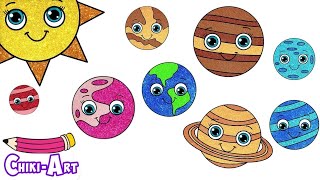
How to Draw CUTE Planets | AWESOME Solar System Drawing Tutorial for Kids (Earth, Sun, Mars & More!)
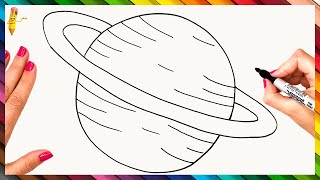
How To Draw A Planet Step By Step 🪐 Planet Drawing Easy
🌞 Solar System Drawing For Kids 🌍| How To Draw Planets 🪐| Chiki Art
Facts about space art and drawing for kids
🪐 Saturn's rings are the most famous planetary rings and are made of billions of ice and rock particles.
🌕 The Moon's surface is covered in craters formed by asteroid and comet impacts over billions of years.
🕳️ Some impact craters are hundreds to thousands of kilometers across, making huge basins on planets and moons.
🎨 Good shading (light and shadow) can make a flat paper drawing look three-dimensional and lifelike.
✍️ Artists create texture on paper using techniques like hatching, cross-hatching, blending, and stippling.
How do you draw a detailed planet step by step?
What materials do I need to draw a detailed planet?
What ages is this planet drawing activity suitable for?
What are the benefits of drawing planets for kids?
