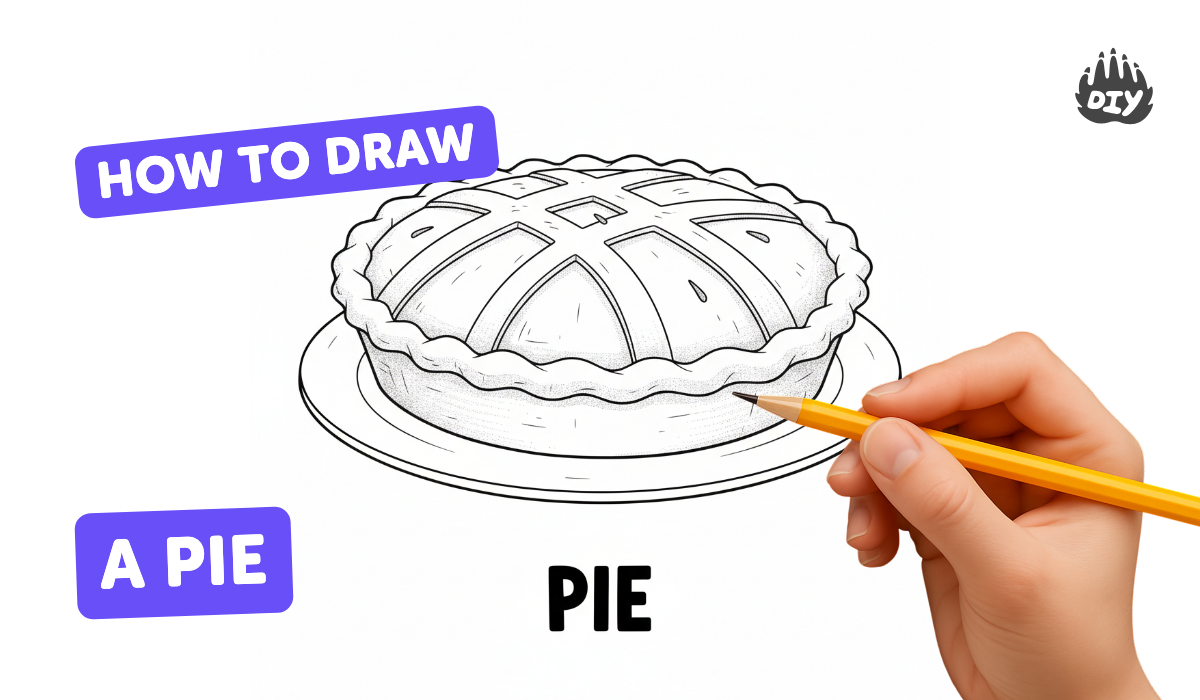
How to draw a pie - a free pie drawing guide
Draw a realistic pie with crust, filling, and a sliced wedge using pencil and color. Practice shape, shading, and proportion skills.

Drawing Apps
Photos of realistic pie drawings with crust, filling, and a sliced wedge


Step-by-step guide to draw a realistic pie with crust, filling, and a sliced wedge
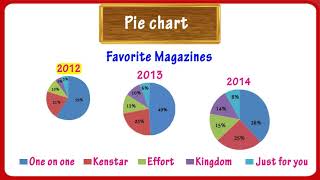
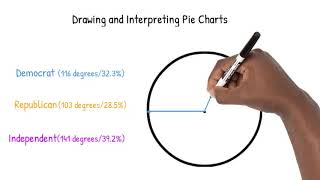
Drawing Pie Charts - Corbettmaths
Step 1
Place your paper and pencil on a flat table with good light so you can see clearly.
Step 2
Lightly draw a large circle near the center of the paper for the top of the pie.
Step 3
Draw a slightly smaller circle inside the first circle to mark the inner edge of the crust.
Step 4
Add small scalloped bumps along the outer circle to make the crust rim look crinkly.
Step 5
Draw two straight lines from the center out to the outer circle to show where a slice was cut.
Step 6
Draw a curved arc between the two lines near the center to show the exposed inner edge of the filling.
Step 7
Draw a shallow curved line below the main circle to show the side (thickness) of the pie.
Step 8
Connect the ends of that lower curve to the bottom of the main circle so the pie becomes a solid 3D shape.
Step 9
Erase any extra overlapping or construction lines inside the pie shape to tidy your sketch.
Step 10
Draw small curved lines inside the exposed wedge to show the filling texture and lumps.
Step 11
Add light pencil shading on the side of the pie and inside the wedge to make it look round.
Step 12
Color the crust with a light golden brown, staying inside the crust lines.
Step 13
Color the filling with a rich color and leave tiny lighter spots for highlights.
Step 14
Share your finished pie drawing on DIY.org.
Help!?
What can we use if we don't have colored pencils or a light golden-brown for the crust?
If you don't have colored pencils or a light golden-brown, use crayons, markers, or watercolor to color the crust and filling, using lighter pressure or diluted paint to mimic the light pencil shading on the side and inside the wedge.
My circle or scalloped crust looks messy — how can we fix it so the pie looks neat?
If your circle or scalloped crust looks messy, trace a round lid for the outer circle and a slightly smaller object for the inner edge, draw the scalloped bumps with light pencil arcs, and then erase the extra construction lines to tidy the pie.
How can I adapt this activity for different ages or skill levels?
For younger kids, pre-draw the large and inner circles and scalloped rim for them to color with crayons, while older kids can add detailed filling texture lines, light pencil shading for roundness, and draw a plate or fork to practice perspective.
What are some ways to enhance or personalize the pie drawing after finishing the basic steps?
To personalize the drawing, add a lattice crust or steam wisps over the filling, use a white pen for tiny highlights after coloring the filling, and write the pie flavor or photograph it before sharing on DIY.org.
Watch videos on how to draw a realistic pie with crust, filling, and a sliced wedge
What Is a Pie Chart?: Examples of How to Use a Pie Chart for Kids
4 Videos

What Is a Pie Chart?: Examples of How to Use a Pie Chart for Kids
Pie Chart For Kids | Math Graphs | Grade 4 & 5 | Tutway

Drawing Pie Charts - Primary
Drawing and Interpreting Pie Charts
Facts about still life drawing for kids
🥧 Ancient cooks in Greece and Rome made early pies with meat and fruit sealed in pastry cases — pies have very old roots!
✏️ Pencil graphite runs on a hardness scale from 9H (very hard, light) to 9B (very soft, dark) — artists mix grades for sketching and shading.
🎨 Shading and highlights trick the eye into seeing roundness: a single light source plus cast shadow makes a flat pie look 3D.
📏 Many pies are traditionally cut into 6 or 8 wedges — using those real-life angles helps you draw an accurate sliced wedge.
🔥 The golden-brown color on a baked pie crust comes from the Maillard reaction and caramelization — a tasty science detail to notice when coloring!
How do I draw a realistic pie with a sliced wedge?
What materials do I need to draw a realistic pie?
What ages is drawing a realistic pie suitable for?
What are the benefits of drawing a realistic pie?
