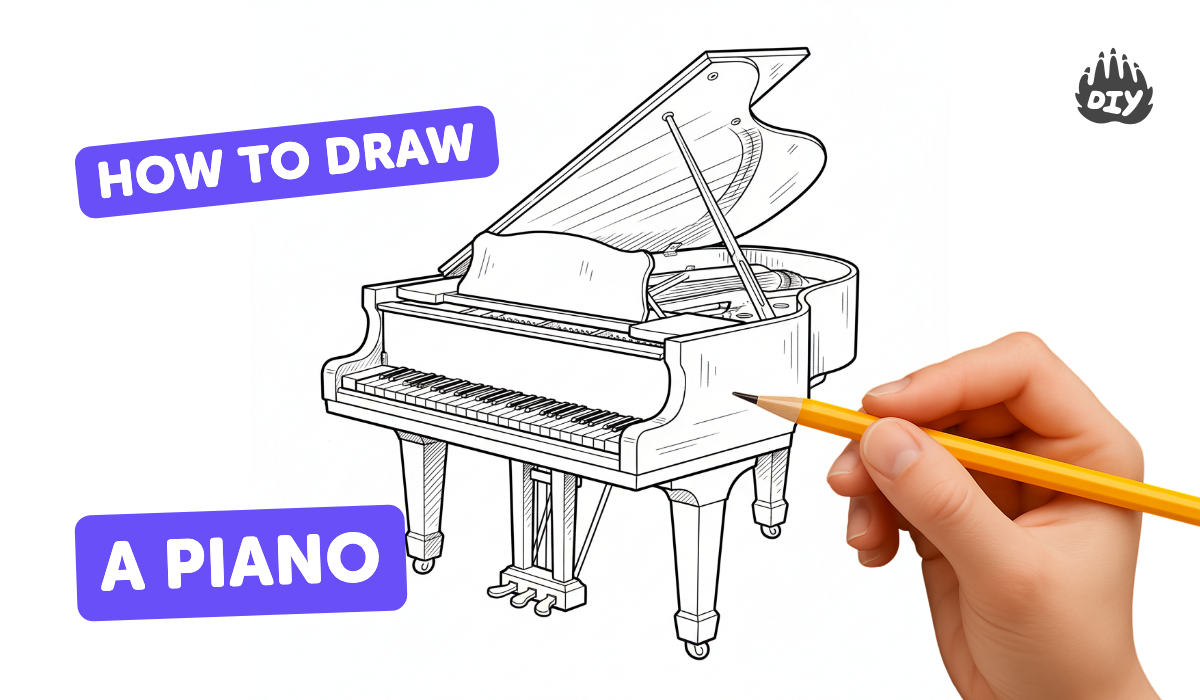
How to draw a piano - a free piano drawing guide
Draw a realistic upright piano using simple shapes, perspective, and shading. Practice observation, measuring keys, proportion, perspective, and step by step sketching skills.

Drawing Apps
Photos of realistic upright piano drawing examples


Step-by-step guide to draw a realistic upright piano
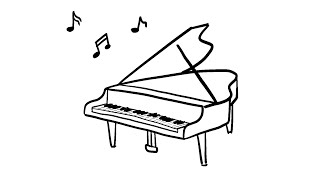
How To Draw A Cute Piano Step by step / Easy Drawing
Step 1
Gather your materials and sit at a flat comfortable workspace.
Step 2
Find a clear photo or look at a real upright piano to study its big shapes.
Step 3
Lightly draw a horizon line across your paper to set the eye level.
Step 4
Mark one vanishing point on the horizon line for one-point perspective.
Step 5
Sketch the piano’s outer box in one-point perspective by drawing a front rectangle and soft lines toward the vanishing point to show depth.
Step 6
Draw the top lid edge across the top of the box to show the piano’s top surface.
Step 7
Draw a horizontal fallboard line on the front face where the keyboard will sit.
Step 8
Mark the keyboard’s left and right ends with small vertical ticks on the fallboard.
Step 9
Draw about 15 evenly spaced light vertical lines between the ticks to make white key guides.
Step 10
Add black key shapes as shorter rectangles above the white keys in the repeating 2-3 pattern.
Step 11
Sketch simple legs under the piano and draw a small pedal box with two or three pedals at the bottom.
Step 12
Erase extra construction lines and darken the main outer outlines to clean up the sketch.
Step 13
Shade the piano’s side panels darker than the front to show depth toward the vanishing point.
Step 14
Shade the black keys darkly and add light shading to the white keys and a thin shadow under the fallboard for separation.
Step 15
Share your finished upright piano drawing on DIY.org.
Help!?
If I don’t have a ruler or fancy pencils listed in 'Gather your materials', what can I use instead?
Use the straight edge of a hardcover book or a credit card to draw the front rectangle and the perspective lines toward the vanishing point, and any sharpened pen or colored pencil will work to darken outlines and shade the keys.
My perspective lines or keys look wrong—what step usually causes mistakes and how do I fix it?
If the depth lines don’t meet the marked vanishing point or the white key guides are uneven, lightly redraw the box edges toward the vanishing point and re-measure the fallboard between the left and right ticks (or fold a scrap paper into equal sections) before drawing the about 15 vertical key guides.
How can I adapt the drawing steps for different ages?
For preschoolers, skip one-point perspective and have them draw a front rectangle with simple white and black key rectangles, while older kids can follow the full steps—marking the horizon and vanishing point, adding the 2-3 black key pattern, drawing legs and pedal box, and practicing shading on the side panels and keys.
How can we extend or personalize the piano drawing after finishing the basic sketch and shading?
After erasing construction lines and darkening the main outlines, personalize by adding wood grain on the side panels and top lid, a sheet-music stand with notes, decorative legs or a logo on the fallboard, then color or photograph it to share on DIY.org.
Watch videos on how to draw a realistic upright piano
Piano Drawing | How to draw a PIANO | Kids drawing | Pencil Sketch
4 Videos

Piano Drawing | How to draw a PIANO | Kids drawing | Pencil Sketch
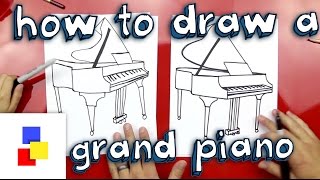
How To Draw A Grand Piano
How to Draw a Piano Music For Kids Step by Step and Coloring | Piano Drawing for Kids #piano #music
How to Draw a Simple Piano | Step-by-Step Lesson
Facts about observational drawing and perspective
🎹 The modern piano has 88 keys: 52 white keys and 36 black keys.
🏠 Upright pianos became popular in the 19th century because they saved floor space in homes and schools.
📐 Linear perspective (used since the Renaissance) makes parallel lines appear to meet at vanishing points — great for drawing a keyboard that recedes.
📏 Many artists use a pencil held at arm's length to measure proportions and angles when sketching objects like pianos.
🎨 Shading with different values (light to dark) is what turns flat piano shapes into glossy, three-dimensional keys.
How do I draw a realistic upright piano step by step?
What materials do I need to draw an upright piano?
What ages is this piano drawing activity suitable for?
What are the benefits of drawing a realistic upright piano?
