How to draw a person running - a free person running drawing guide
Draw a person running step-by-step using simple shapes, stick-figure practice, proportions, and motion lines to learn gesture, movement, and coloring.

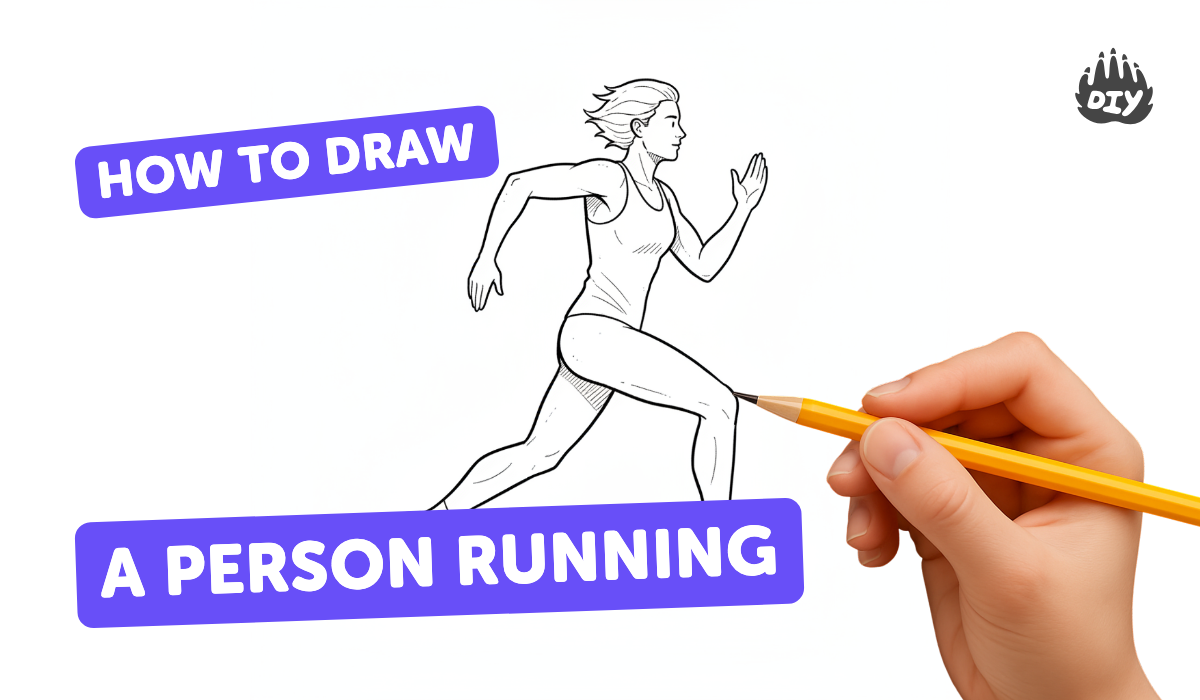
Step-by-step guide to draw a person running
How to Draw a Person Running in a Few Easy Steps: Drawing Tutorial for Beginner Artists
Step 1
Draw a light, curvy line across the paper to show the direction the runner is moving.
Step 2
Put a small circle at the top of the curvy line to make the head.
Step 3
Place two small dots where the shoulders should be and two dots where the hips should be.
Step 4
Draw a slanted line through the shoulder dots to show the shoulder angle.
Step 5
Draw a shorter slanted line through the hip dots to show the hip angle.
Step 6
Draw stick arms by drawing a line from each shoulder dot with a small circle at the elbow and a small circle at the wrist.
Step 7
Draw stick legs by drawing a line from each hip dot with a small circle at the knee and a small circle at the ankle, making one leg reach forward and the other stretch back.
Step 8
Draw a long oval around the curvy line for the torso to give the body shape.
Step 9
Add ovals on the upper and lower parts of each leg to turn the stick legs into simple muscle shapes.
Step 10
Add simple hands and feet using small ovals or triangles at the wrist and ankle positions.
Step 11
Sketch a simple face and hair on the head circle to give your runner personality.
Step 12
Erase extra guide dots and light lines so the runner shape looks clean.
Step 13
Add short motion lines behind the arms and legs and a small shadow under the feet to show speed.
Step 14
Color your running person with your coloring materials and then share your finished creation on DIY.org.
Help!?
What can we use if we don't have an eraser or colored pencils?
If you don't have an eraser, draw the curvy guide line and dots very lightly so you can darken final lines later or soften mistakes with a clean tissue, and if you lack colored pencils use crayons, markers, or torn colored paper glued onto the torso, arms, legs, and shadow to add color.
My runner looks stiff—how can we make the pose look more natural?
Soften the pose by emphasizing the initial light curvy action line, changing the slanted shoulder and hip lines to different angles, moving the knee and ankle circles so one leg clearly reaches forward and the other stretches back, then redraw the long torso oval and leg ovals to follow those positions before erasing guides.
How can I adapt this activity for younger or older kids?
For younger children skip the small elbow/wrist/knee/ankle dots and keep a simple stick figure with big ovals and bold coloring, while older kids can add the muscle ovals on the legs, detailed face and hair, shading, clothing folds, and more accurate proportions before erasing guide dots.
How can we extend or personalize the finished running person?
Personalize by adding a background track or park, drawing more runners, customizing clothes and shoes with patterns and colors, adding extra motion lines and a stronger shadow under the feet, or turning several slightly different poses into a flipbook to share on DIY.org.
Watch videos on how to draw a person running
How to draw people running | EASY TO FOLLOW
4 Videos
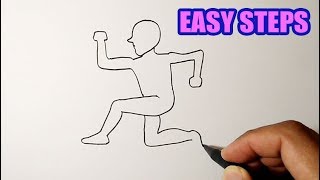
How to draw people running | EASY TO FOLLOW
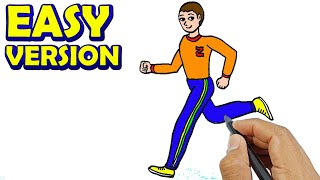
How to draw a person running easy step by step simple step | Cómo Dibujar Una Persona Corriendo
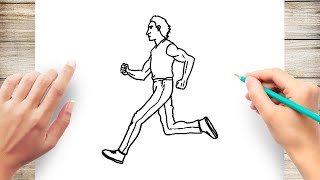
How to Draw A Person Running

How to draw a boy running step by step
Facts about figure drawing for kids
🏃♂️ The fastest recorded human speed is about 27.8 mph (44.72 km/h) — Usain Bolt's top sprint!
🖊️ Gesture drawings are quick (often 30 seconds to 2 minutes) sketches artists use to capture movement and flow.
📸 Eadweard Muybridge used sequential photos in the 1870s to study motion and prove how animals and people move.
🧍 Artists often measure figures using 'head' units — an adult body is about 7.5 to 8 heads tall for realistic proportions.
✏️ Stick figures are a timeless, ancient way to plan poses quickly before adding muscles, clothes, and details.
How do I teach my child to draw a person running step-by-step?
What materials do we need to draw a running person?
What ages is drawing a running person suitable for?
What are the benefits of drawing people in motion for kids?
