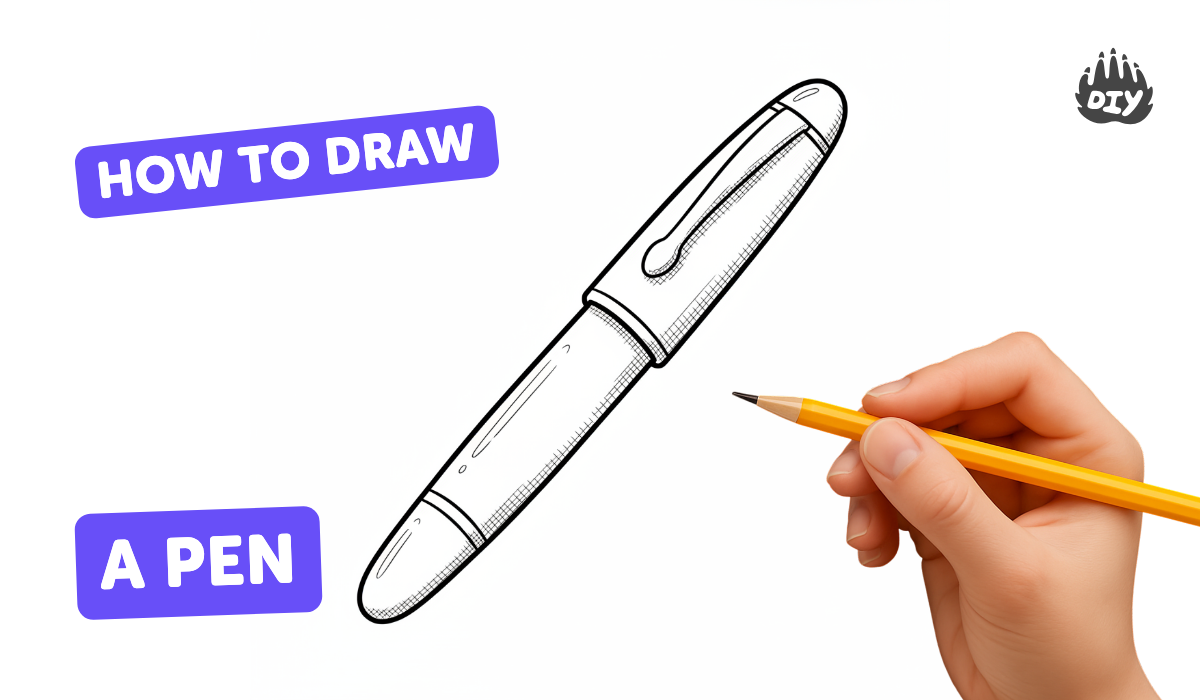
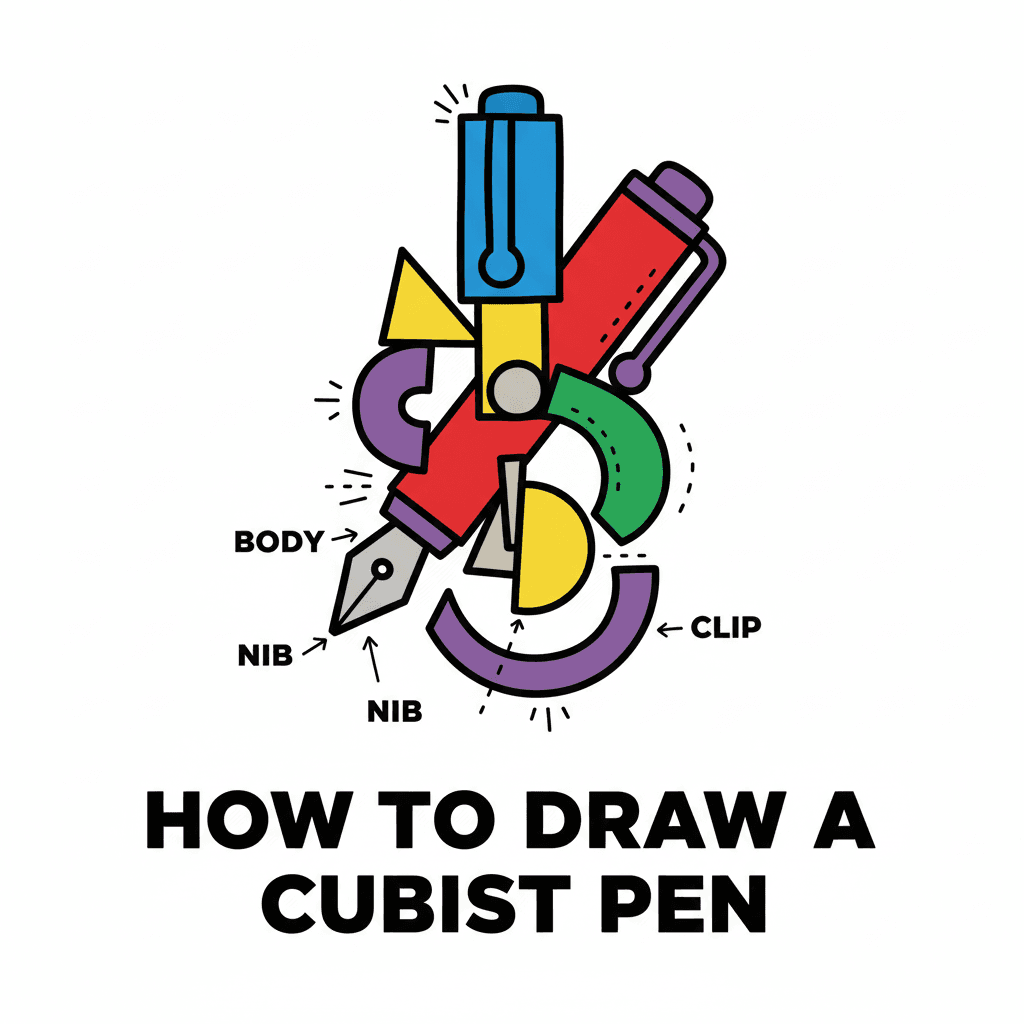
How to draw a pen - a free pen drawing guide
Draw a realistic pen using basic shapes, correct proportions, and simple shading. Practice step by step sketching, careful measurements, ink details, and steady linework.

Drawing Apps
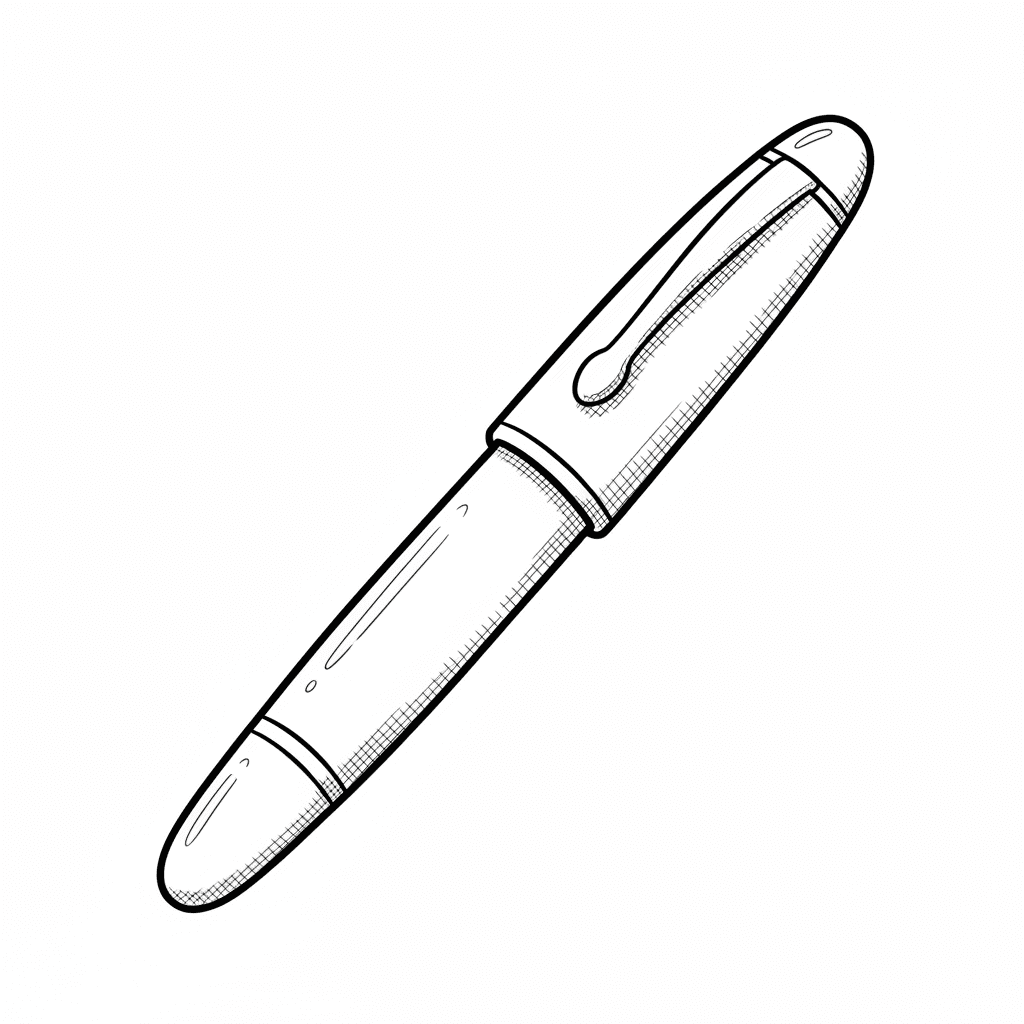
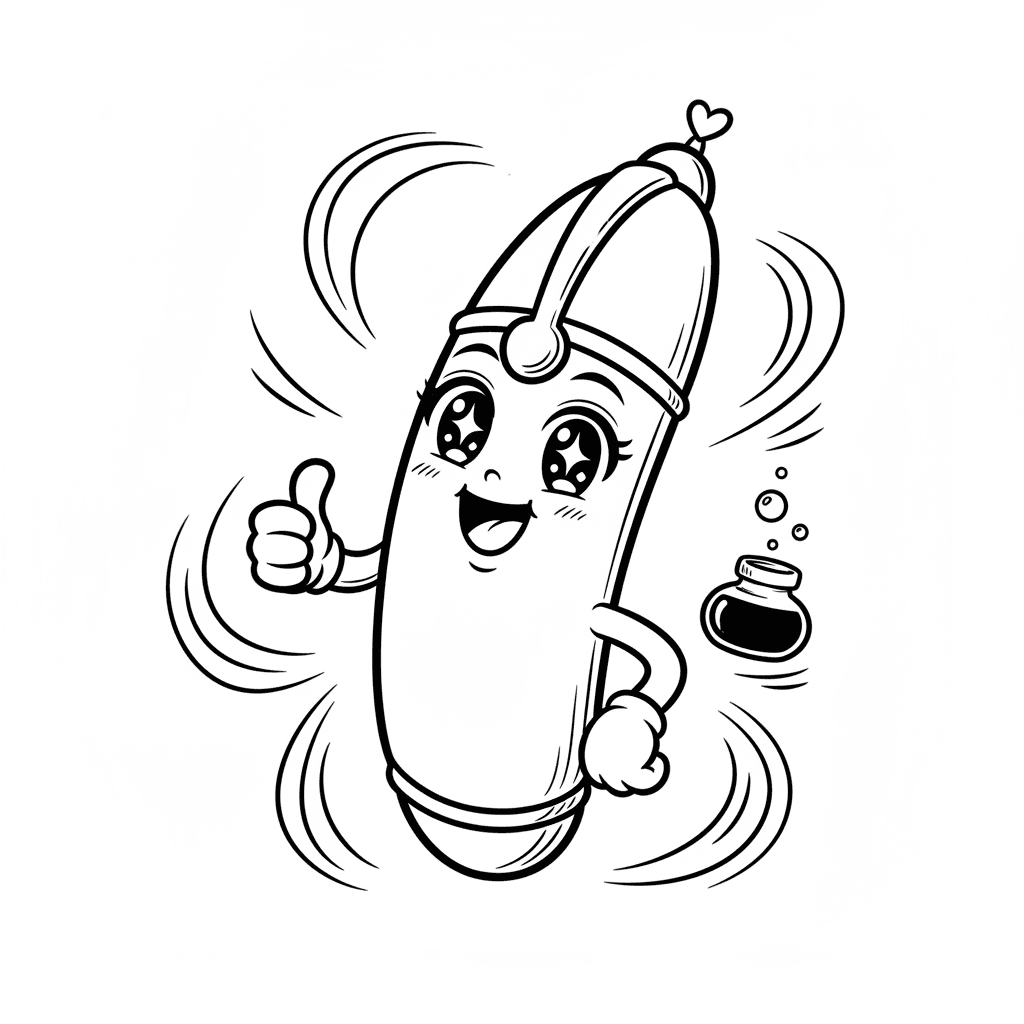
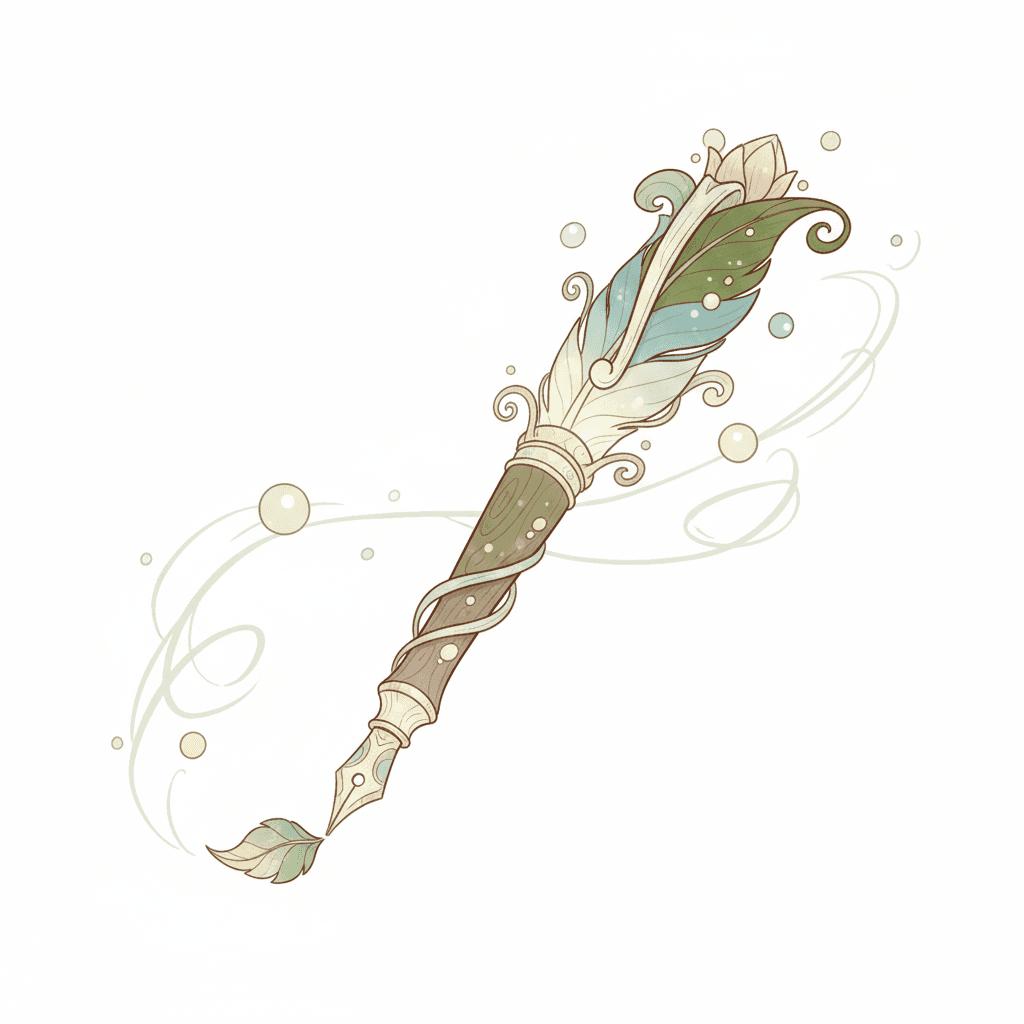
Photos of pen drawing examples


Step-by-step guide to draw a pen
How to Draw Pen || Simple Drawing Step by Step for Beginners || Kids Drawing
Step 1
Gather your materials and sit at a clean table with good light.
Step 2
Decide how long you want your pen to be and use the ruler to lightly mark the two end points on the paper.
Step 3
Draw a light straight centerline between the two marks to guide the pen’s length.
Step 4
Draw two light parallel lines on either side of the centerline to set the barrel width.
Step 5
Connect the parallel lines at both ends with gentle rounded arcs to make the basic cylinder shape of the pen.
Step 6
At one end draw a slightly wider rounded cap shape that overlaps the barrel a little to show where the cap sits.
Step 7
Add a clip by drawing a thin curved rectangle attached to the cap and draw a thin seam line where the cap meets the barrel.
Step 8
At the other end taper the barrel into a small cone shape and draw a tiny rounded nib or ball tip to make the pen point.
Step 9
Draw small grip rings or a textured band near the tip and any thin decorative lines to suggest details.
Step 10
Erase extra construction marks you no longer need and gently refine the pen’s outline until you like the shape.
Step 11
Carefully trace over your final outline with the fine-tip pen using steady single strokes for clean linework.
Step 12
Wait until the ink is fully dry then gently erase the remaining pencil guidelines.
Step 13
Decide where the light is coming from and add light pencil shading on the side opposite the light; softly blend the shading with a tissue or stump and draw a faint cast shadow beneath the pen.
Step 14
Take a photo or scan your finished drawing and share your realistic pen on DIY.org.
Help!?
What can I use instead of a ruler, fine-tip pen, or blending stump if I don't have them?
Use a straight book edge or credit card as a ruler, trace your final outline with a sharpened pencil or thin marker instead of a fine-tip pen, and blend the shading with a tissue, cotton swab, or your fingertip in place of a stump.
My pen looks lopsided or the cap doesn't sit right—how can I fix it?
Redraw the light centerline and parallel barrel lines with your straight edge, reconnect the ends with gentle rounded arcs to reshape the cylinder and cap so the cap overlaps correctly, erase extra construction marks, and then ink with steady single strokes to avoid wobble.
How can I adapt this drawing activity for different ages or skill levels?
For younger kids, simplify by tracing a real pen or using a stencil and a thick marker while skipping detailed shading, and for older kids, add the textured grip rings, thin decorative lines, refined pencil shading blended with a stump or tissue, and precise inking with the fine-tip pen for realism.
What are some ways to extend or personalize the pen drawing once it's finished?
Personalize by adding colored accents or thin decorative lines with colored pencils or markers, draw the pen from different angles or with the cap off to show the nib, and photograph or scan each version to compare before sharing on DIY.org.
Watch videos on how to draw a pen
Pen and Ink Sketching for Beginners - Step by Step - Drawing Tutorial
4 Videos
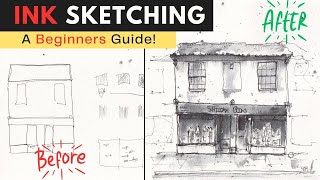
Pen and Ink Sketching for Beginners - Step by Step - Drawing Tutorial

How to ACTUALLY Start Drawing? (for beginners)
How to Teach Drawing to Kids | Basic Drawing Tricks!

I'll teach you to draw! How to Draw #1: The Essential First Steps Most Beginners Miss
Facts about drawing and sketching for kids
🖊️ The ballpoint pen was popularized by Hungarian-Argentinian inventor László Bíró in 1938 and changed everyday writing forever.
✏️ A realistic pen sketch usually starts from a simple cylinder—breaking objects into basic shapes makes them easier to draw.
📏 Artists often use a pencil held at arm's length to measure proportions and angles when sketching objects like pens.
🌓 Basic shading for realism includes light, midtone, core shadow, reflected light, and a bright highlight for shiny surfaces.
🎯 Steady linework improves with practice: confident, single strokes or controlled short strokes make cleaner ink details than many shaky lines.
How do I teach my child to draw a realistic pen step by step?
What materials do we need to draw a realistic pen at home?
What ages is drawing a realistic pen suitable for?
What are the benefits of practicing realistic pen drawing with my child?
