How to draw a park - a free park drawing guide
Draw a colorful park scene step by step: sketch trees, paths, benches, playground, pond, and people; practice perspective, shapes, and shading to add depth.

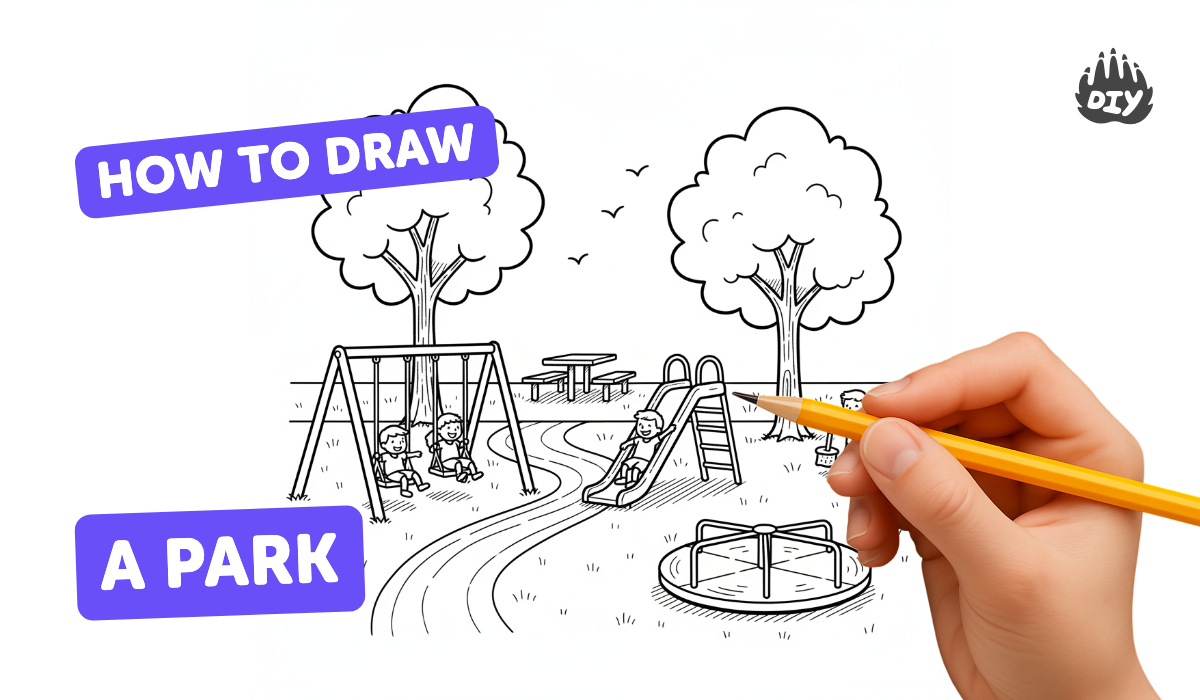
Step-by-step guide to draw a colorful park scene
How to Draw A Park | Drawing & Coloring Easy Park for Kids |Easy Park Drawing Step by Step
Step 1
Place your paper in landscape orientation on a flat surface.
Step 2
Lightly draw a horizontal horizon line about one third from the top of the paper.
Step 3
Put a small dot on the horizon line to mark your vanishing point for perspective.
Step 4
Draw two lines from the bottom edge toward the vanishing point to make a path that narrows with distance.
Step 5
Sketch tree trunks along the sides of the path using vertical lines and simple rounded shapes for the tree canopies.
Step 6
Draw bench shapes using rectangles and make benches smaller as they get closer to the vanishing point.
Step 7
Sketch playground shapes like a slide swing and climbing frame using basic rectangles triangles and circles.
Step 8
Draw a pond shape off to one side and add short curved lines on the water for small ripples.
Step 9
Add people as small stick figures or simple body shapes and make distant figures smaller.
Step 10
Draw grass tufts flowers and small ground details near the front using short quick strokes.
Step 11
Trace over your final lines with a darker pencil or marker to make the drawing clear.
Step 12
Erase extra light sketch lines so your main shapes stand out.
Step 13
Colour the scene with your colouring materials filling in trees grass pond playground benches and people.
Step 14
Add shading with your soft pencil under tree canopies along path edges and beneath benches then gently blend with a tissue for smooth shadows.
Step 15
Share your finished colorful park scene on DIY.org.
Help!?
I don't have a soft pencil, tissue, or marker—what can I use instead?
If you don't have a soft pencil or tissue for the "Add shading..." step, substitute a 2B or 4B pencil and blend with a cotton ball or folded paper towel, and use coloured pencils or crayons in place of markers for the "Colour the scene..." step.
My path doesn't look like it narrows correctly toward the vanishing point—how can I fix it?
If the path looks wrong, redraw the two lines from the bottom edge toward the vanishing point very lightly using a ruler as guide lines and then erase extra guide marks after you trace the final path so the perspective looks correct.
How can I adapt this activity for different ages?
For younger kids skip the vanishing point and make the path and trees with big simple shapes, while older kids can add more benches that get smaller toward the vanishing point and use the "Add shading..." step to practice blended shadows and texture.
How can we extend or personalize the park drawing to make it more interesting?
To personalize the scene, add reflections and more ripples to the pond from the "Draw a pond..." step, include seasonal details like falling leaves on tree canopies, and layer coloured markers or textured paper when you "Colour the scene..." before sharing on DIY.org.
Watch videos on how to draw a colorful park scene
Park Drawing Video For Children's | How To Draw Park drawing | Easy Drawing For Kids
4 Videos

Park Drawing Video For Children's | How To Draw Park drawing | Easy Drawing For Kids
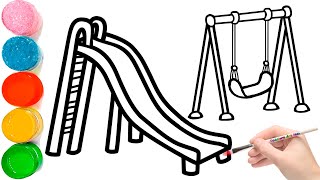
How To Draw A Playground With Slide And Swing | How to draw Child Park
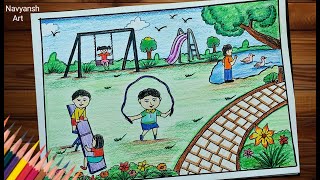
How to draw Park Scenery step by step / Drawing of Playground / Children playing in the park drawing
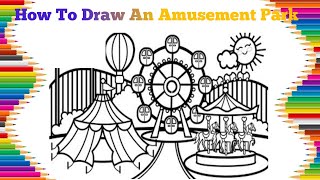
Easy Park Drawing | 🎡 **How to Draw An Amusement Park - Fun Step-by-Step Tutorial!** 🎢
Facts about drawing and sketching for kids
🌳 Central Park in New York City covers about 843 acres — that's a huge area full of trees, paths, and places to draw!
🎨 Linear perspective was popularized during the Renaissance to make flat pictures look 3D — try using a vanishing point in your park scene.
🛝 The first modern playgrounds appeared in the late 19th century to give children safe places to play and explore.
🦆 Ponds attract ducks, frogs, and dragonflies — adding small animals and plants makes a park drawing come alive.
💡 Shading and cast shadows show the light direction — pick a sun position and shade everything consistently for depth.
How do you draw a colorful park scene step by step?
What materials do I need to draw a colorful park with my child?
What ages is drawing a park suitable for?
What are the benefits of drawing a park for children?
