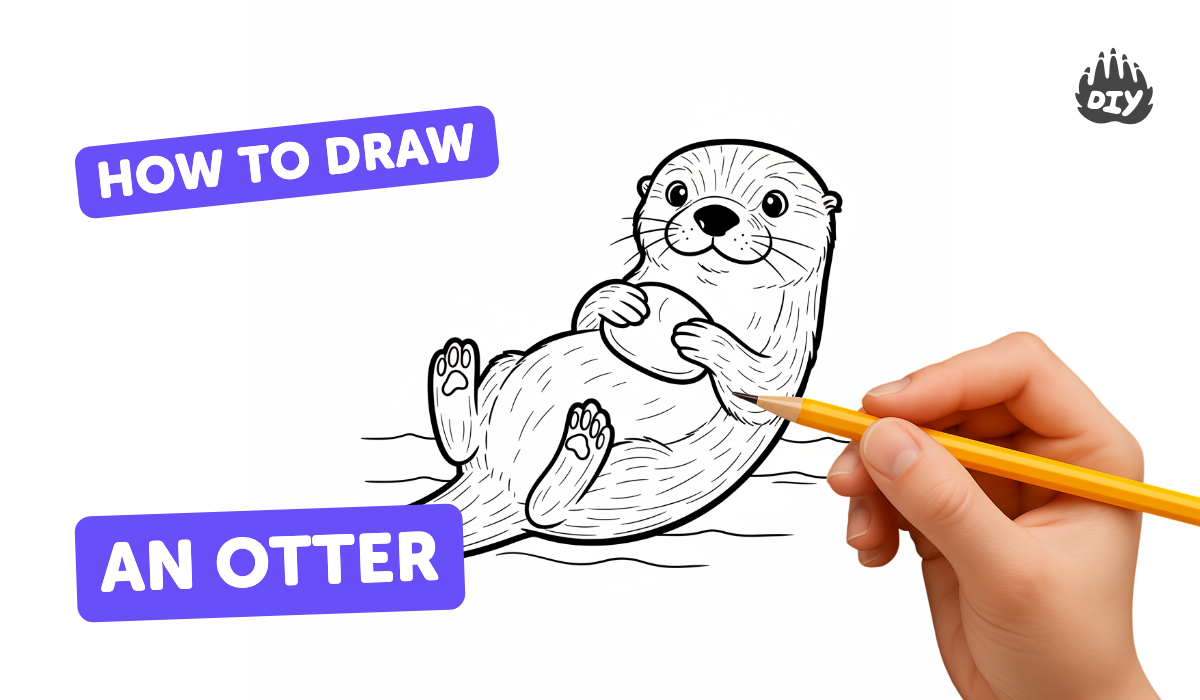
How to draw a otter - a free otter drawing guide
Draw an otter step by step using simple shapes, outlines, and shading. Practice proportions, facial features, and fur texture to improve drawing skills.

Drawing Apps
Photos of otter drawing examples


Step-by-step guide to draw an otter
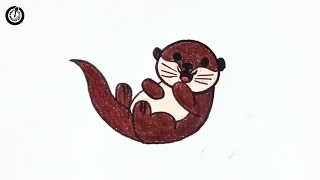
How To Draw An Otter With Shapes For Young Artists
Step 1
Lightly draw a large horizontal oval for the otter’s body.
Step 2
Lightly draw a smaller circle overlapping one end of the oval for the head.
Step 3
Draw a vertical line and a horizontal line across the head circle to mark where the nose and eyes go.
Step 4
Draw a rounded snout shape at the bottom of the head following the vertical guideline.
Step 5
Draw a small oval at the tip of the snout for the nose.
Step 6
Draw a short curved line under the nose to make the mouth.
Step 7
Draw two small circles on the horizontal guideline for the eyes.
Step 8
Add a tiny white highlight inside each eye by leaving a small dot unshaded.
Step 9
Draw two small rounded ears on top of the head circle.
Step 10
Sketch four short curved ovals for the legs positioned under the body.
Step 11
Draw a long tapering tail attached to the back of the body.
Step 12
Trace a smooth outer outline connecting all the shapes to form the otter and erase any construction lines.
Step 13
Add short pencil strokes following the body’s curves to make fur texture.
Step 14
Shade the side away from your imagined light source with soft pencil strokes to add depth and form.
Step 15
Take a photo or scan your finished otter and share it on DIY.org.
Help!?
I don't have a scanner or a sketching pencil—what can I use to finish the 'Take a photo or scan your finished otter' step and still follow the light construction lines?
Use a smartphone or tablet camera to photograph your finished otter instead of a scanner, and sketch with a regular graphite pencil, mechanical pencil, or soft charcoal keeping all strokes light so you can easily erase construction lines.
My head circle and snout look off-center—how can I fix the placement so the nose and eyes sit correctly on the guidelines?
Lightly erase the head circle, redraw a smaller circle overlapping the end of the body oval, then re-draw the vertical and horizontal lines across the head so the rounded snout follows the vertical guideline and the small oval nose sits at its tip.
How can I adapt the steps like 'draw a large horizontal oval' and 'add short pencil strokes' for younger or older kids?
For younger children, pre-draw or trace the large horizontal oval and head circle and have them add simple eyes, nose, and chunky fur strokes, while older kids can refine the smooth outer outline, add detailed short pencil fur textures, and practice shading the side away from an imagined light source.
What are some ways to extend or personalize the otter after I 'trace a smooth outer outline' and 'erase construction lines'?
After erasing construction lines, personalize the otter by adding a watery background and other otters, coloring with colored pencils or watercolor, enhancing fur texture with more short pencil strokes, and then photograph or scan the finished piece to share on DIY.org or turn it into stickers.
Watch videos on how to draw an otter
How to Draw an Otter Easy and Cute
4 Videos
How to Draw an Otter Easy and Cute
How to Draw an Otter | Fun & Easy Step-by-Step Tutorial for Kids | Doodle Dreamers
How to draw Otter in easy steps for children, kids, beginners
How to Draw an Cute OTTER Drawing Tutorial Easy For Kids
Facts about drawing and sketching
🦦 Sea otters have the densest fur of any animal—about 1 million hairs per square inch—to stay warm in cold water.
✏️ Artists often start with simple shapes (circles, ovals, rectangles) to block in an animal's proportions before adding details.
📐 Otters have long bodies, short legs, and tails roughly the same length as their body—handy to remember when sketching proportions.
🎨 Draw fur with short, curved strokes that follow the body's contours and layer from light to dark to create depth.
🐾 Otters sometimes float in groups called "rafts" and hold paws—cute reference poses perfect for practicing gesture and expression.
How do you draw an otter step by step?
What materials do I need to draw an otter?
What ages is drawing an otter suitable for?
What are the benefits of drawing an otter?
