How to draw a nose on a face - a free nose on a face drawing guide
Learn to draw a nose on a face step-by-step using basic shapes, light shading, and observation to create realistic noses with pencil and eraser.

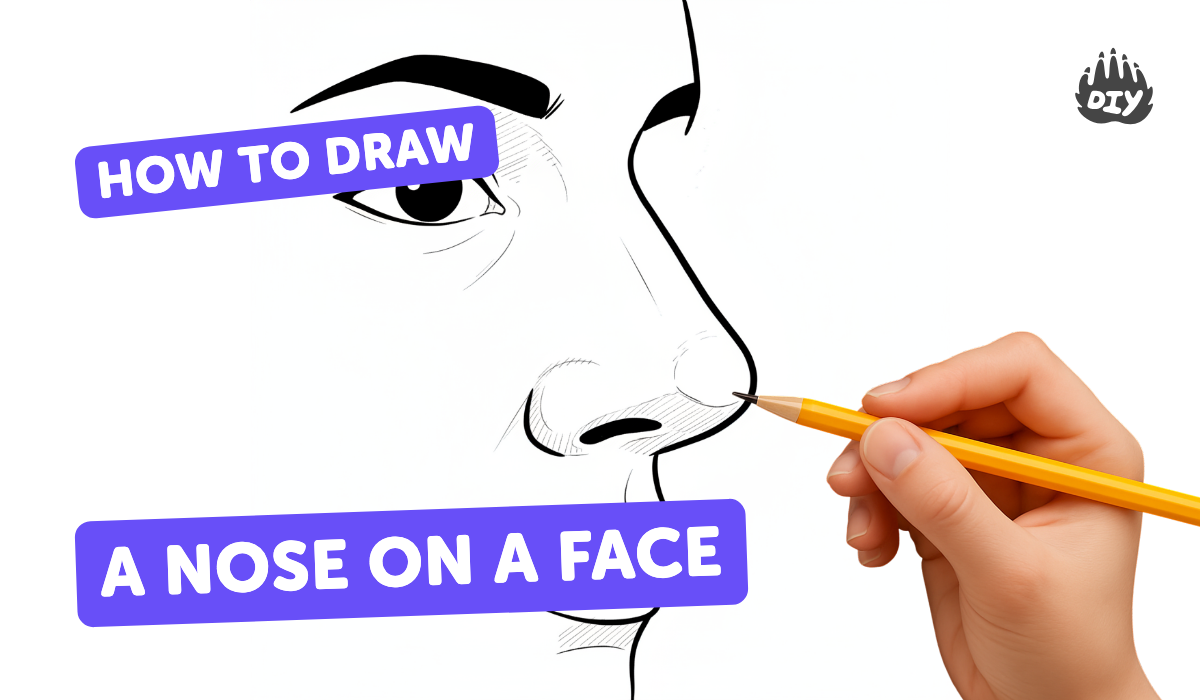
Step-by-step guide to draw a nose on a face
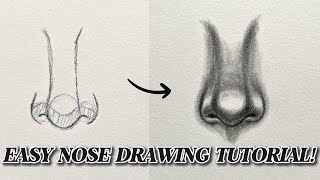
How to DRAW A NOSE for BEGINNERS! (Face Drawing Tutorial #4)
Step 1
Draw a light oval for the head to give yourself the face shape.
Step 2
Draw a light vertical line down the center of the oval to find the face middle.
Step 3
Draw a light horizontal line across the middle of the oval to mark the eye level.
Step 4
Mark a small horizontal guideline halfway between the eye line and the chin for the base of the nose.
Step 5
Draw a small circle on the base guideline to set the tip of the nose.
Step 6
Draw two gentle slanted lines from the circle upward toward the eye line to show the bridge.
Step 7
Draw two small curved ovals at the sides of the circle to indicate the nostrils.
Step 8
Lightly erase any construction lines that cross the final nose shapes.
Step 9
Refine the outer curves of the nose with soft smooth lines to make the shape look natural.
Step 10
Add light pencil shading along the sides of the nose and under the tip to create form.
Step 11
Blend the shaded areas softly with a blending stump or cotton bud for smooth gradation.
Step 12
Lift tiny highlights on the bridge and tip with the eraser to make the nose look three dimensional.
Step 13
Share your finished nose drawing on DIY.org
Help!?
What can I use instead of a blending stump or cotton bud to blend the shaded areas?
If you don't have a blending stump or cotton bud, use a clean fingertip, a soft tissue, or a folded piece of paper to softly blend the shaded sides and under-tip areas before lifting highlights with your eraser.
My nose looks lopsided or the nostrils don't match—what should I fix?
If the nose is off-center, redraw or darken the light vertical centerline and eye-level horizontal line, then reposition the tip circle and adjust the two slanted bridge lines and curved nostril ovals so they sit symmetrically before erasing construction lines.
How can I adapt this drawing for younger or older kids?
For younger children simplify to the oval, centerline, a single tip circle and two nostril ovals to focus on shape, while older kids can follow all steps including soft shading, blending with a stump, and lifting highlights with an eraser for realism.
How can we extend or personalize the nose-drawing activity after finishing the basic steps?
Extend the activity by drawing different nose types—change the size of the tip circle and nostril ovals, practice sharper or softer bridge lines, add colored-pencil skin tones with blended shading, and then share your favorite finished nose on DIY.org.
Watch videos on how to draw a nose on a face
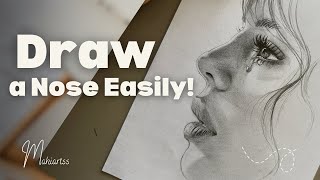
How to Draw: Nose (Easy Beginner Tutorial)
4 Videos

How to Draw: Nose (Easy Beginner Tutorial)
How to draw a nose for beginners | Easy nose drawing step by step | Realistic Nose Drawing Tutorial
How to Draw a Nose - Step by Step Tutorial for Beginners #asmr

How to Draw a Nose Easily | Step-by-Step Pencil Sketch
Facts about drawing facial features
👃 The nose is made of bone (higher up) and cartilage (the softer tip) — that’s why the tip feels squishy!
✏️ Many artists start a nose with simple shapes — circles, triangles, and cylinders — then refine them into a realistic form.
🪞 Instead of copying lines, artists often study the nose’s shadows and highlights to make it look 3D on paper.
📏 A handy measuring trick: hold your pencil at arm’s length to compare distances and angles while sketching a face.
🎨 Kneaded erasers and soft shading can blend edges and create smooth transitions that make a pencil nose look lifelike.
How do I teach a child to draw a nose step-by-step?
What materials do we need to learn drawing noses with pencil and eraser?
What ages is this nose-drawing activity suitable for?
What are the benefits of practicing nose drawing and how can I vary the activity?
